Agent Setup

Hey!
Can someone explain how to setup an Agent for the first time?
Thank you!
Comments
-
Thank you for using the Decisions forum.
In order to setup an Agent on a machine for the first time you need to have the same .NET framework as the Decisions Server you are connecting to. The version of .NET you need is dependent on your Decisions version.
Next, "Can Use" permissions need to be configured on a Designer element in order to function with Agents. Also, if your environment's Portal Base URL is configured for "localhost", you will be unable to use Agents.
To setup an Agent please following the steps below.
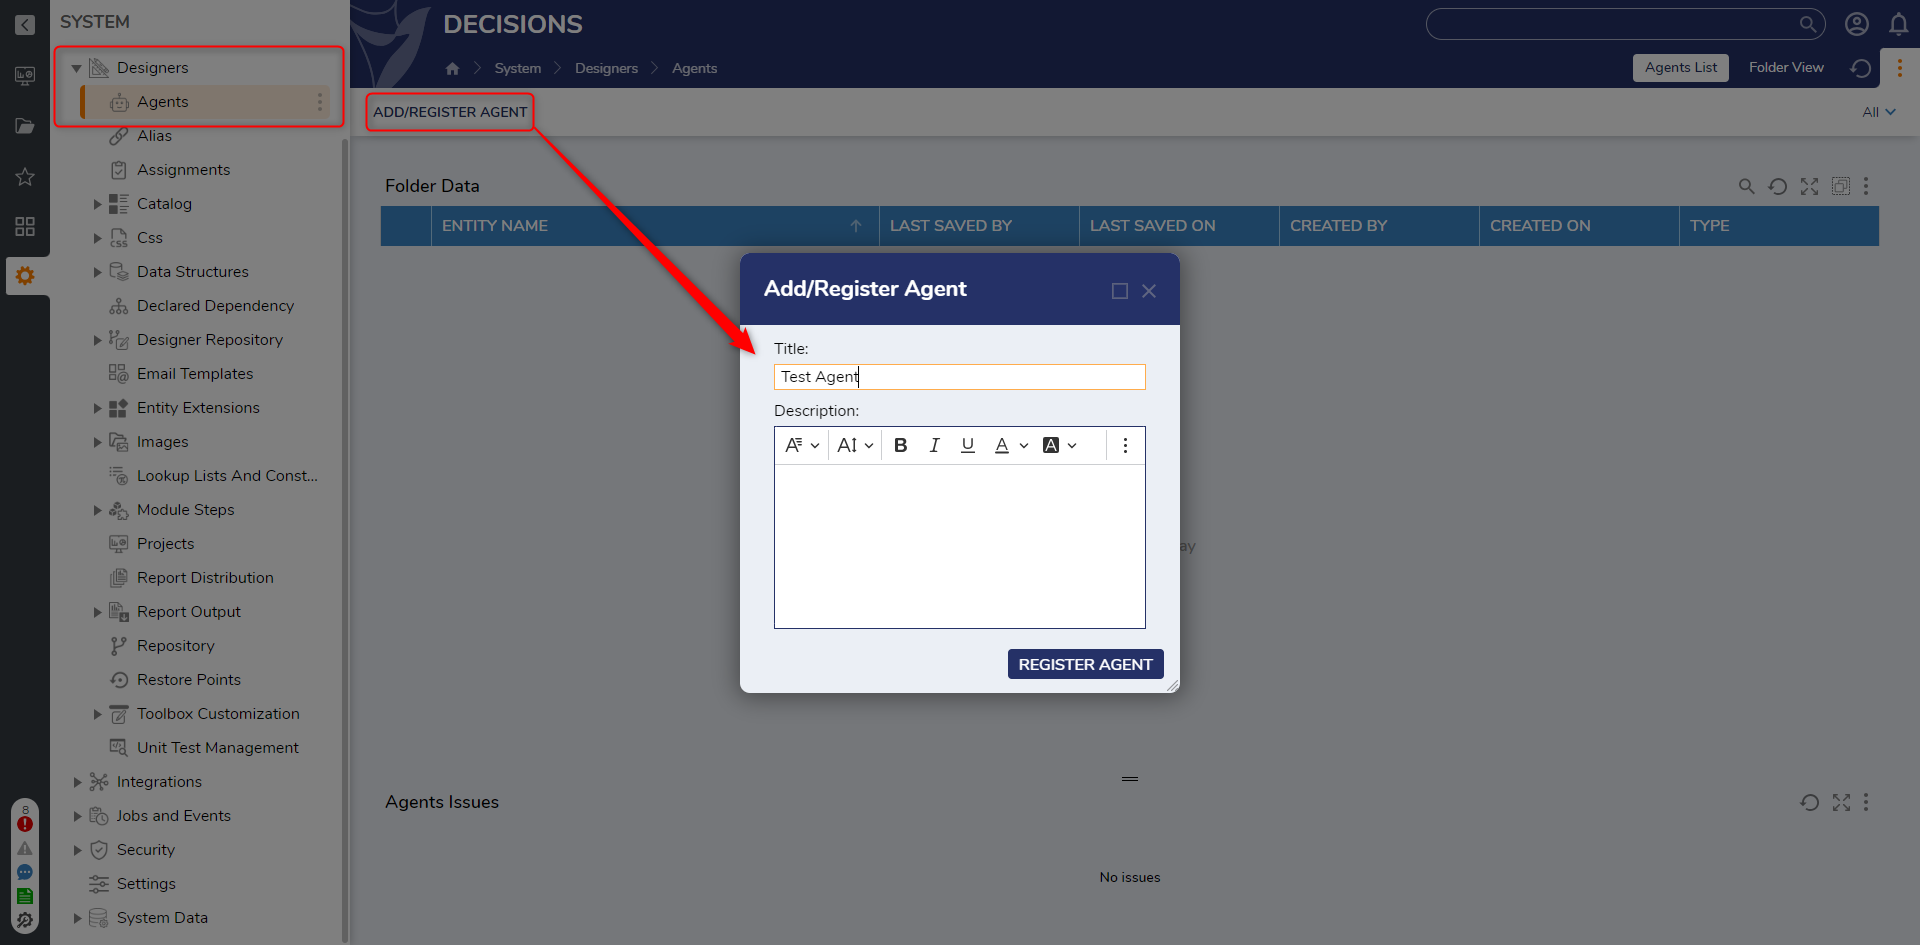
First, navigate to System > Designers > Agents and click ADD/REGISTER AGENT.
Name the Agent.
Right click the newly added Agent from the Agents Folder and select Download Agent.
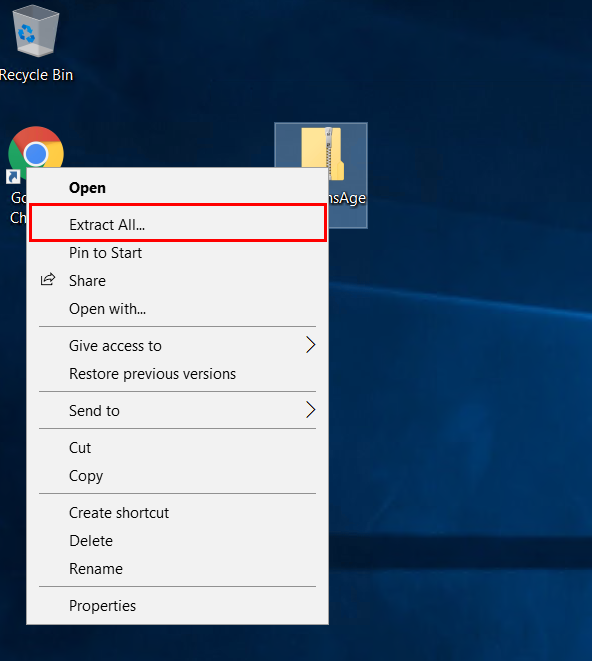
Extract the contents of the zip file.
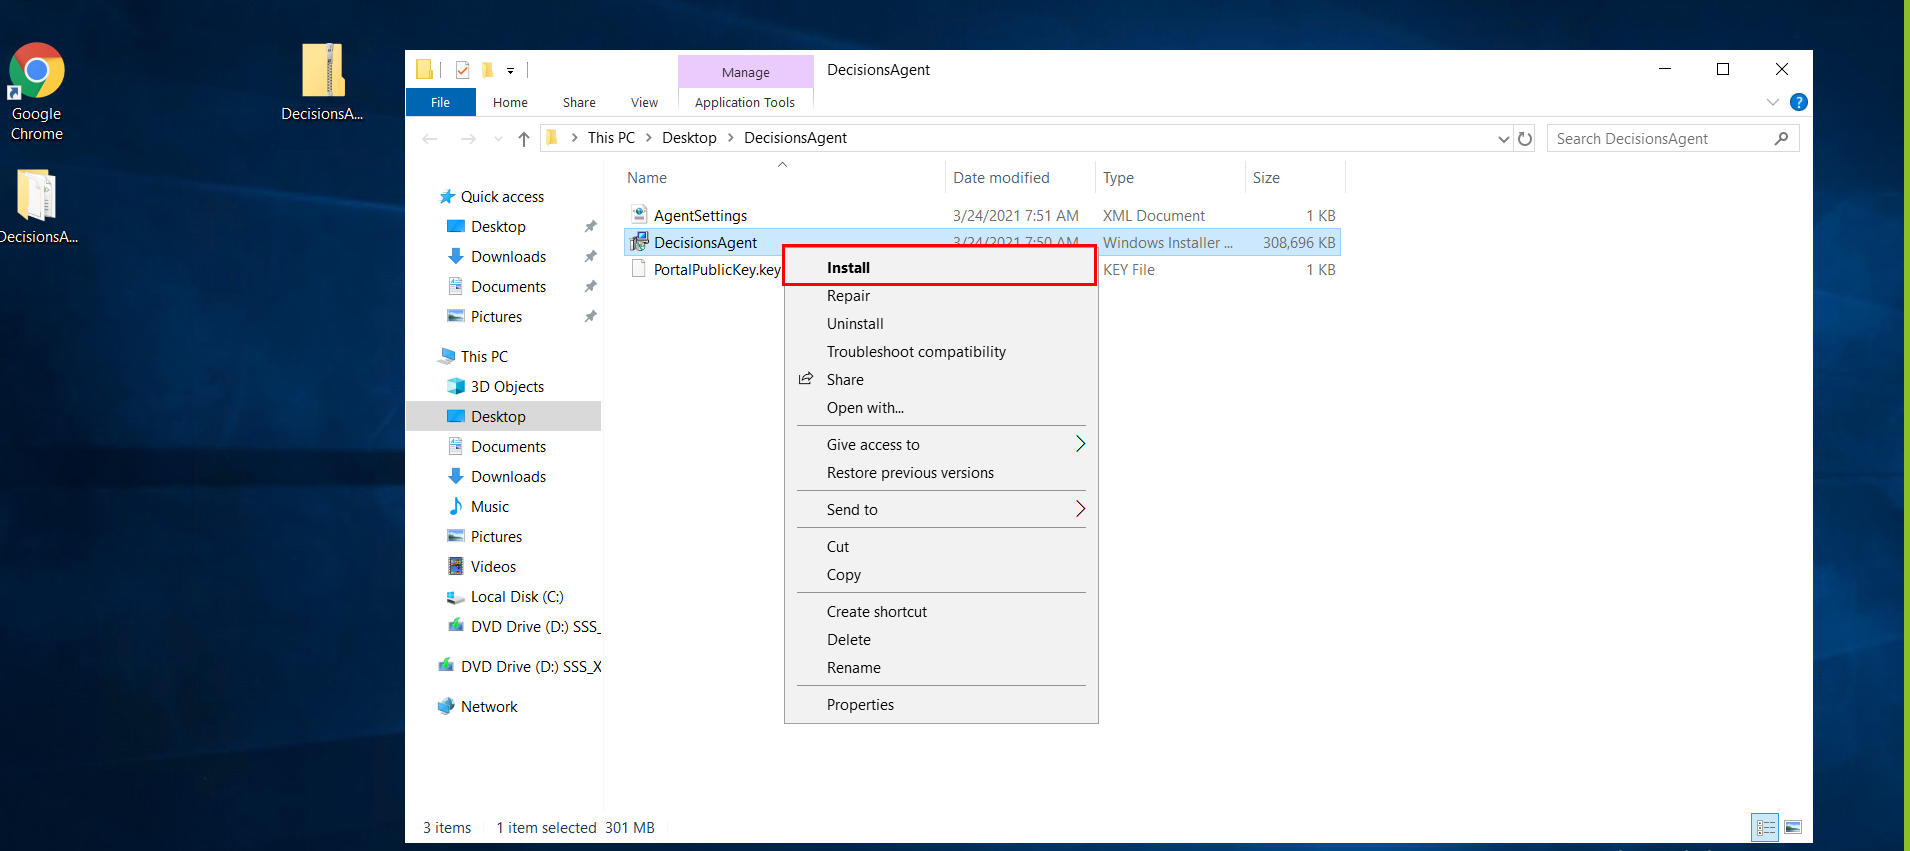
From the extracted folder, install the DecisionsAgent.msi file. The agent will create all its files under C:\Program Files (x86)\Decisions Agent.
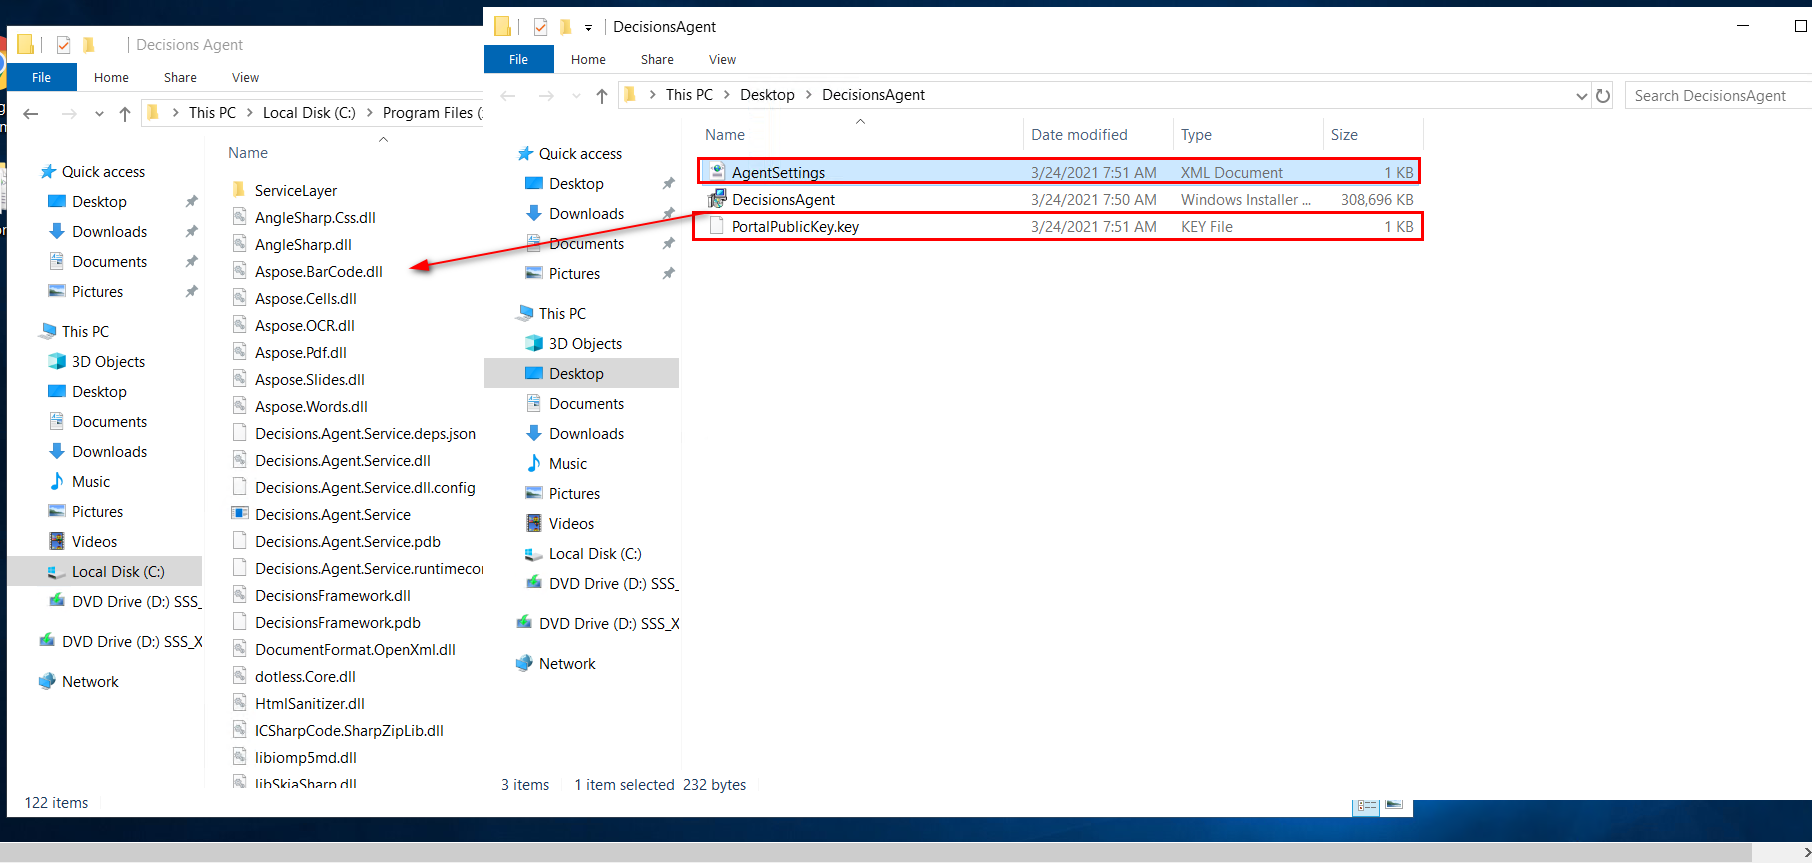
After the Agent installs, from the extracted folder, copy over AgentSettings.xml and PortalPublicKey.key to C:\Program Files (x86)\Decisions Agent.
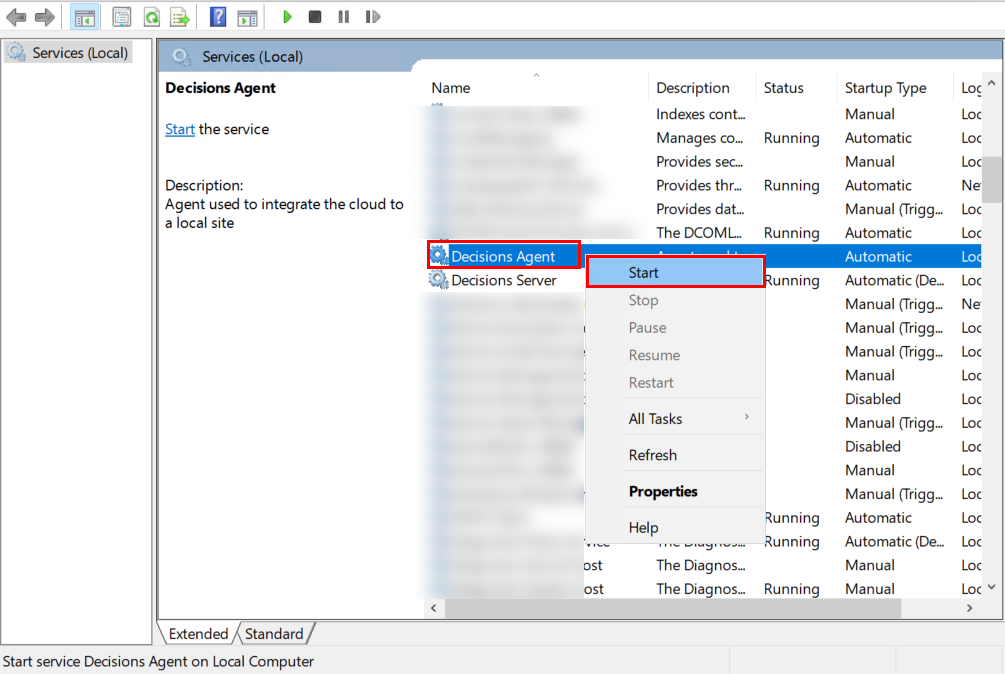
Open your Windows Services.
Locate the Decisions Agent Service, right-click, and select Start.
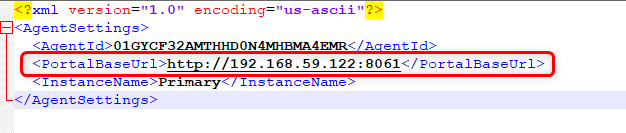
If the agent does not start with a pop-up dialog Message, "Error-1604 Windows could not start the Decisions Agent service on Local Computer". Navigate to the C:\Program Files (x86)\Decisions Agent. Open the AgentSettings.xml file and check the PortalBaseURL. Enter the IPv4 address with the port number on which the Decisions is installed.
Start the Decisions Agent Service.
These steps are also outlined in the documentation link below.
0

Howdy, Stranger!