Making Integrations Server Specific
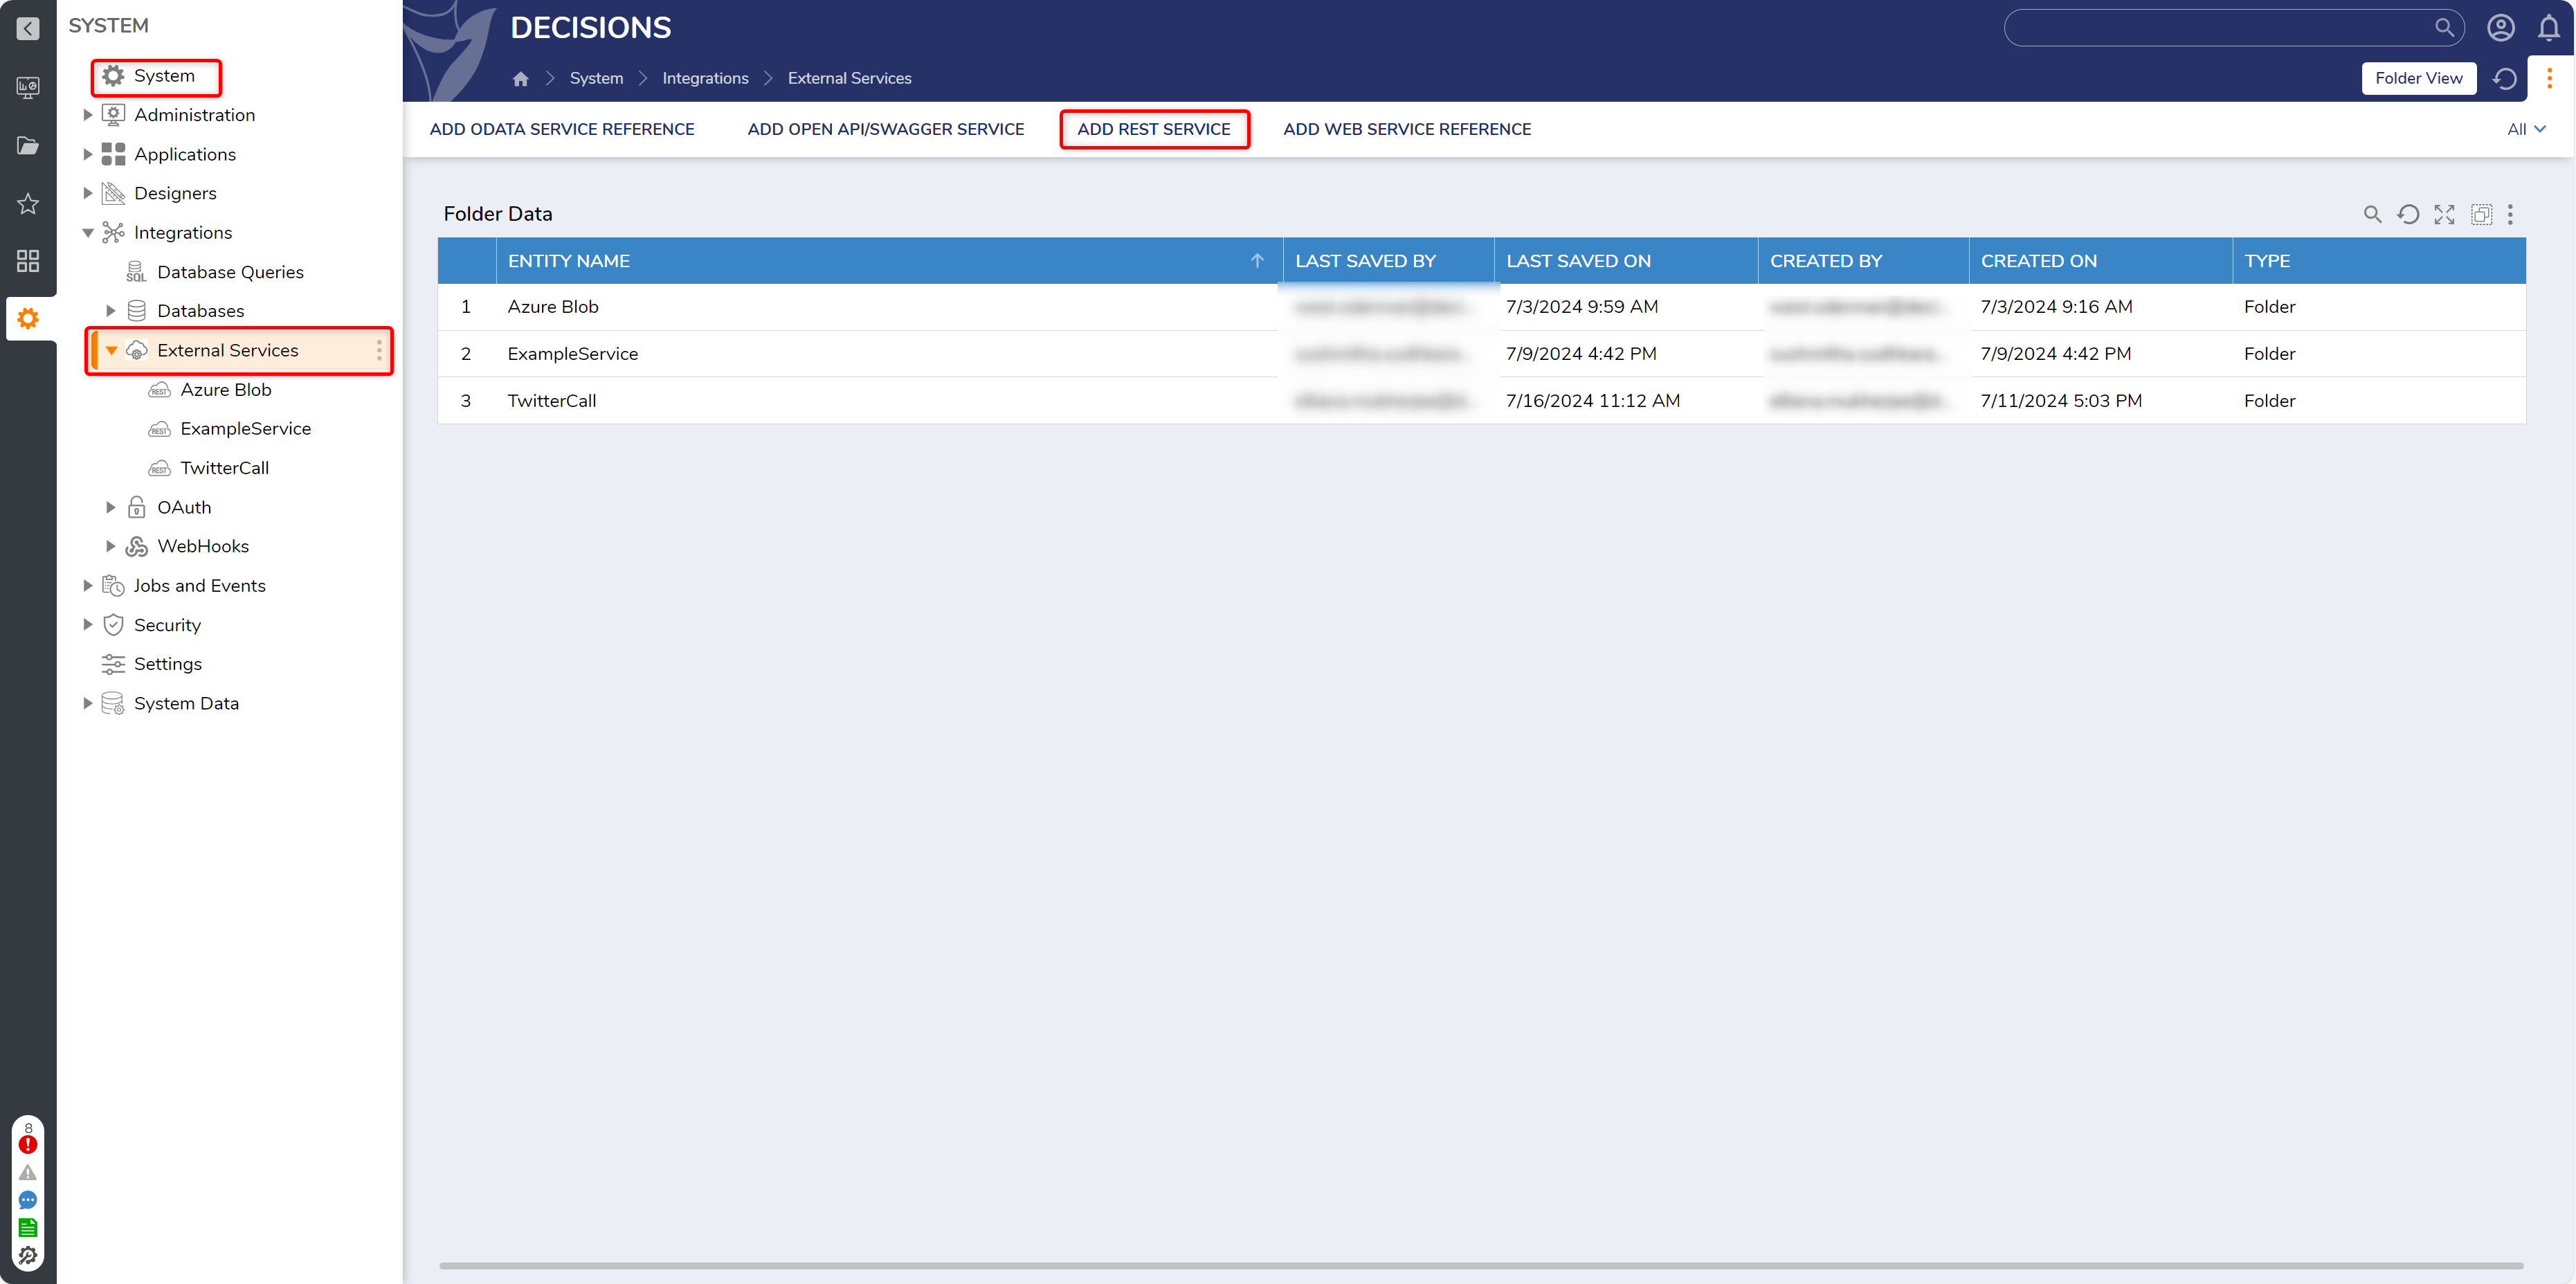
1 From the Decisions Studio, navigate to System > Integrations > External Services. Then select ADD REST SERVICE.
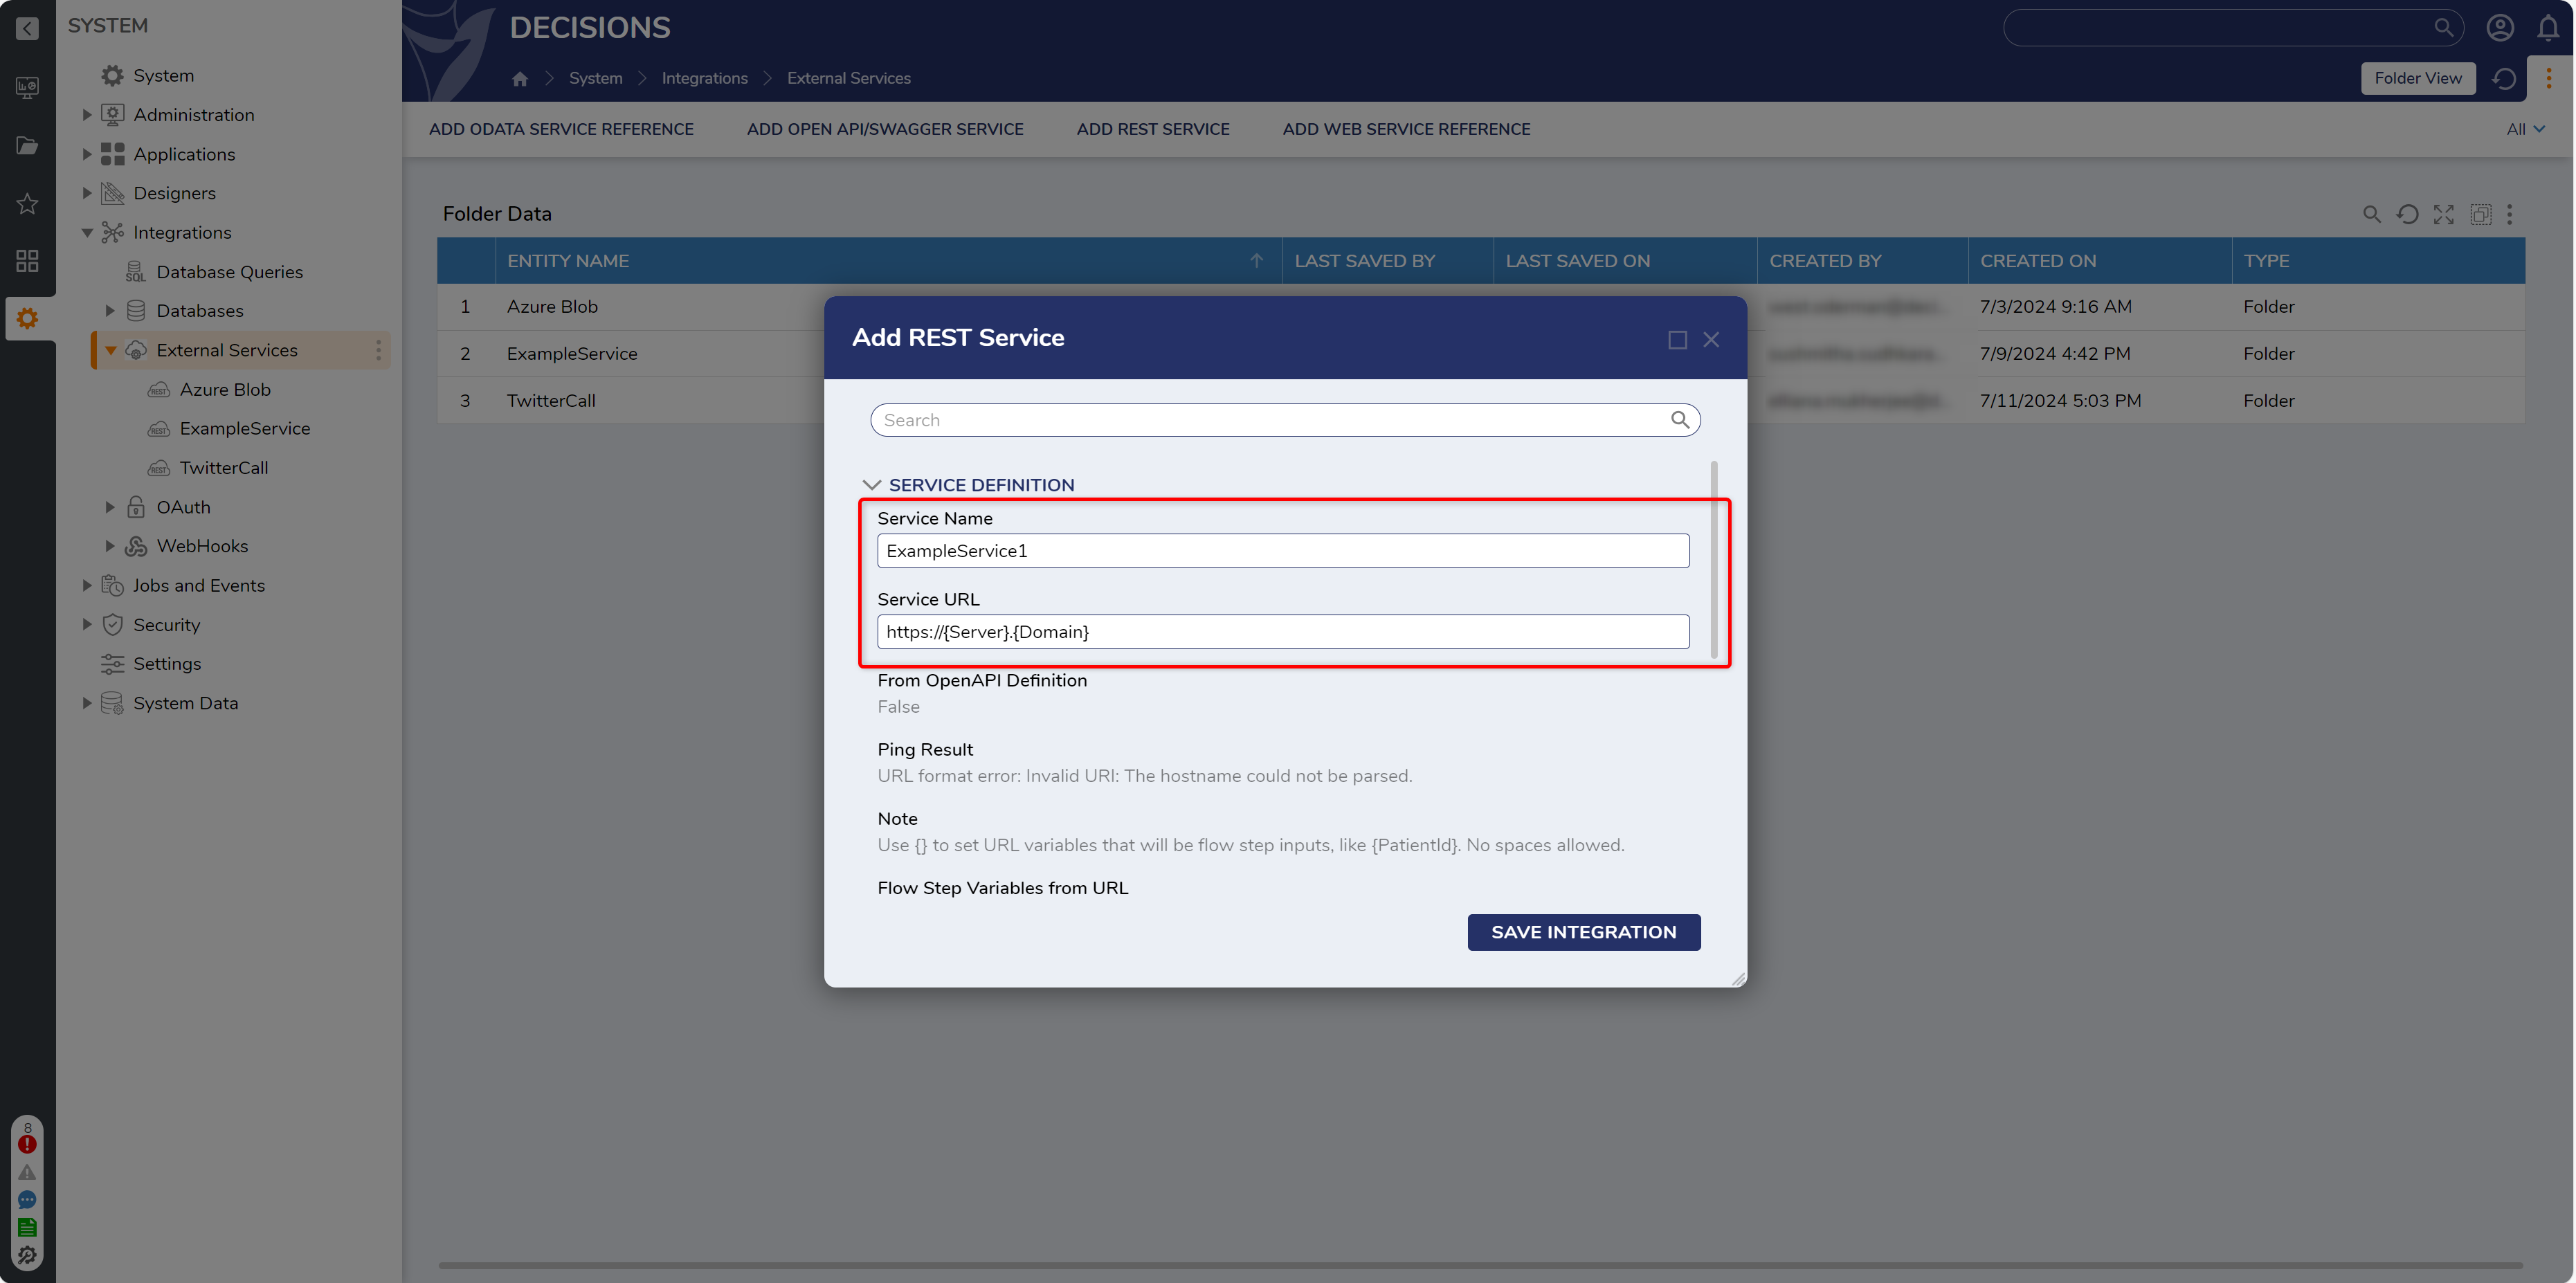
2 From the Add REST Service window, provide a relevant Service Name.
3 Under Service URL, define the URL first by providing the protocol, and then by blocking off the URL with curly brackets, separating each element with periods (for this example "https://{Server}.{Domain}").
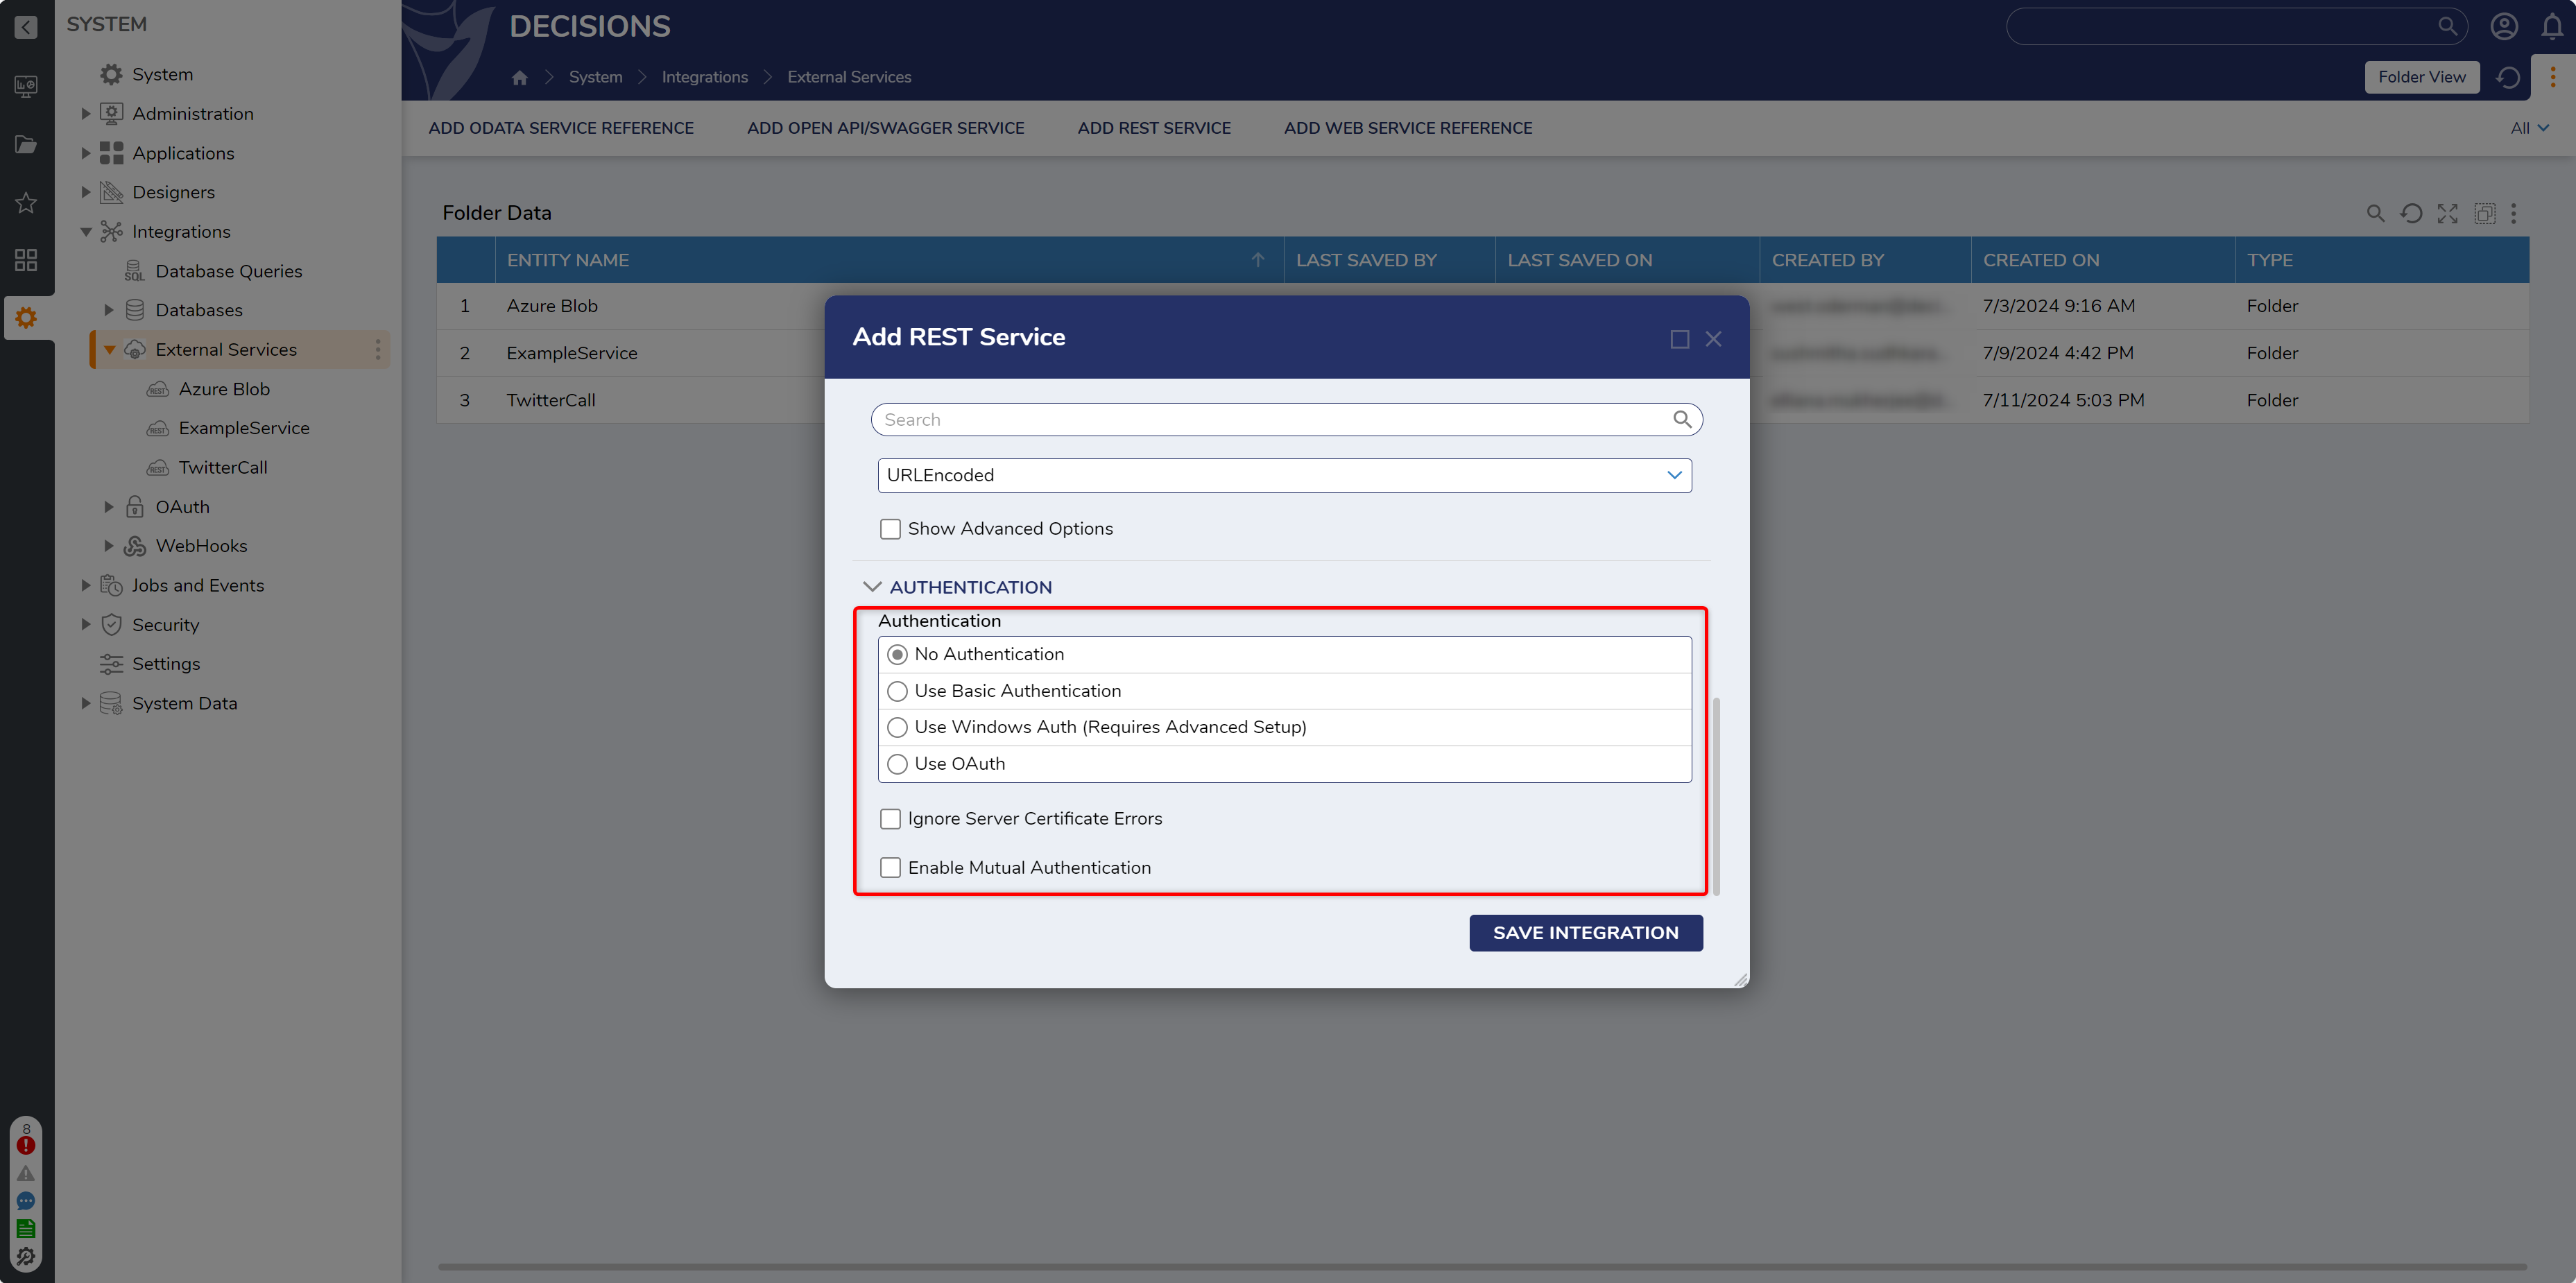
4 Under AUTHENTICATION > Authentication select/define the required Authentication type, then click SAVE INTEGRATION.
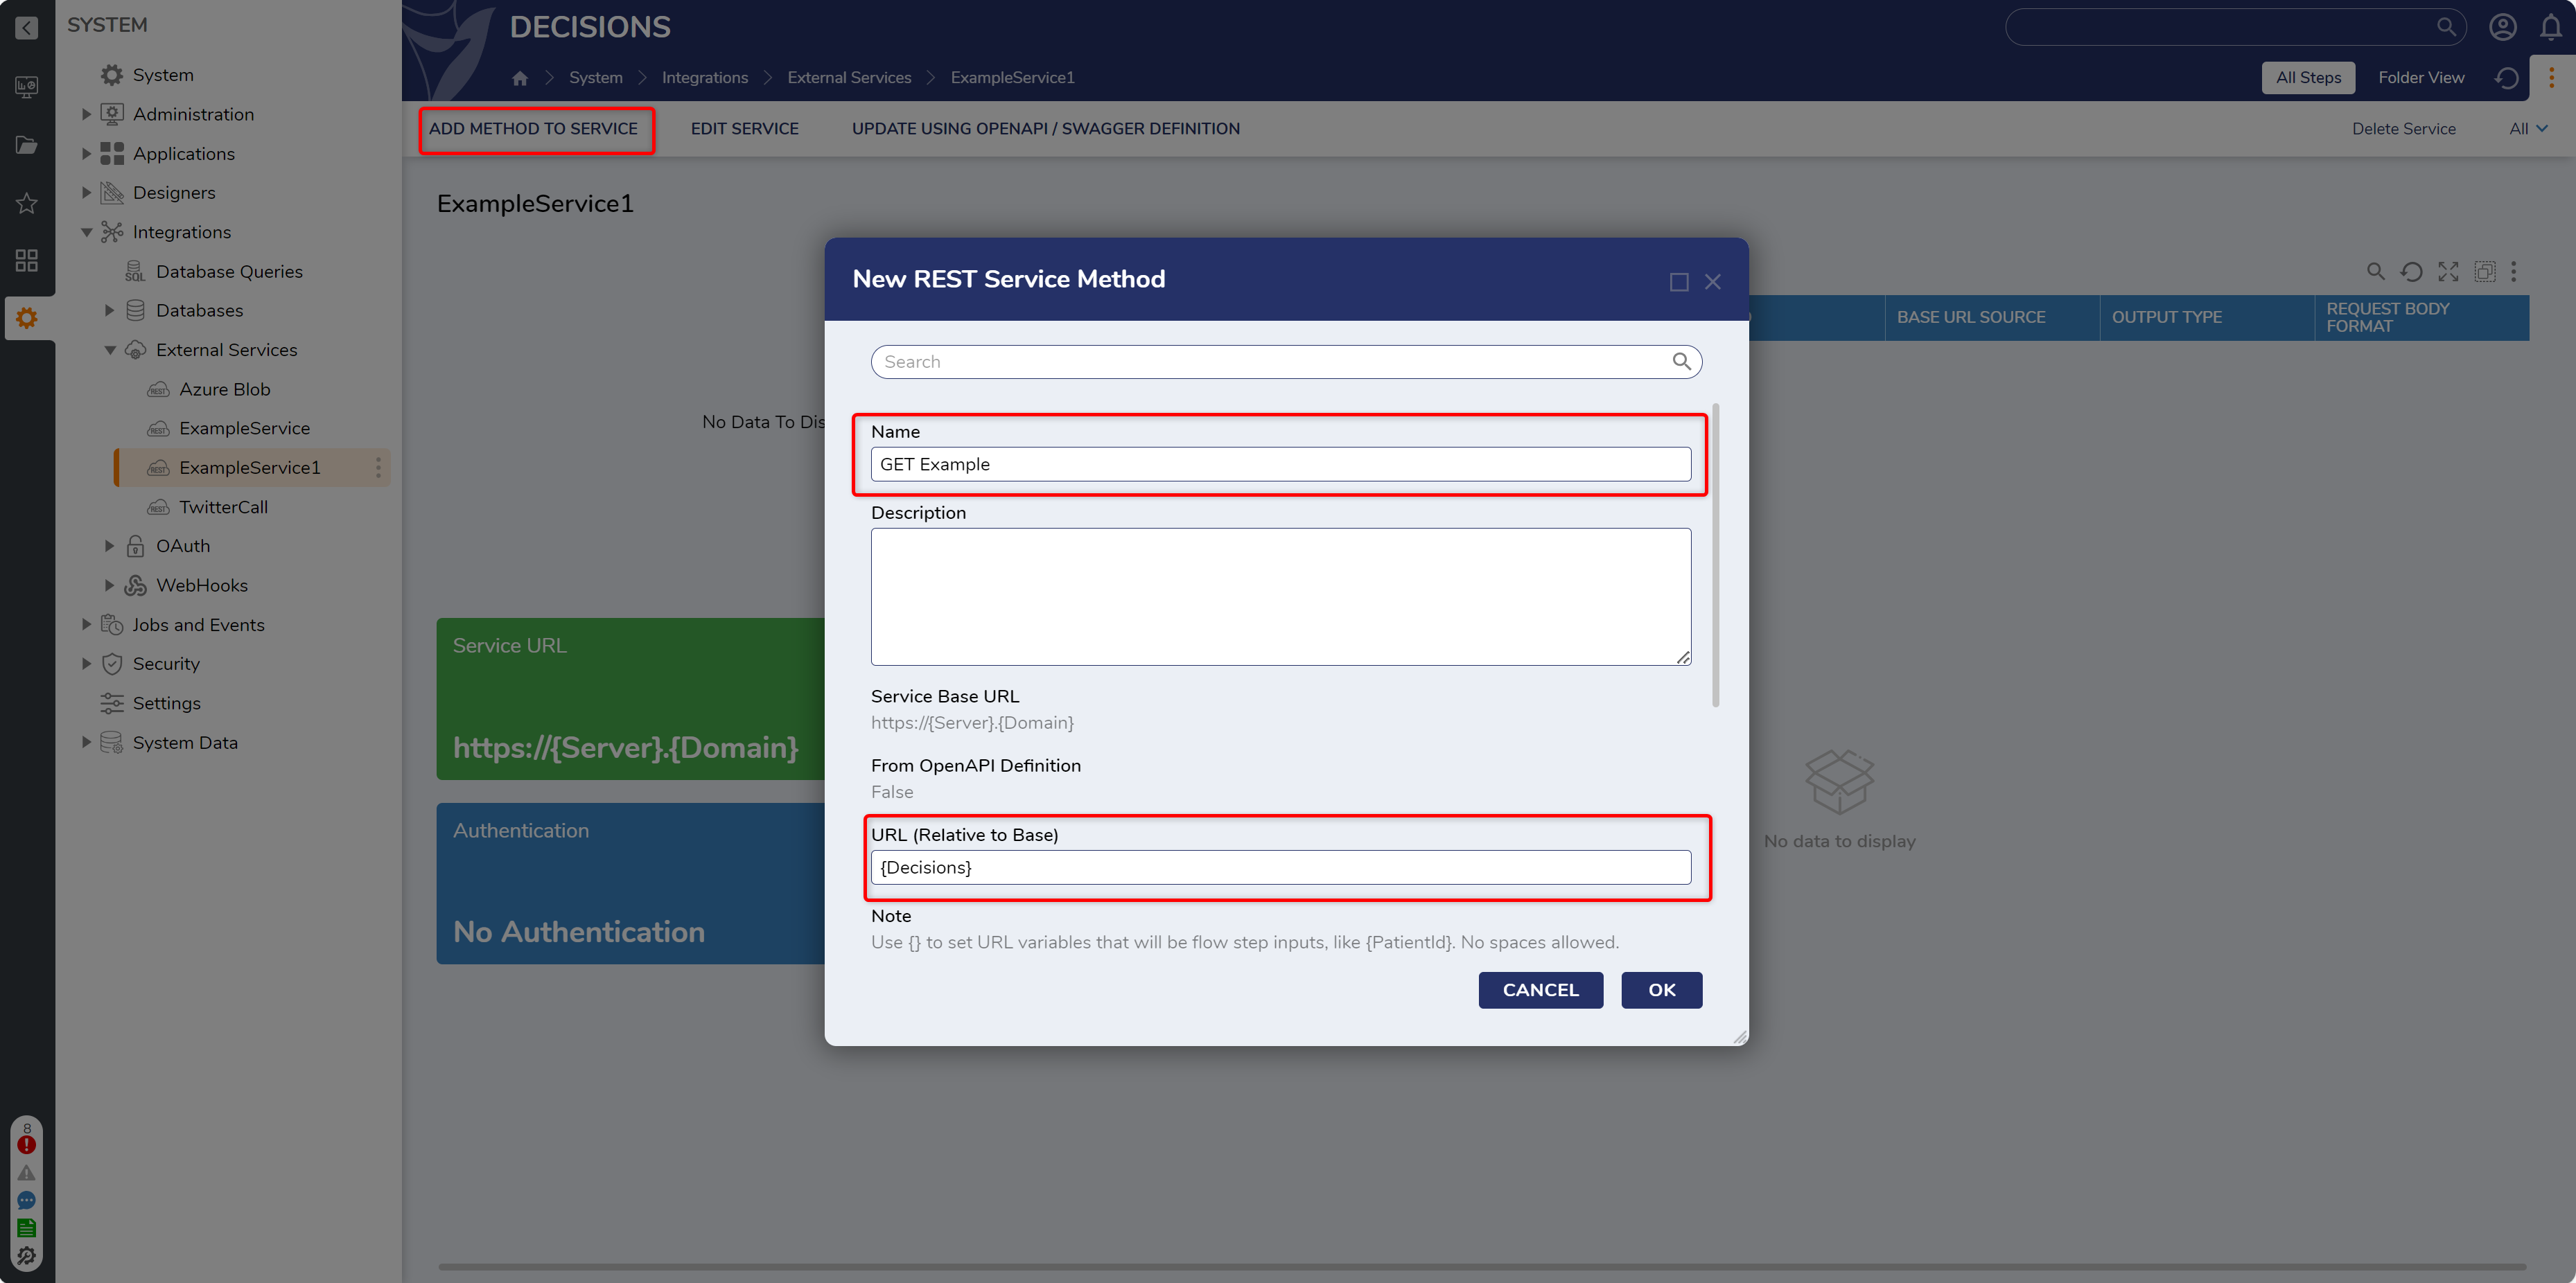
5 After the Service is added, select Add Method to Service.
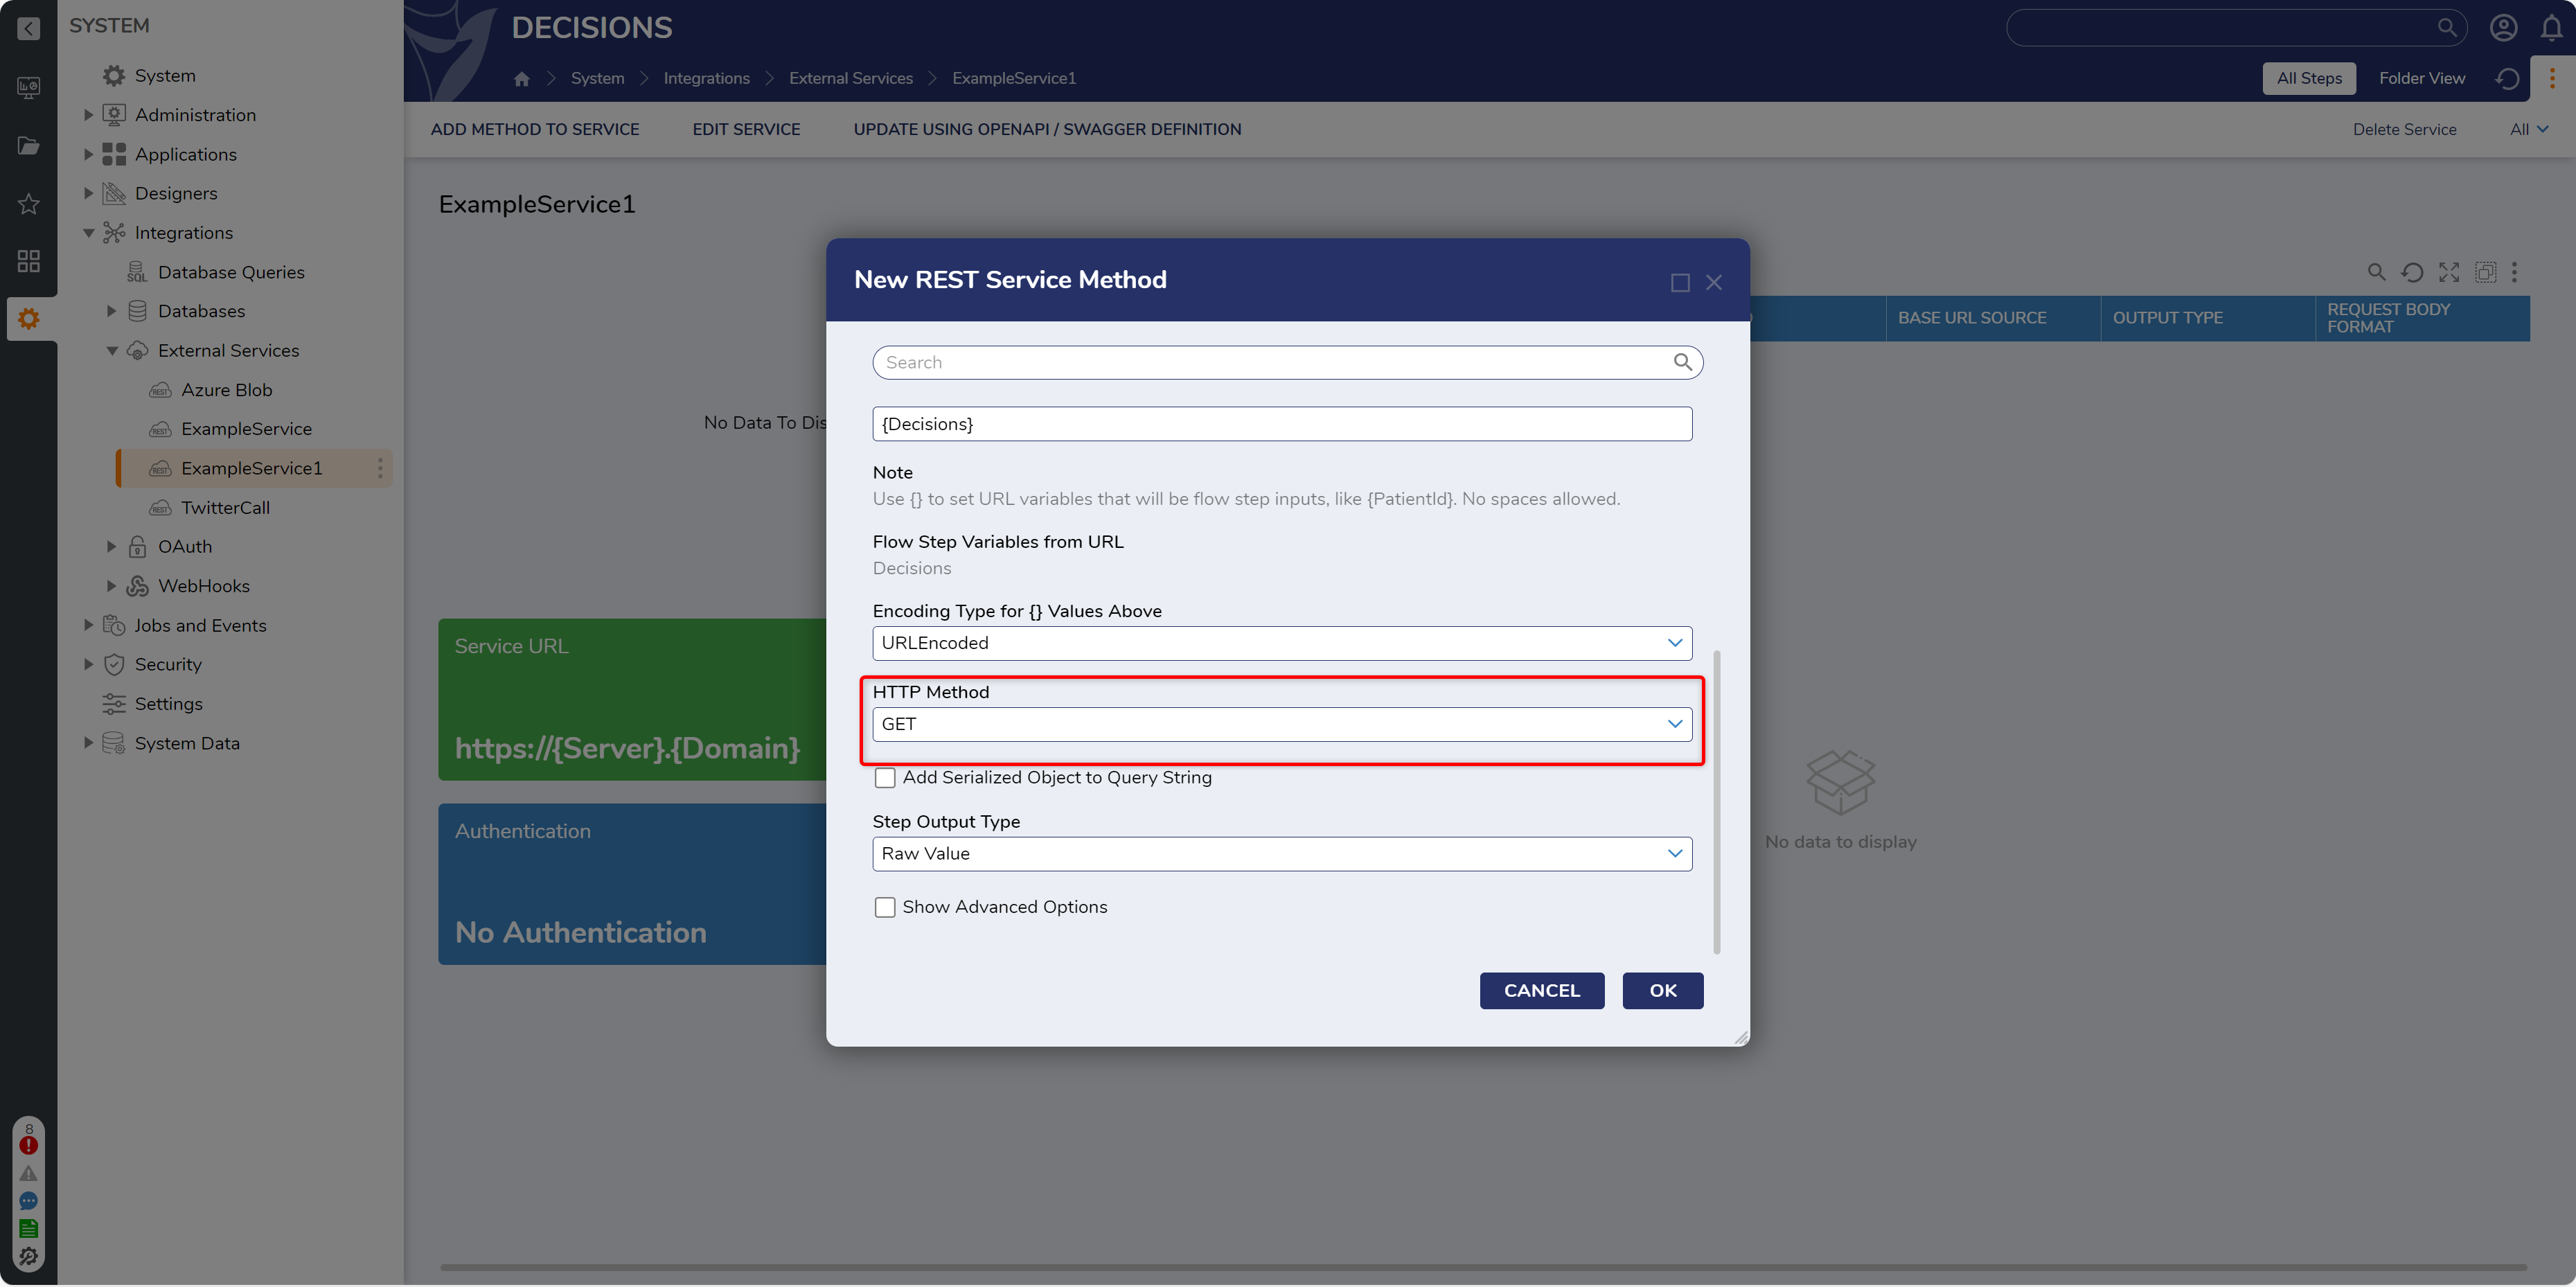
6 From the New REST Service Method window, provide a Name. Then in the URL box, provide a parameterized element (for example "{Decisions}").
7 Select the desired HTTP Method, then click OK.
8 After the Method is successfully added, navigate to a Designer Project, select CREATE FLOW, then CREATE a new Flow.
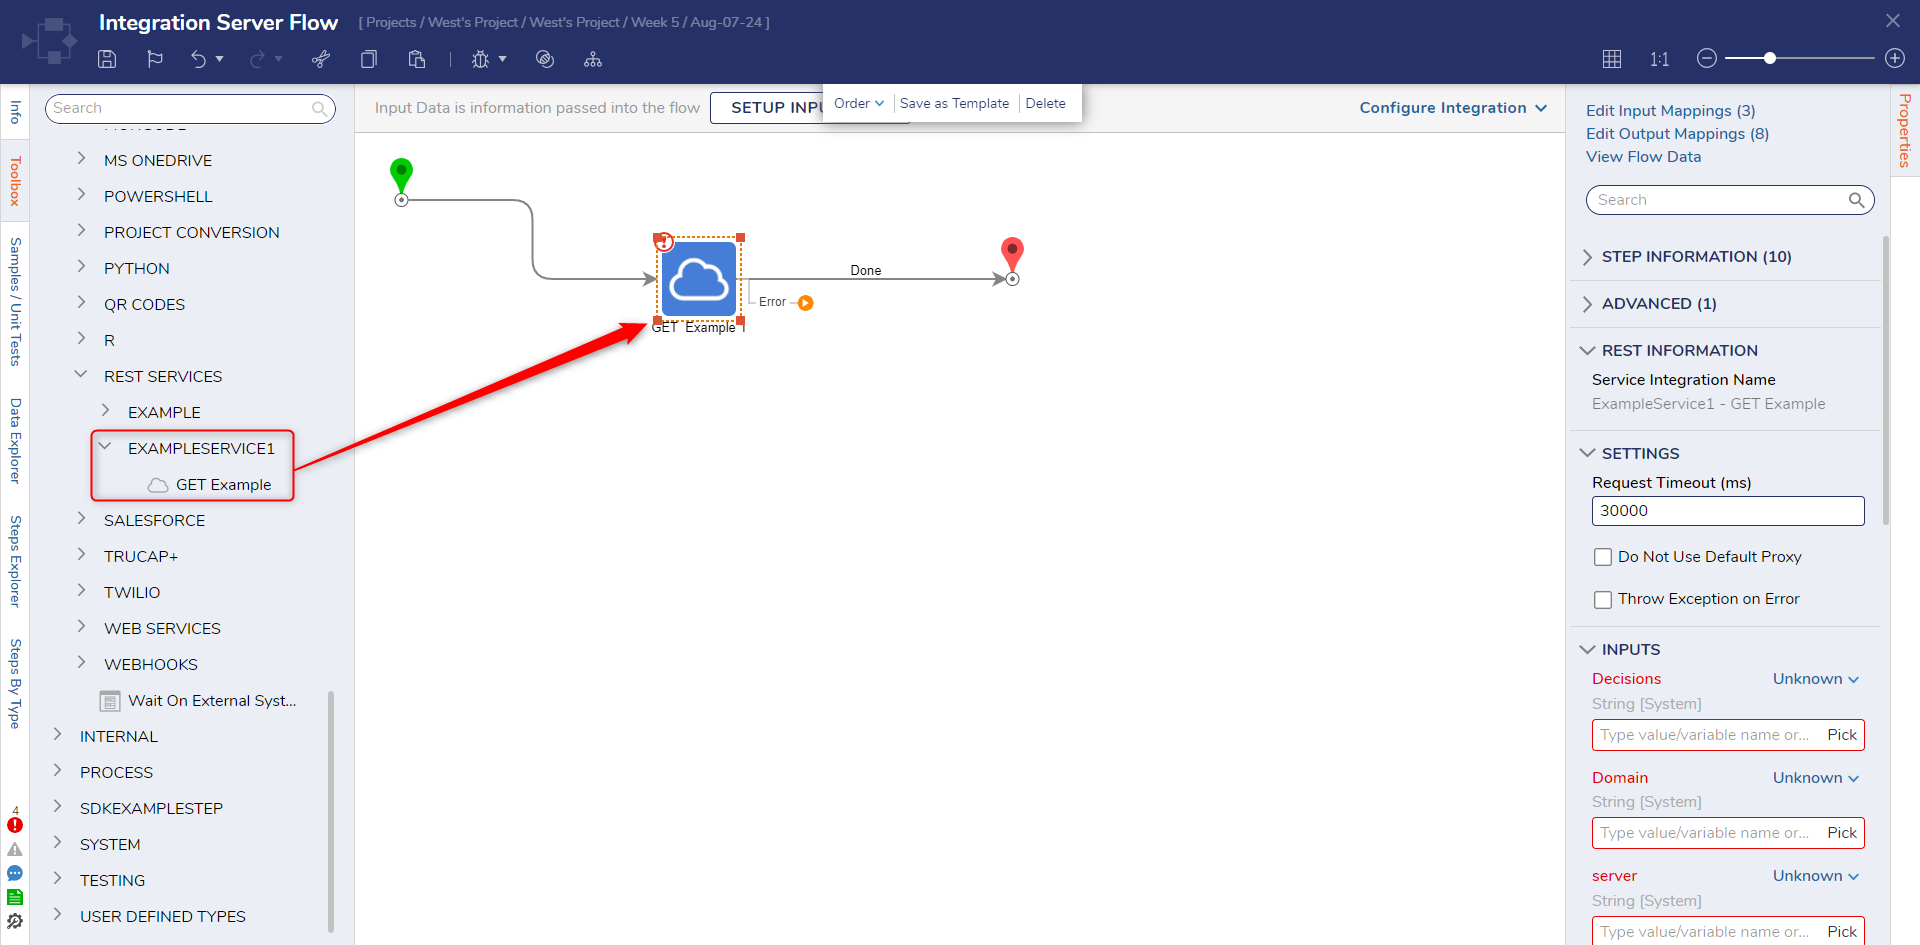
9 From the Flow Designer, navigate to Toolbox > INTEGRATION > REST SERVICES > [NAME OF SERVICE], and attach the defined Method step to the Start step.
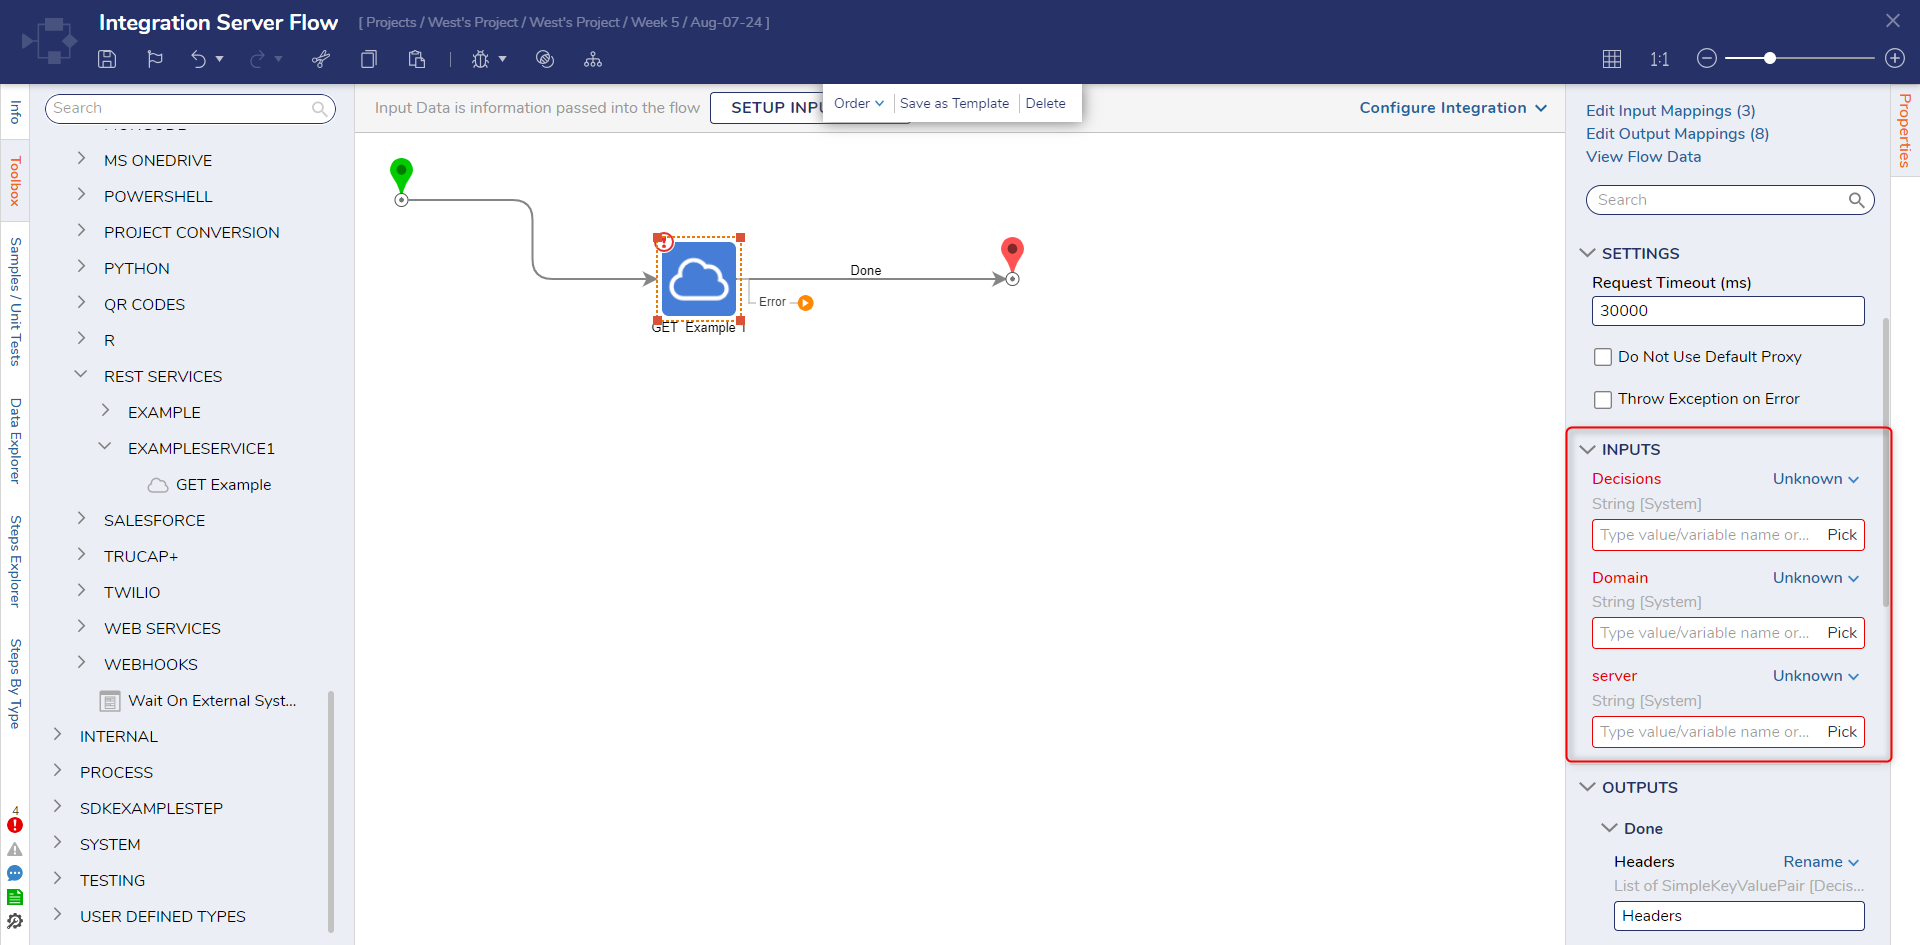
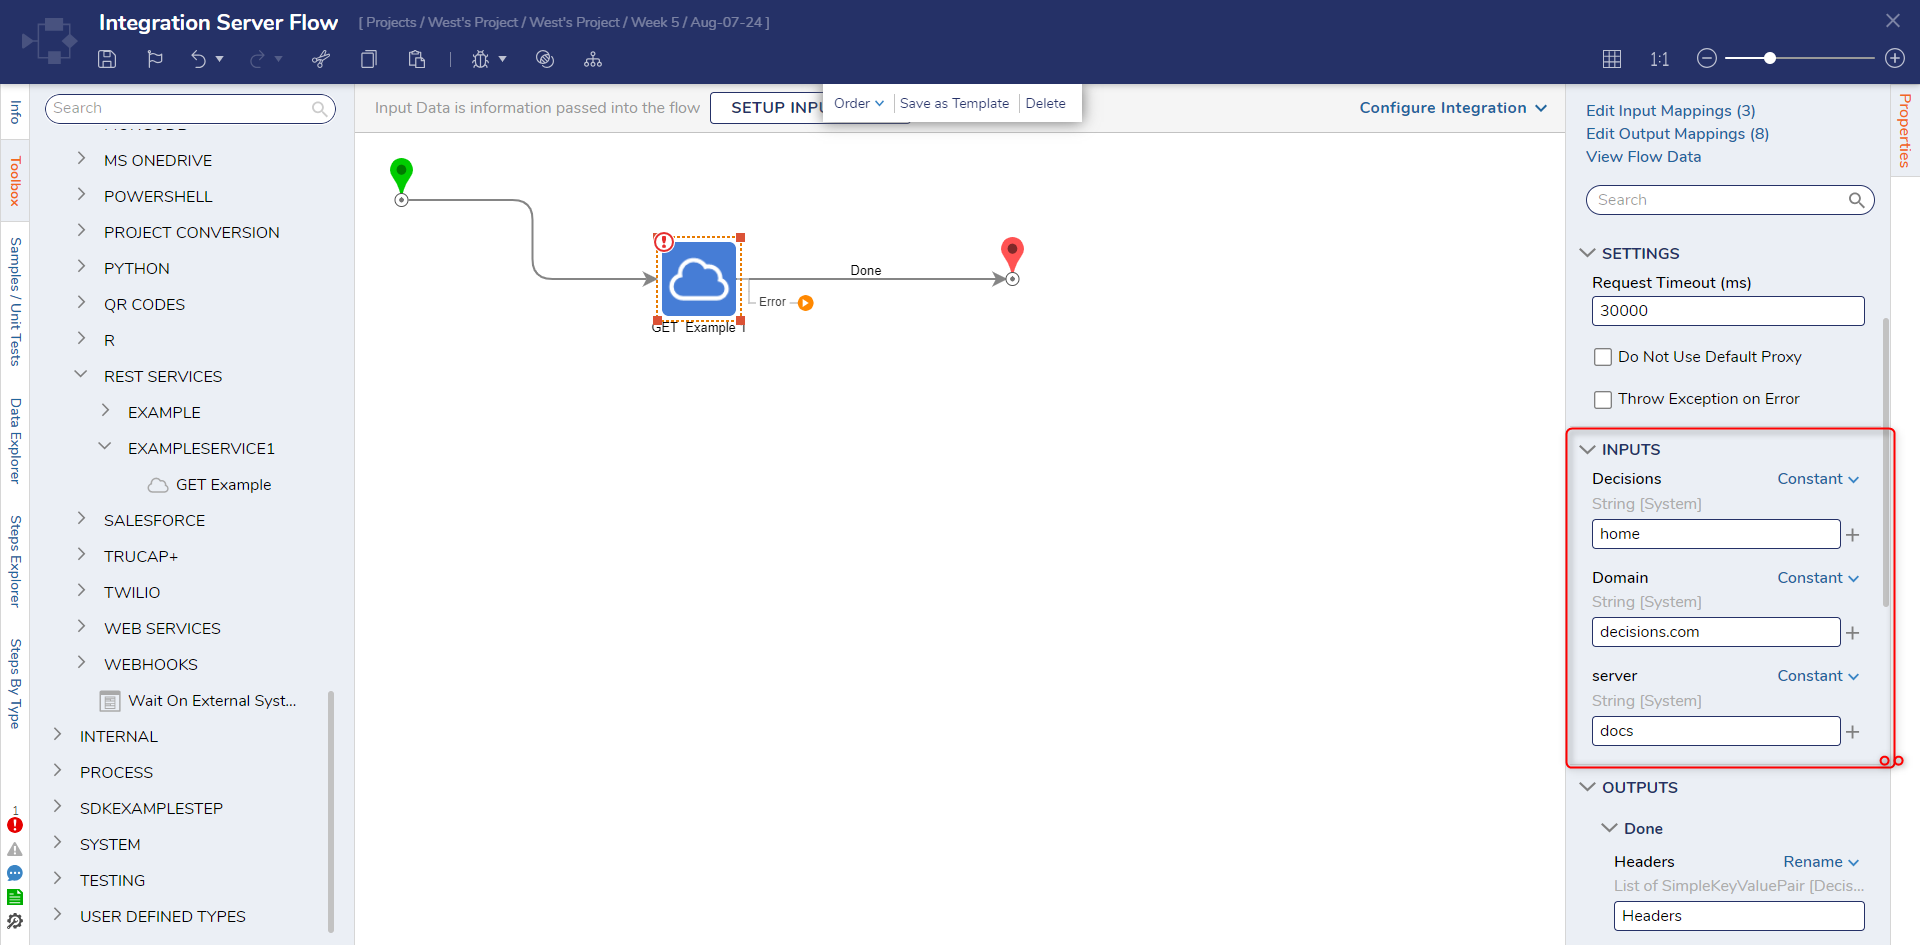
10 From the Properties tab of the Rest Method, Constant map the desired Domain, Server, and URL (Path) values. Then, connect the Done and Error paths to the End step.
11 Save the Flow, then close via X.
from: https://documentation.decisions.com/v9/docs/making-integrations-server-specific
