Login User Flow Behavior

1 From a Designer Project, select the CREATE FLOW button from the top Action bar
a Select Flow, provide a Name, and click CREATE.
2 From the Flow Designer, navigate to the Properties tab on the right.
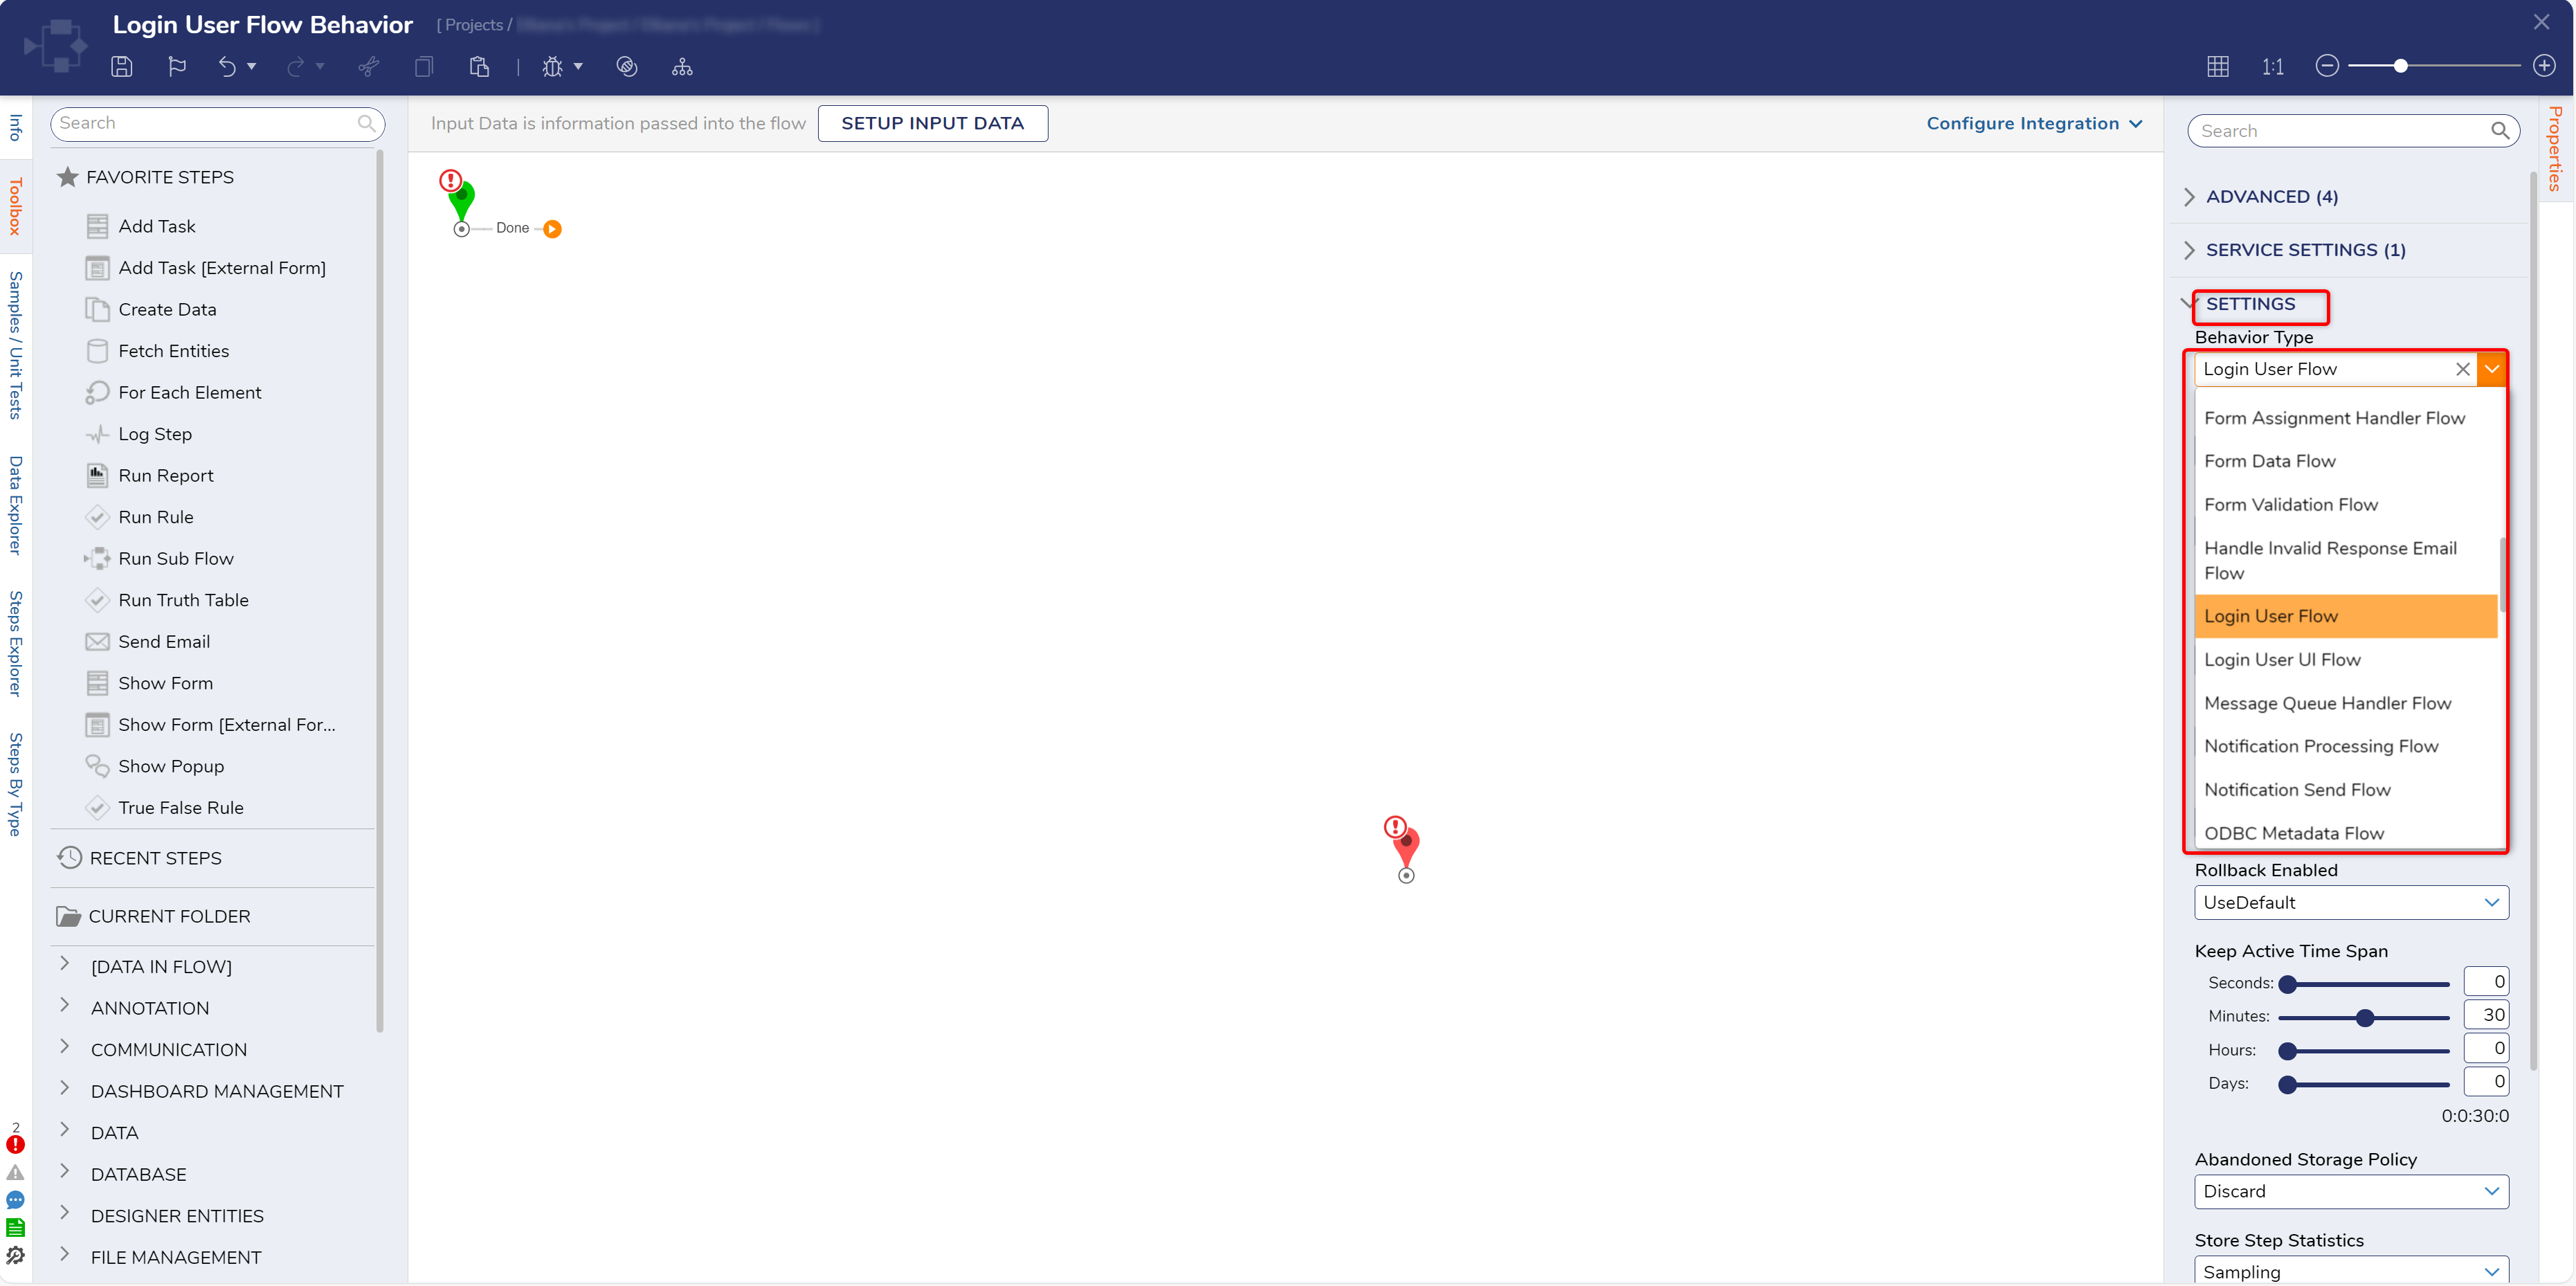
a Under SETTINGS > Behavior Type, select Login User Flow from the dropdown.
3 From the FAVORITE STEPS category of the Toolbox, attach a Show Popup step to the Start step, and the End step.
4 Select the Show Popup step to navigate to its Properties.
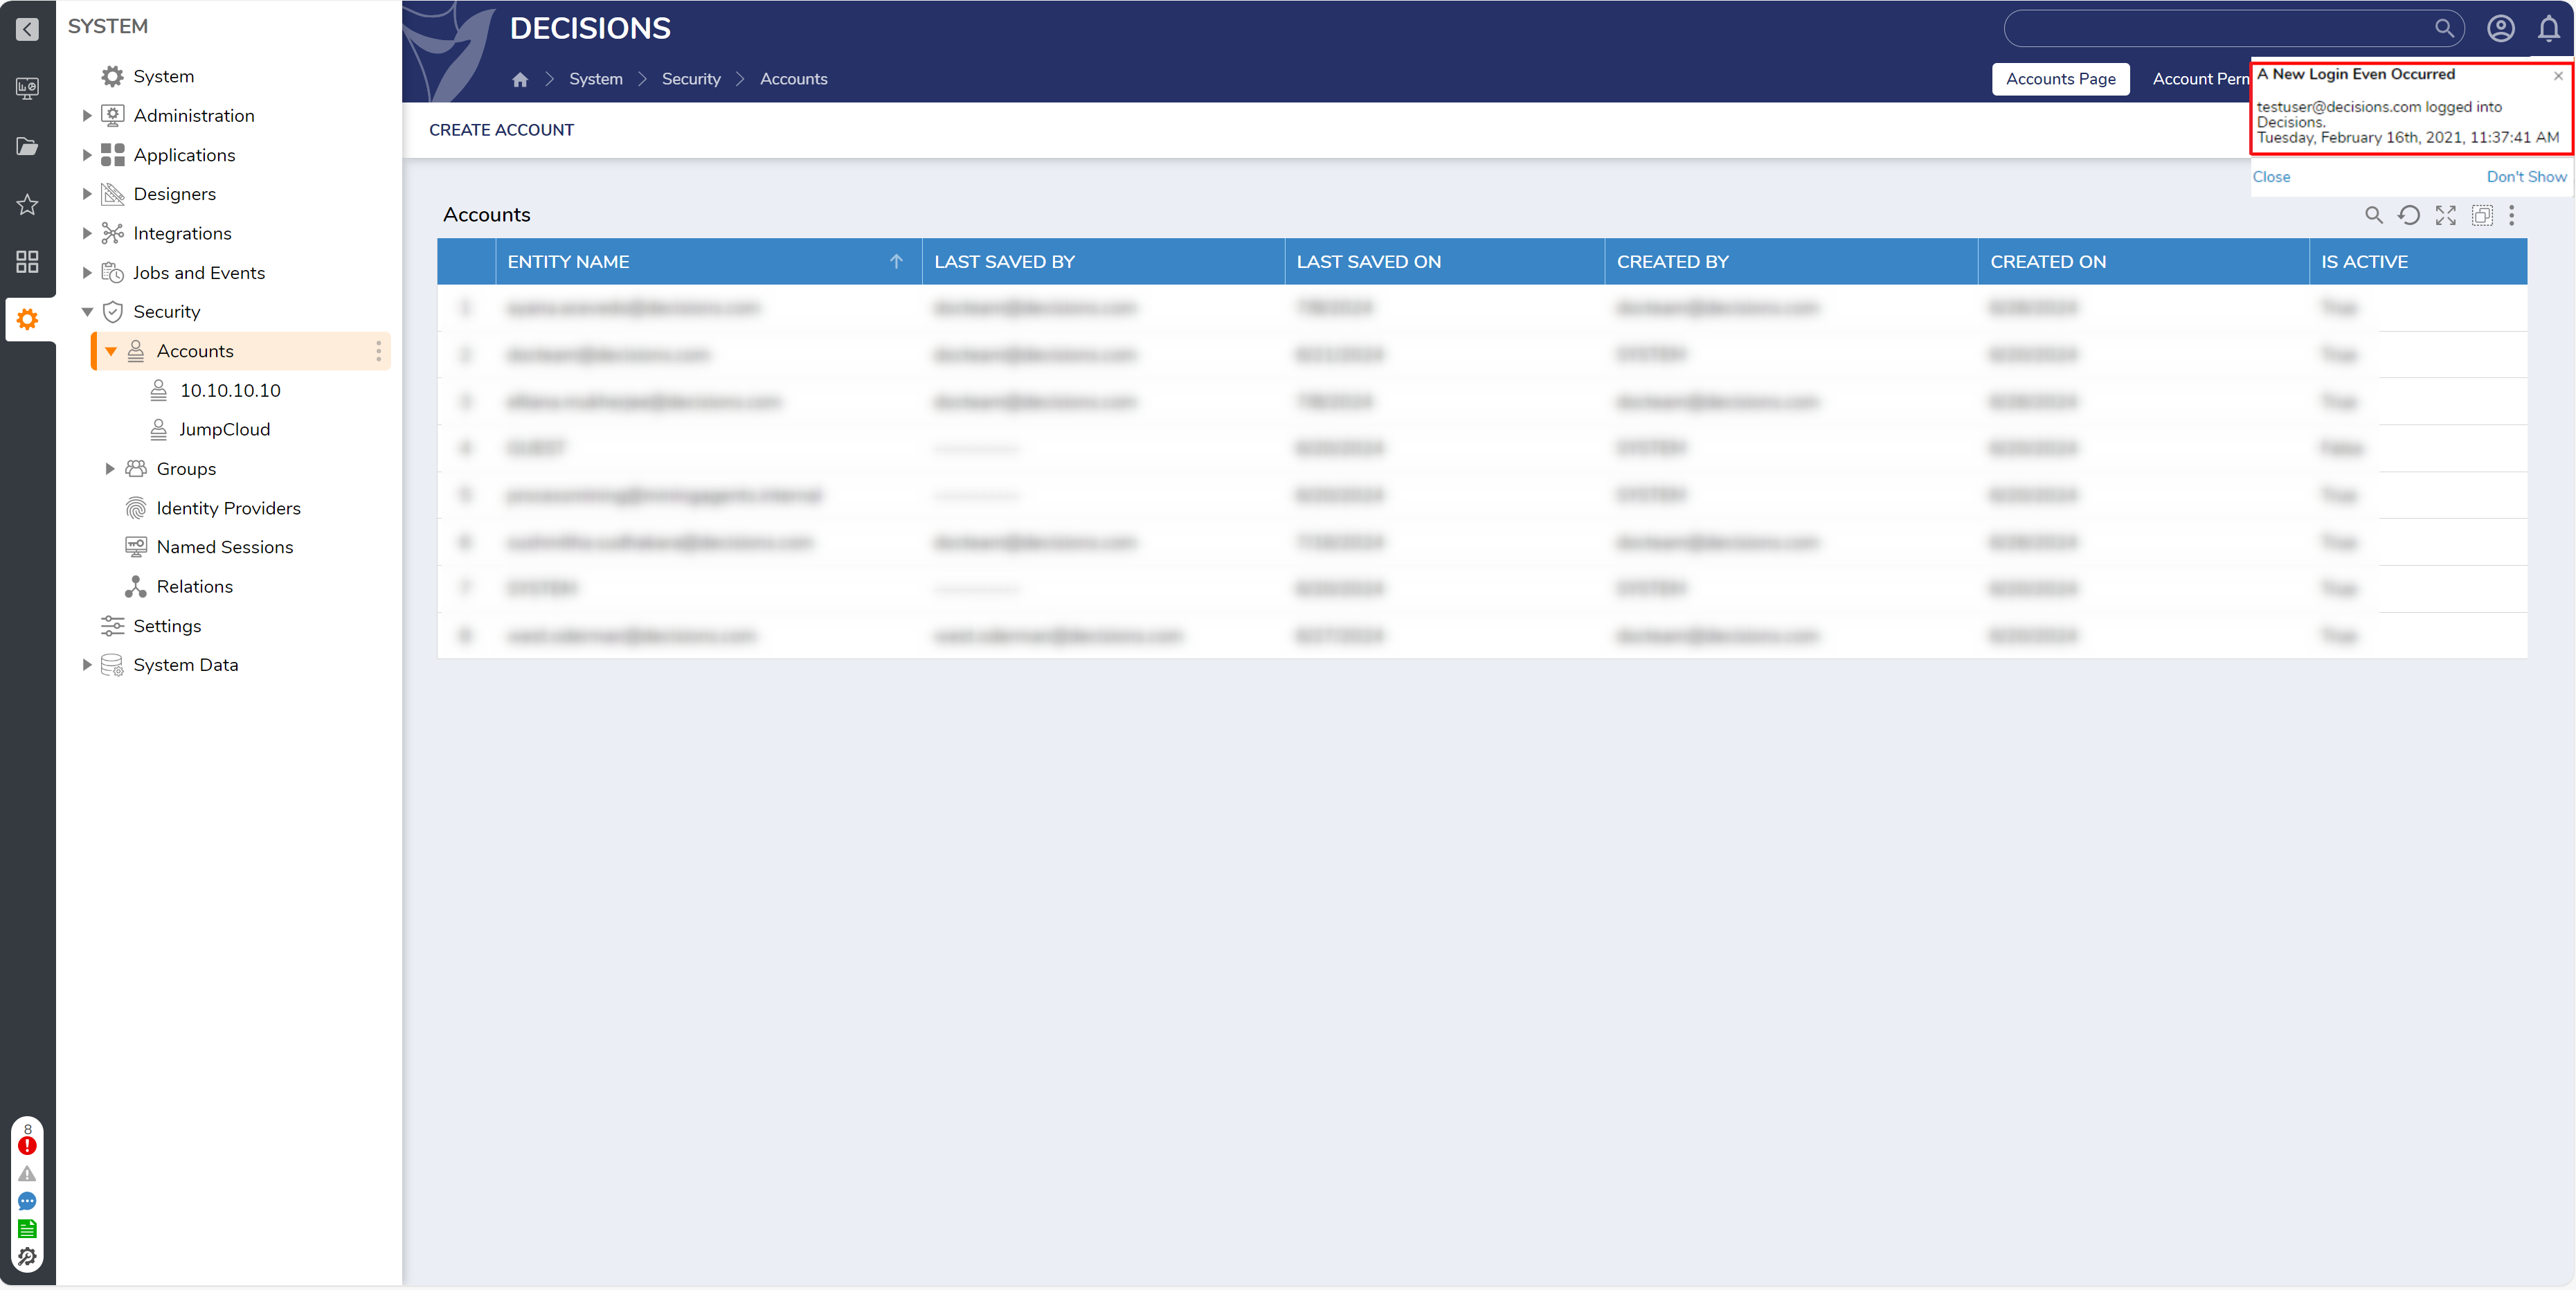
a Constant map the Subject "A New Login Event Occurred."
b Toggle the Specify User box and PICK the desired Account under Notify Account.
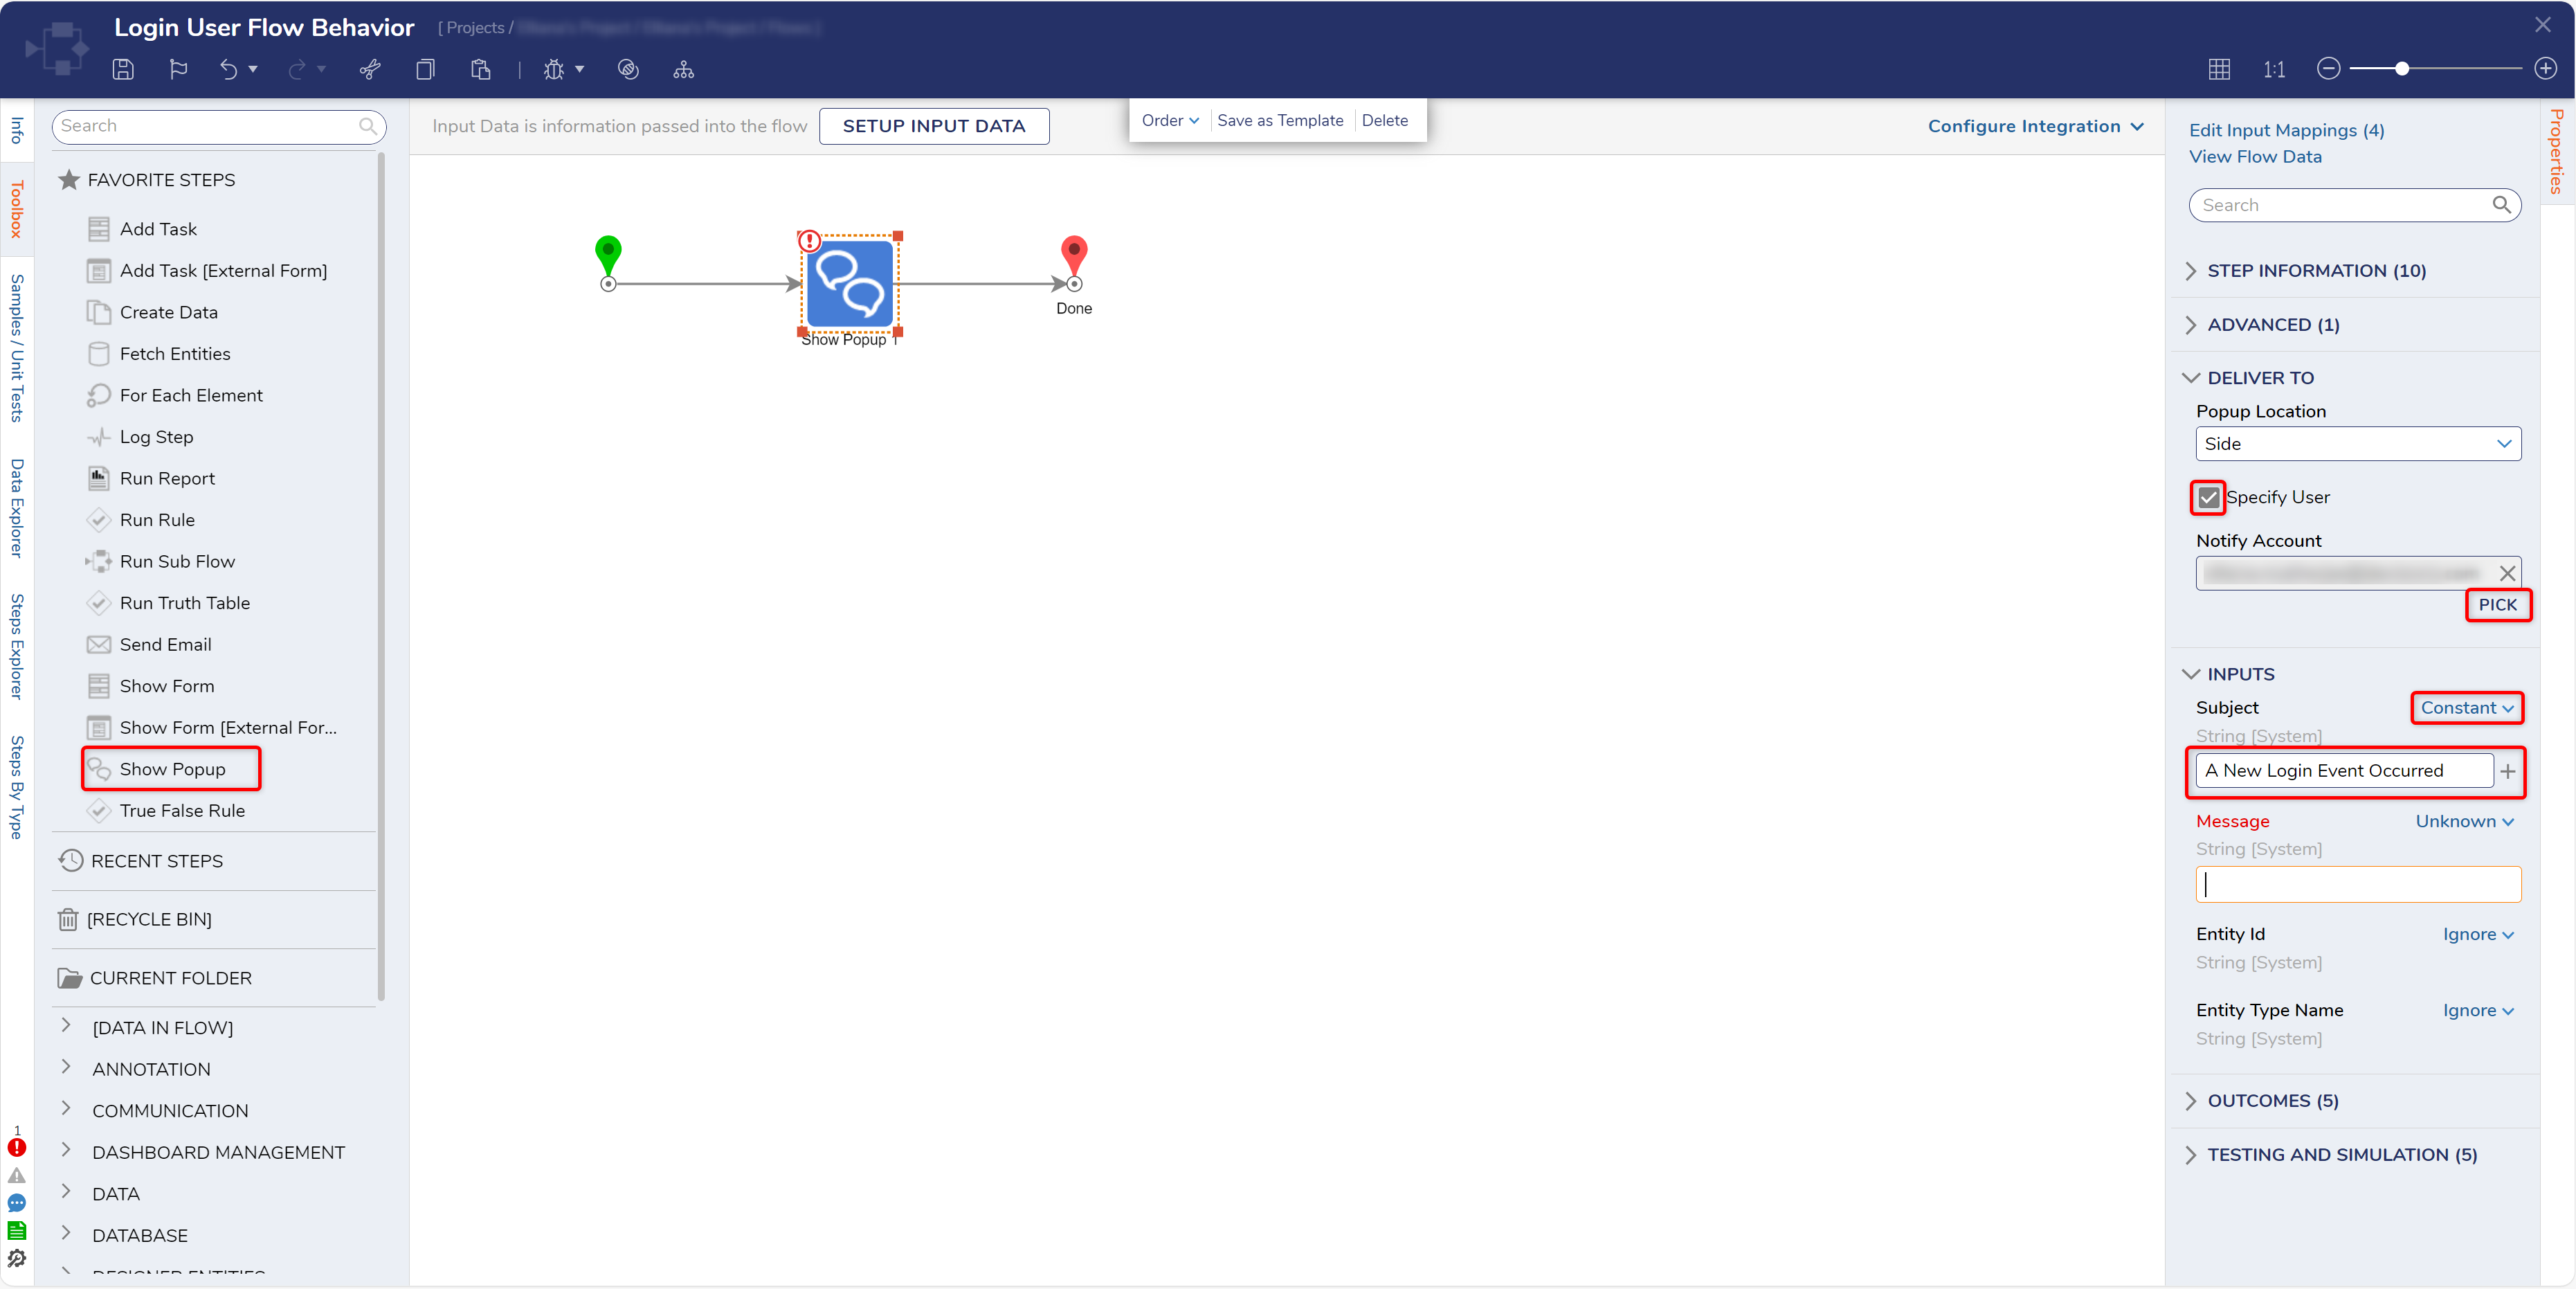
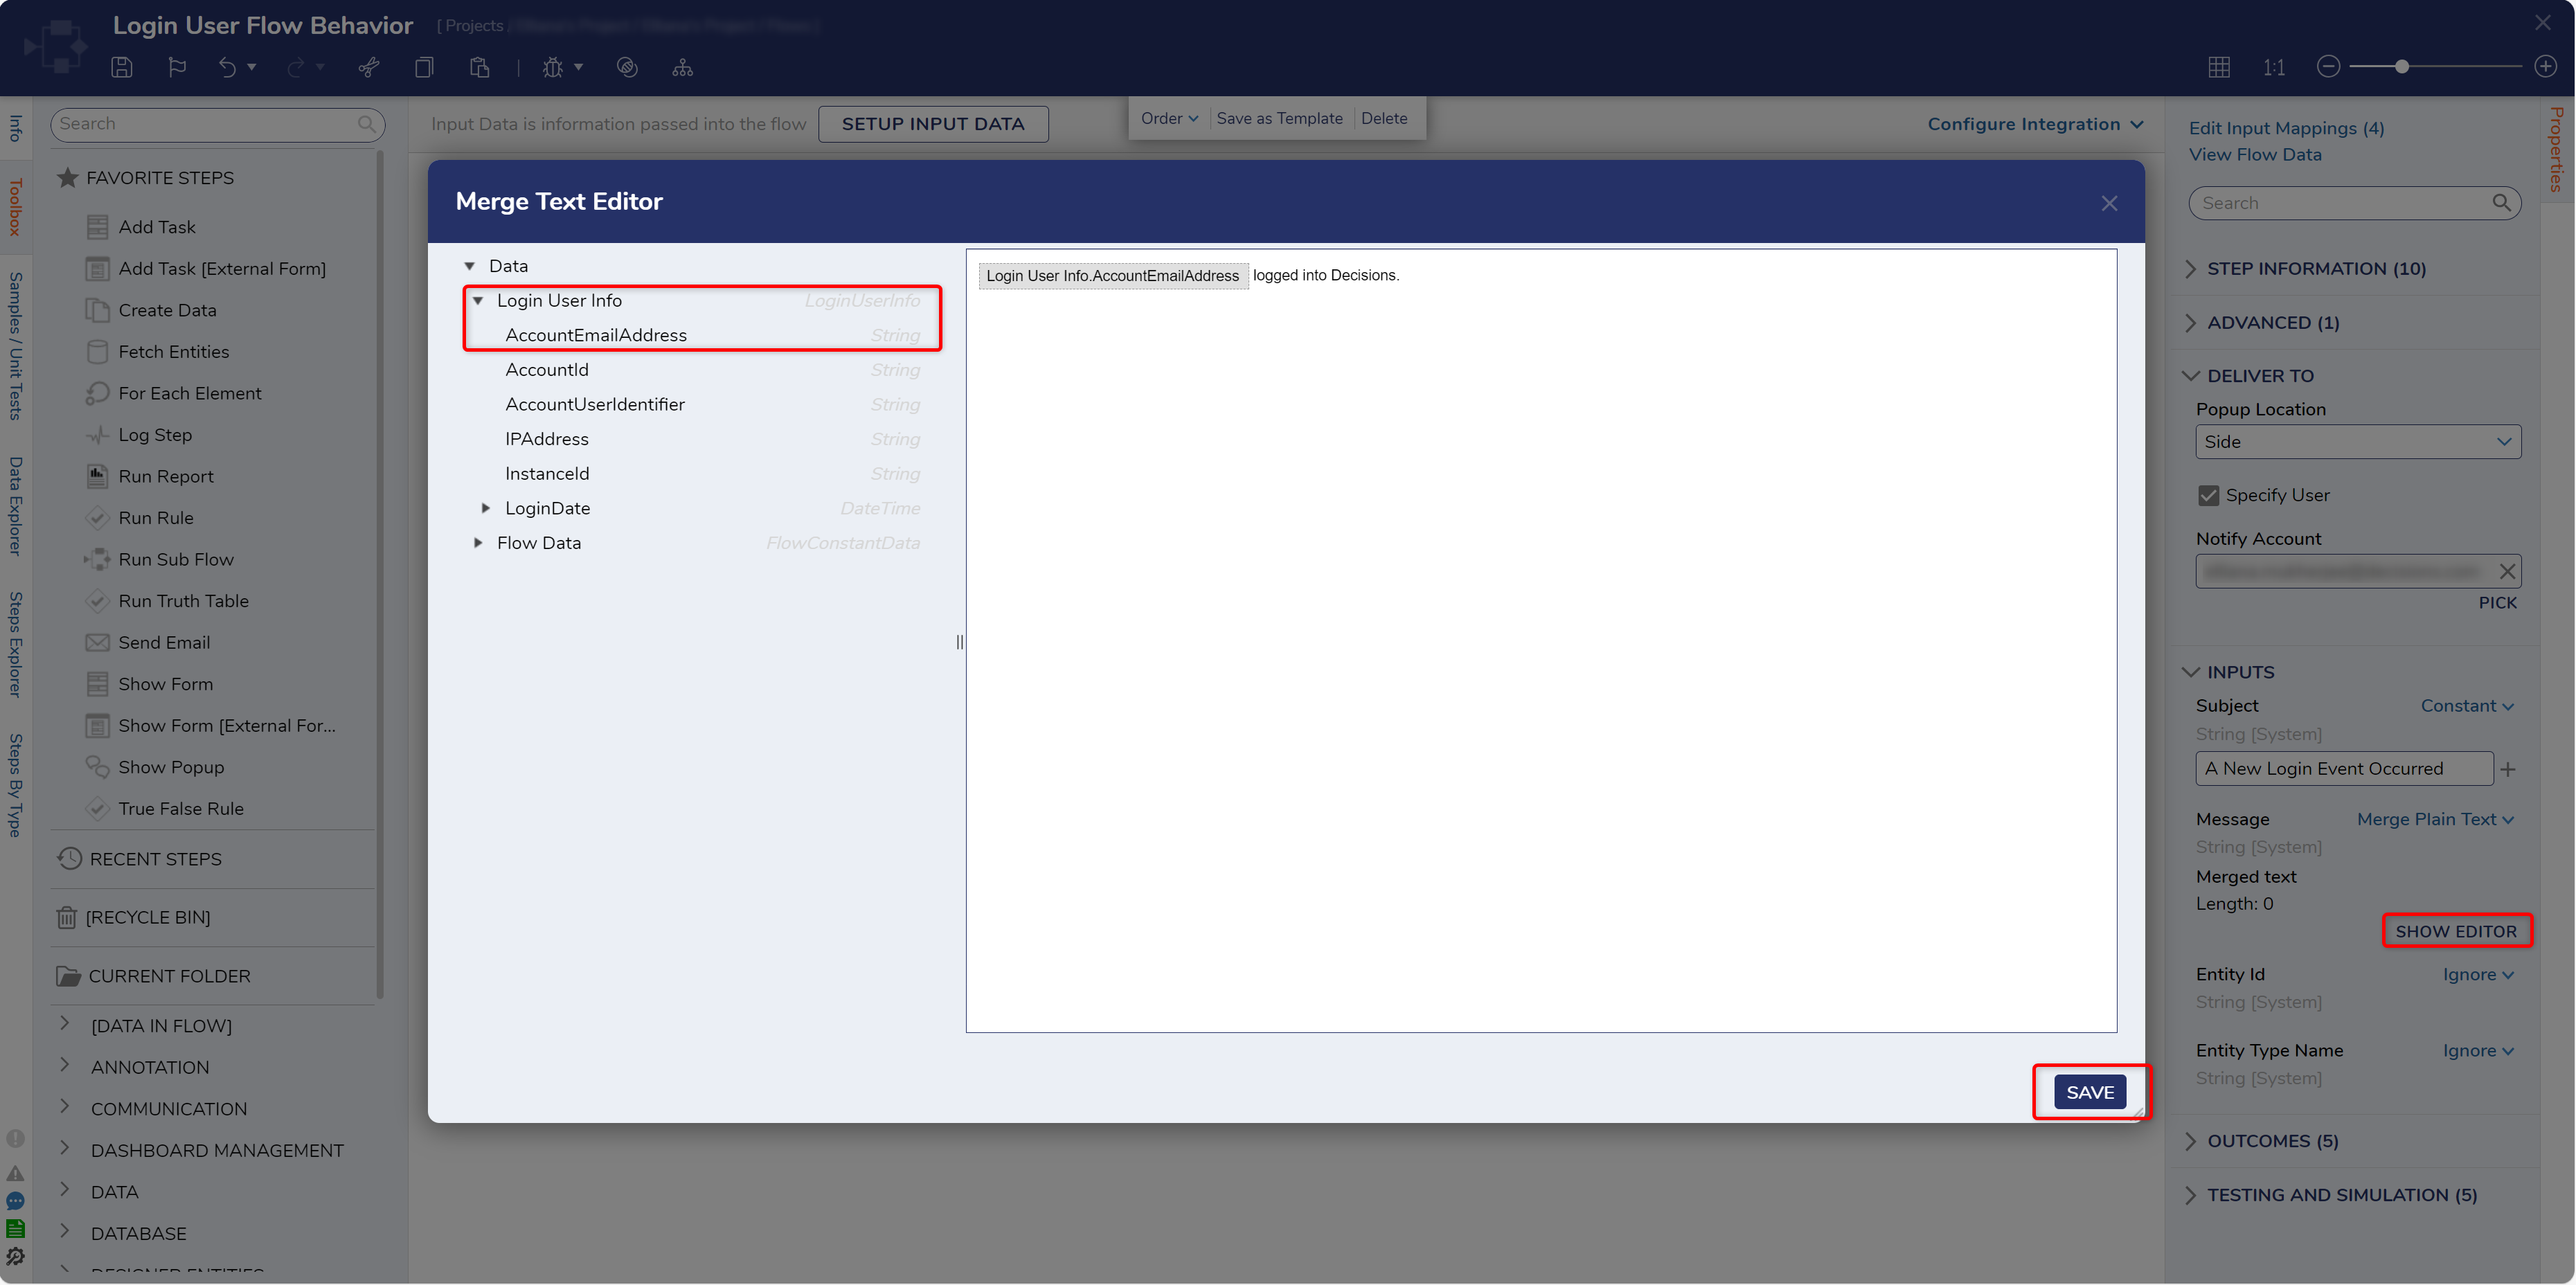
c Change the mapping for Message to Merge Plain Text, then click SHOW EDITOR.
d Define the Message in the Merge Text Editor as "Login User Info .AccoutEmailAddress logged into Decisions." by selecting and adding the corresponding Data from the left. Then, click SAVE.
e Save the Flow, the close with X.
Add Flow To Portal Settings
1 From the Designer Studio, navigate to System > Settings > Portal Settings.
2 From the Edit Portal Settings window, scroll to a navigate to LOGIN.
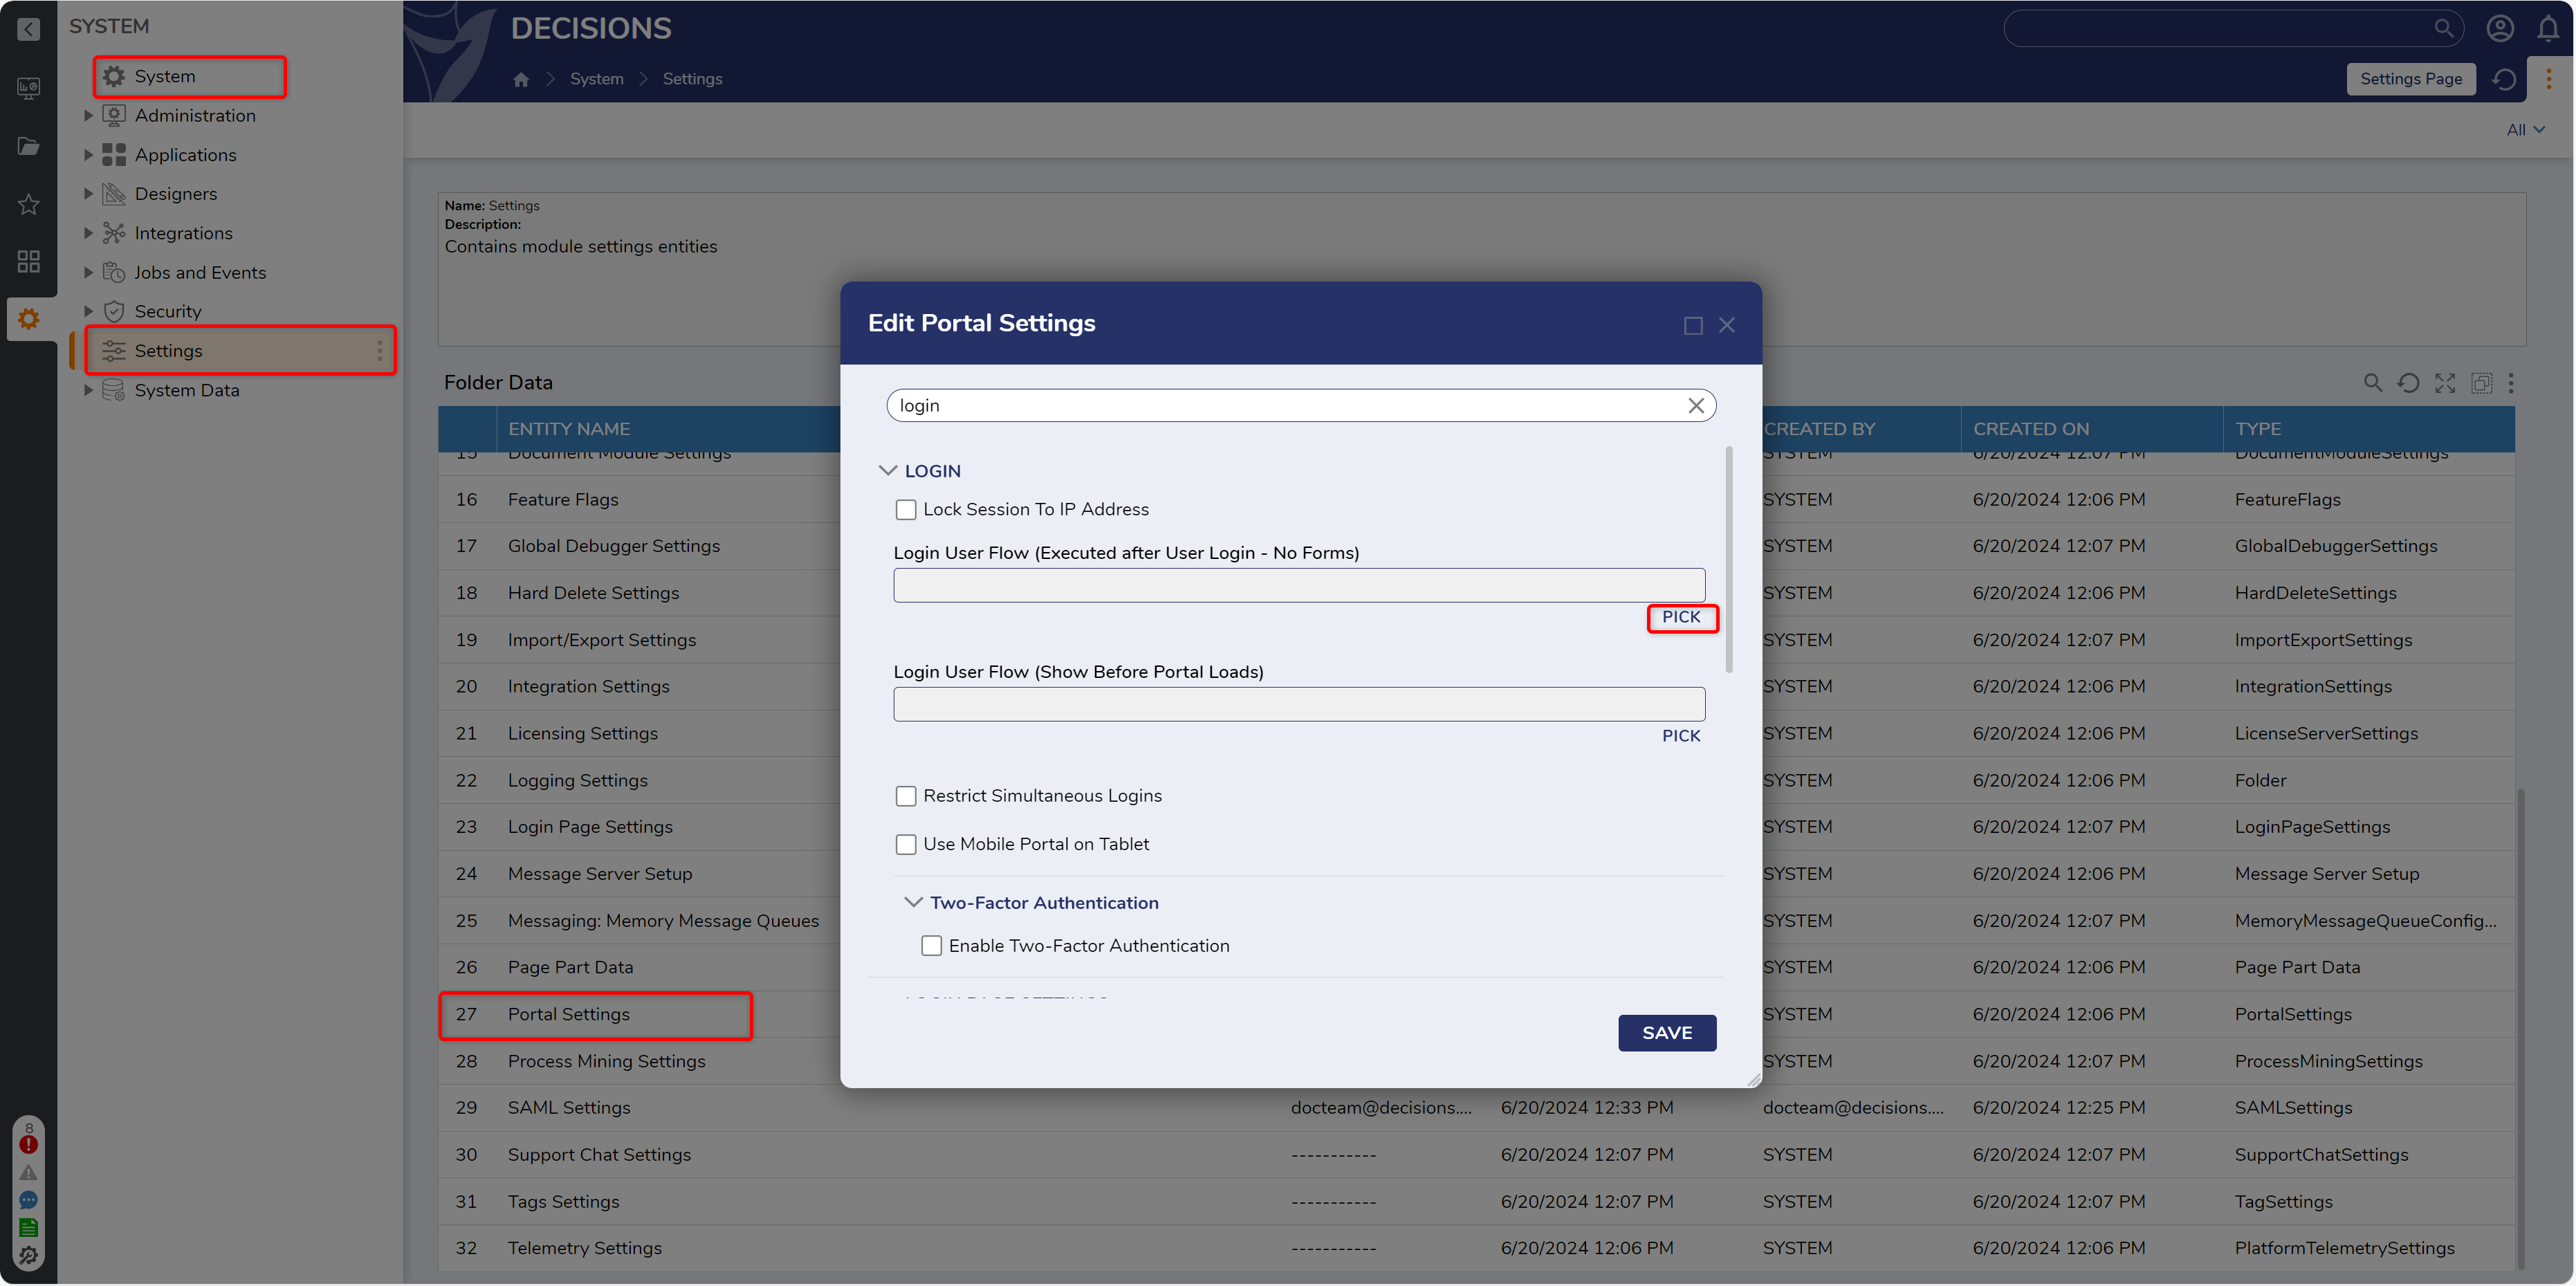
3 Under Login User Flow (Executed after User Login - No Forms), PICK the User Login Form from the previous example.

4 Click SAVE.
5 Open a Private browsing window and navigate to the Decisions environment; log in to a separate user account.
6 Click back to the initial Decisions instance and view the popup that occurs after login.
from: https://documentation.decisions.com/v9/docs/login-user-flow-behavior