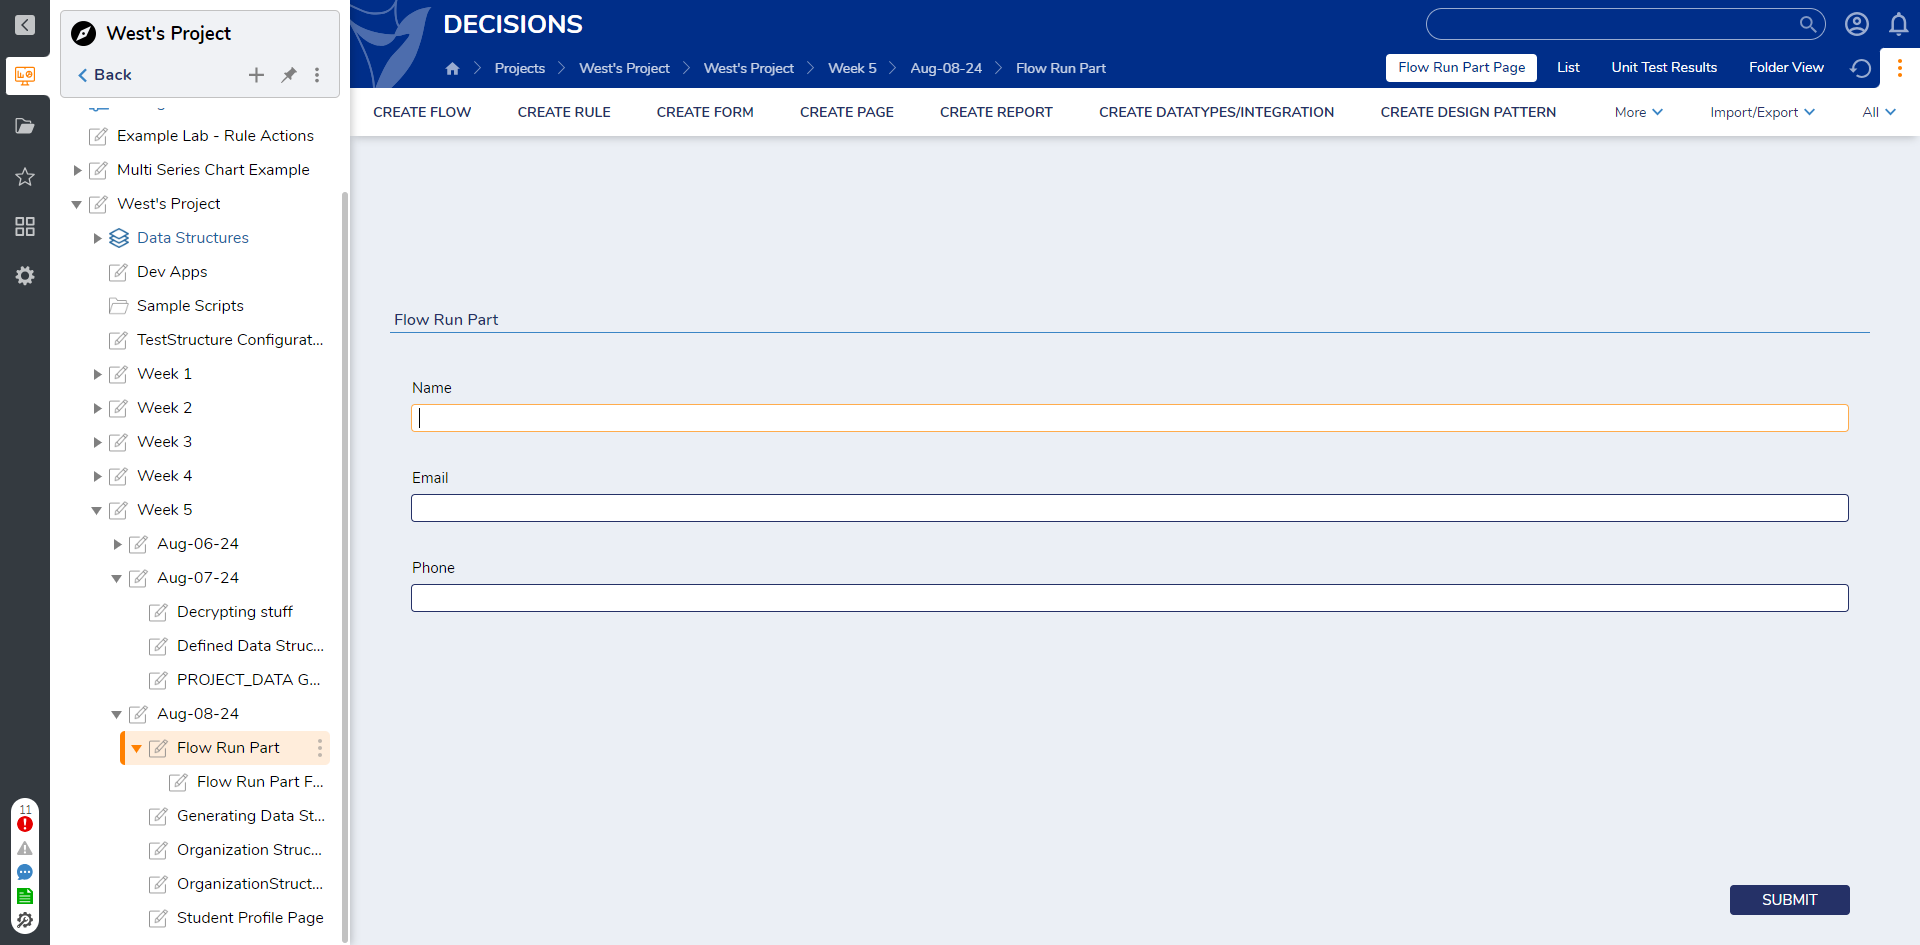
Flow Run Part
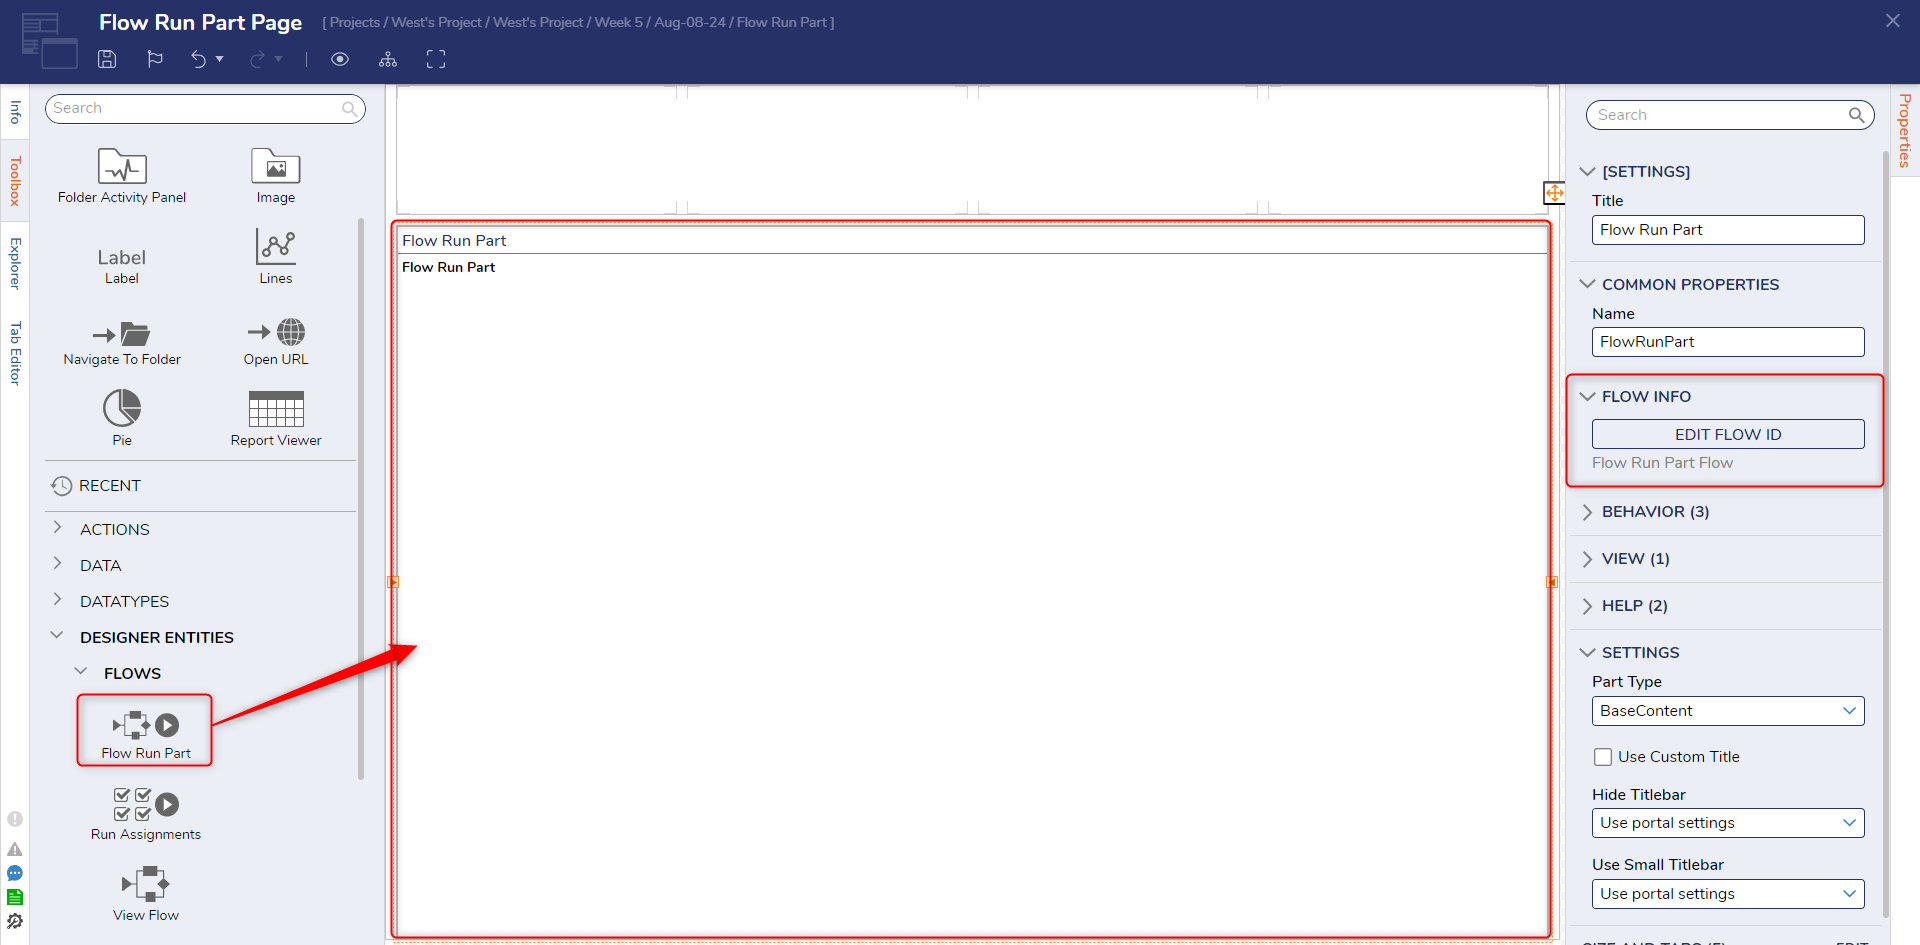
1 From a new or preexisting Page. expand DESIGNER ENTITIES > FLOWS in the Toolbox.
Drag a Flow Run Part control into the workspace.
2 With the Flow Run Part selected, expand the FLOW INFO section in the Properties and select the PICK FLOW ID button.
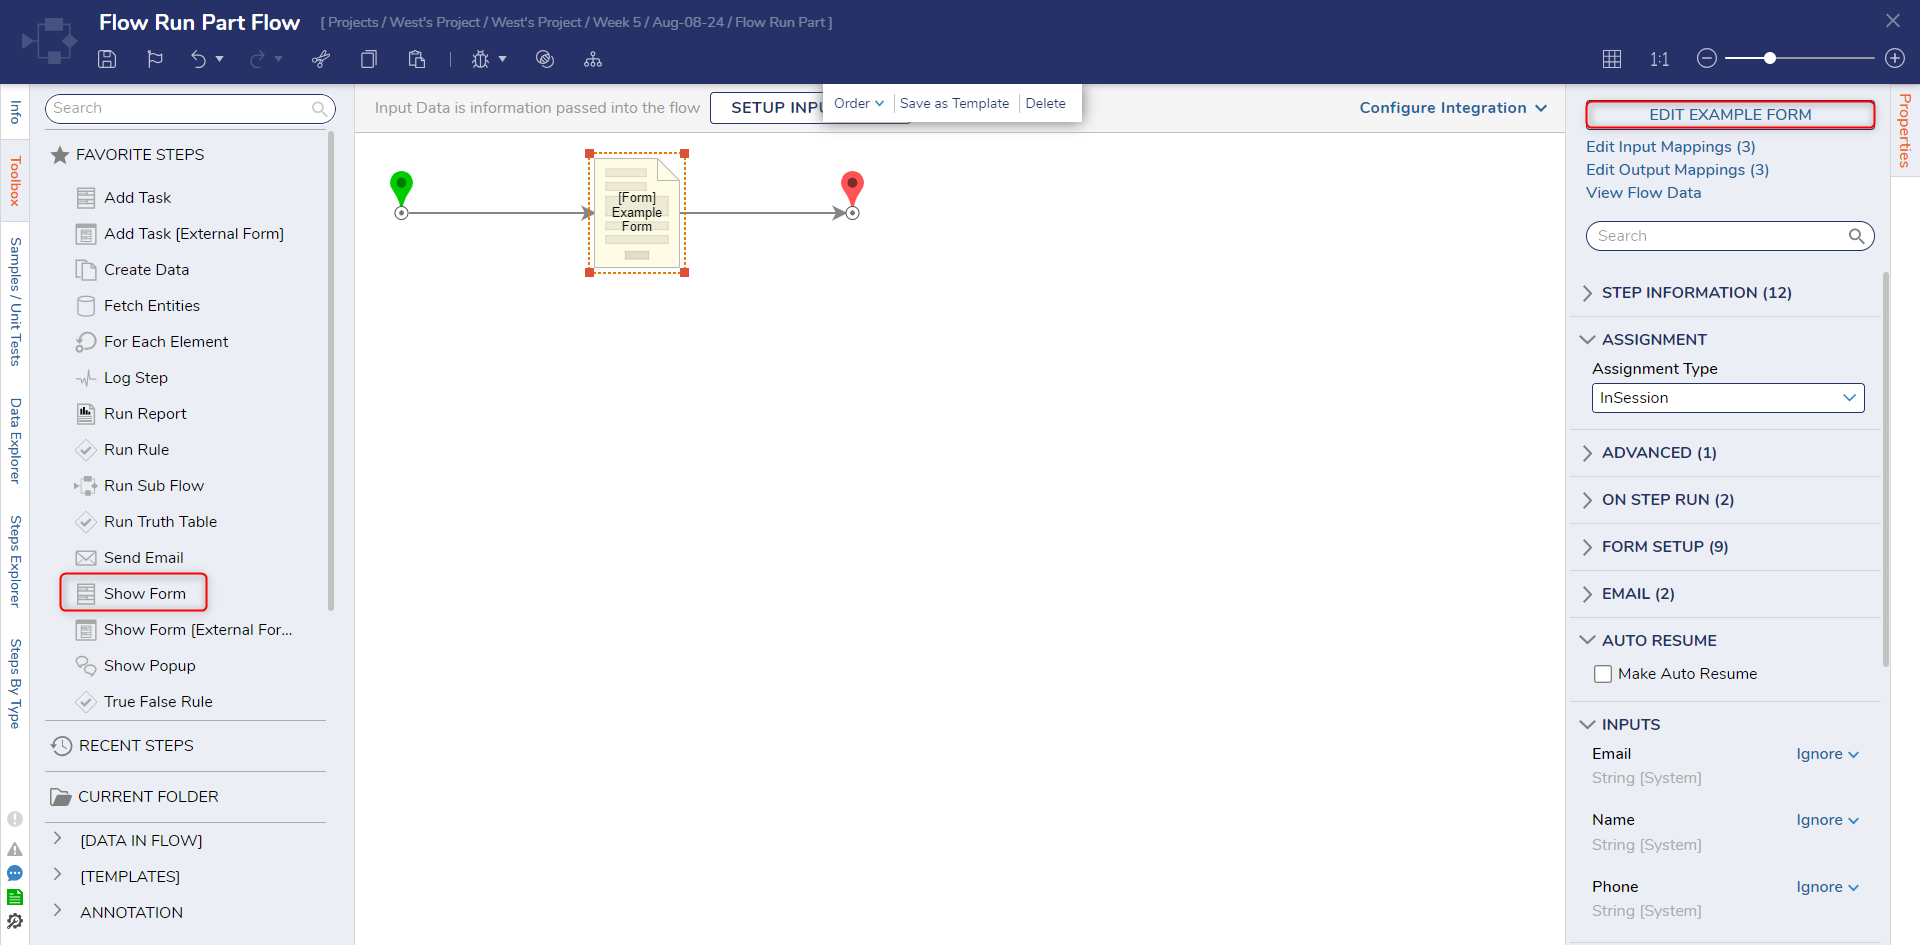
3 Pick or create a new Flow. Then, from the Flow Designer, attach a Show Form step from the Toolbox > FAVORITE STEPS to the Start step.
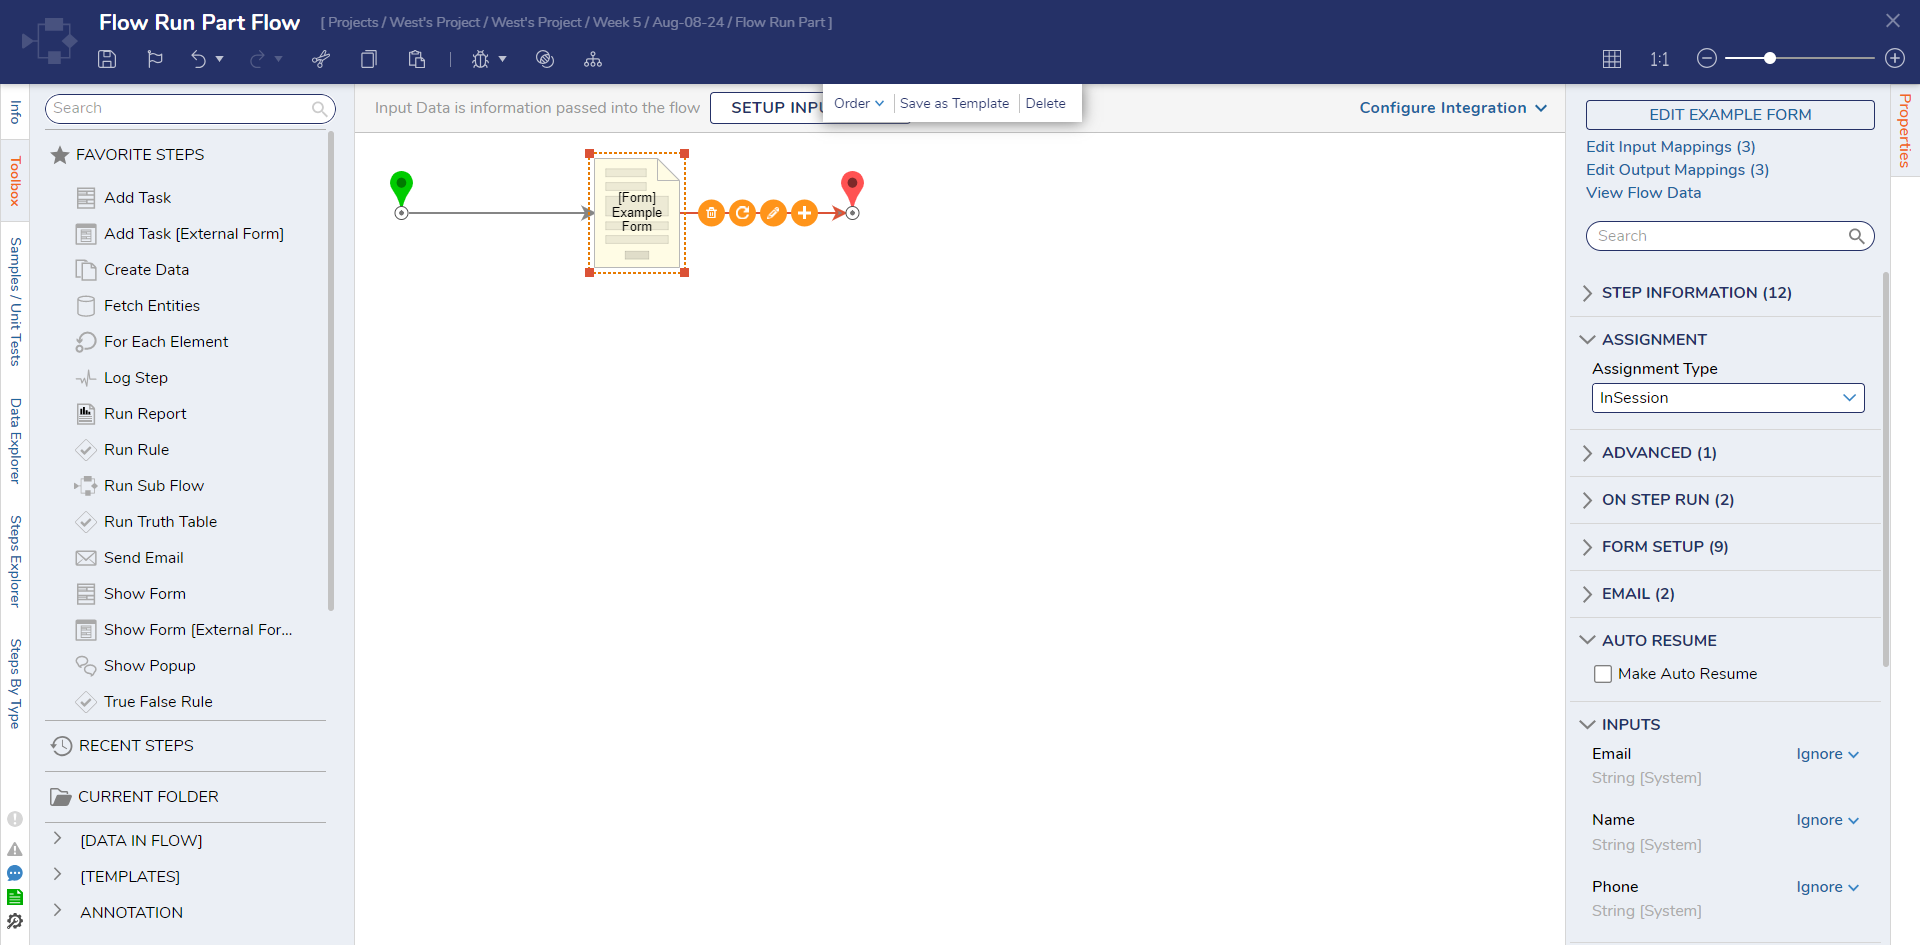
4 After the Form has been configured, attach it to the End step. Then, Save and close the Flow Designer.
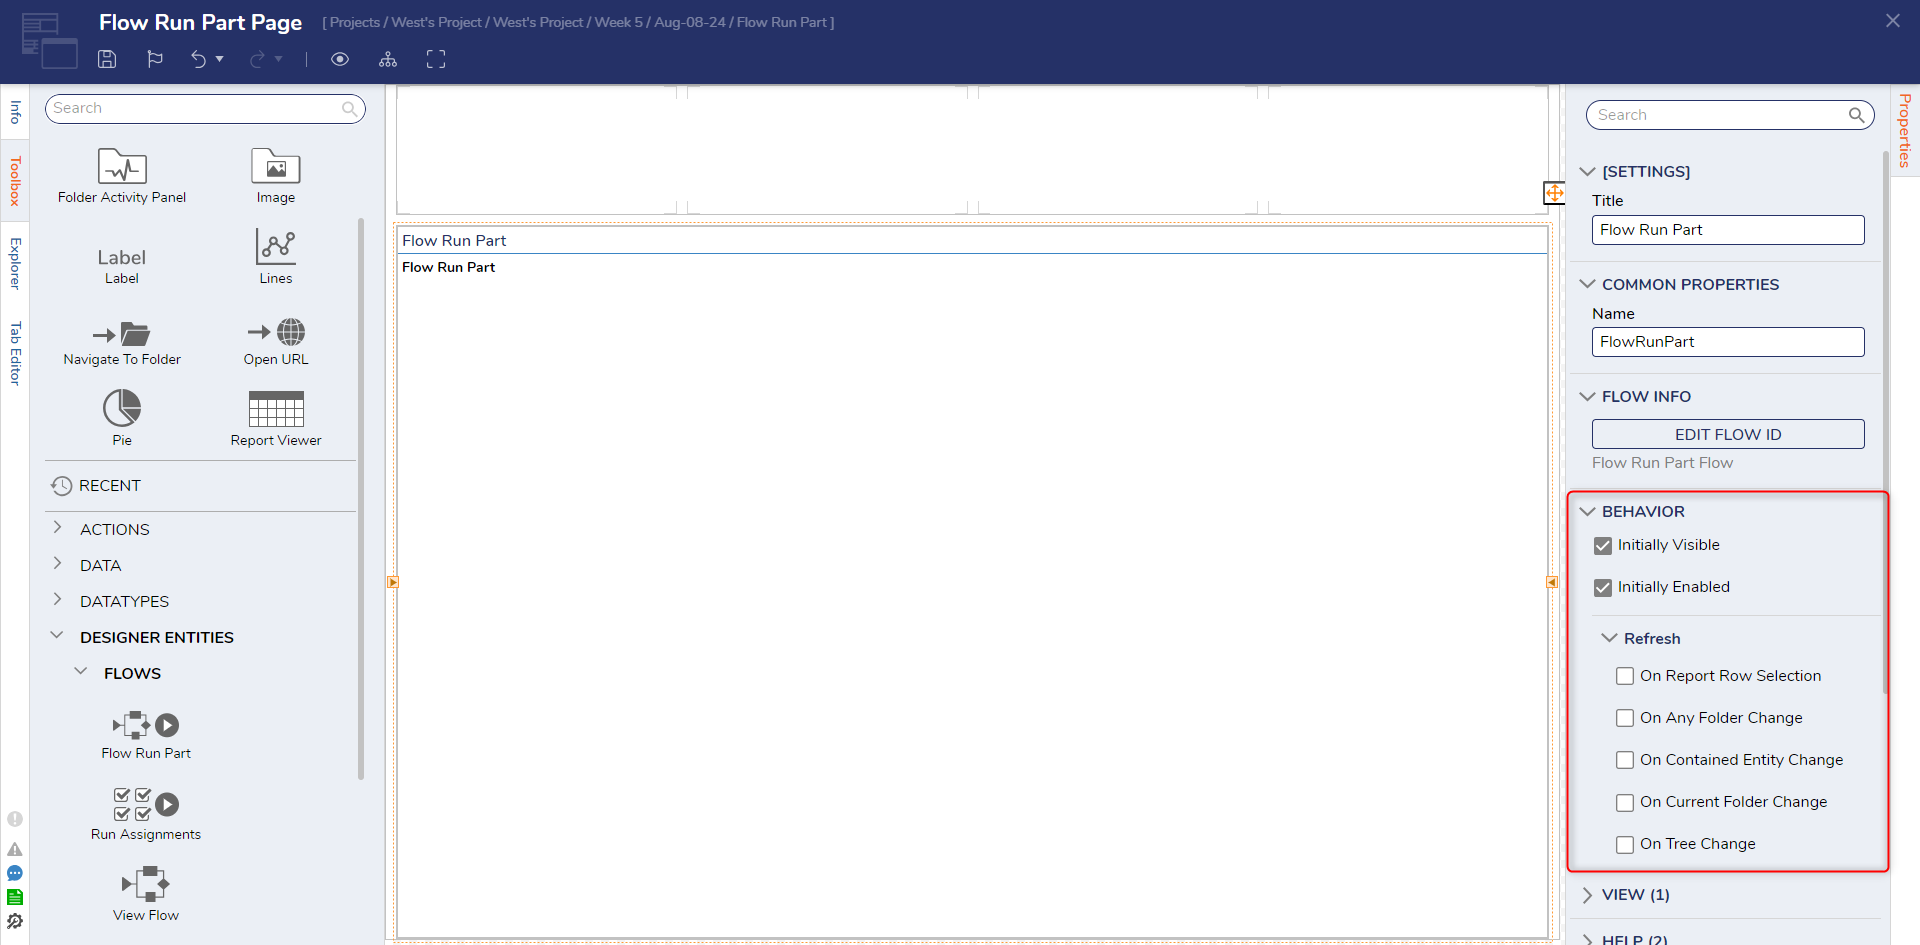
5 Back in the Page Designer, if desired, navigate to Properties > BEHAVIOR > Refresh to define Refresh behaviors.
6 Attach the Page to a Folder in the Decisions Studio; then navigate to the Page by selecting the respective tab from the top of the screen.
from: https://documentation.decisions.com/v9/docs/flow-run-part
