Adding Custom HTTP Headers to an IIS Installation
Example A: IIS Manager
To add custom HTTP Headers to an IIS Installation via IIS Manager:
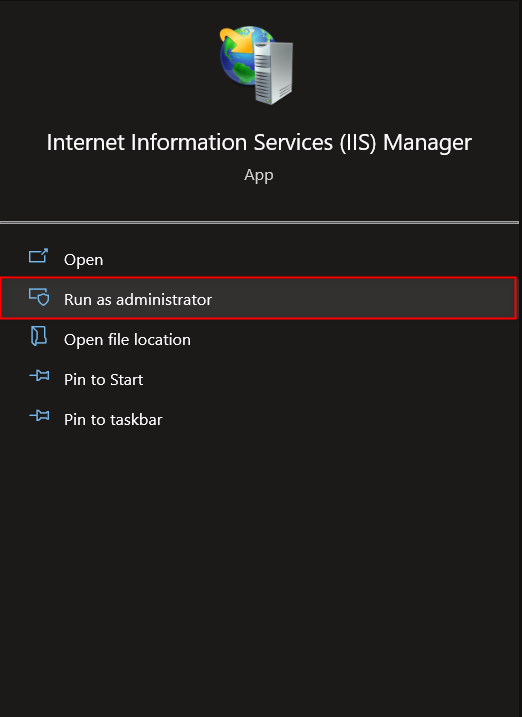
1 From the Local File System, open Internet Information Services (IIS) Manager by locating it and selecting Run as administrator.
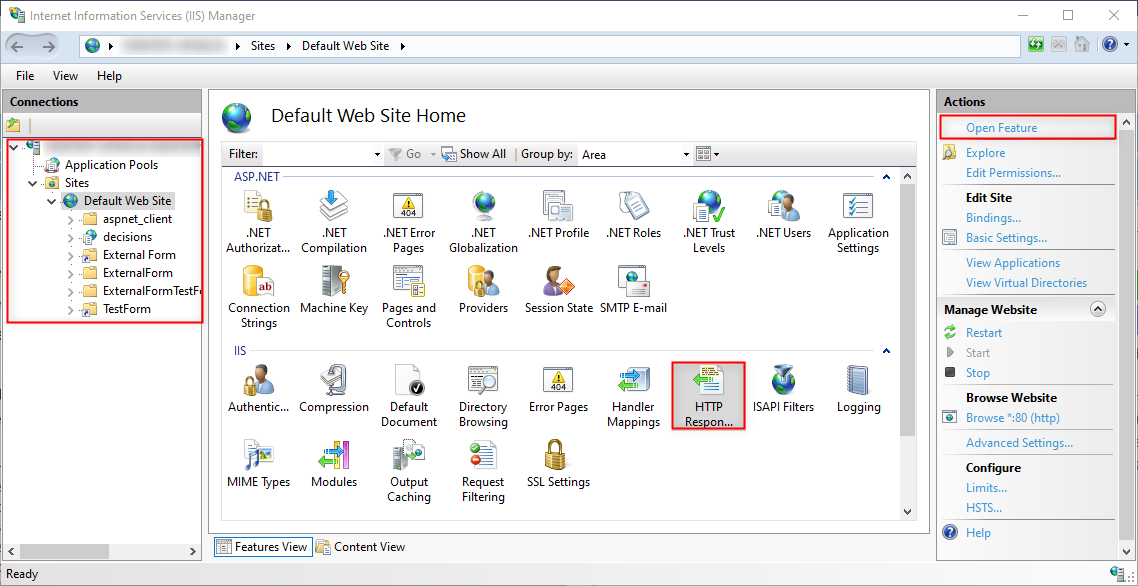
2 Navigate to the IIS Installation via the Connections Tree on the left. Then under the IIS category, select HTTP Response Headers and click Open Feature.
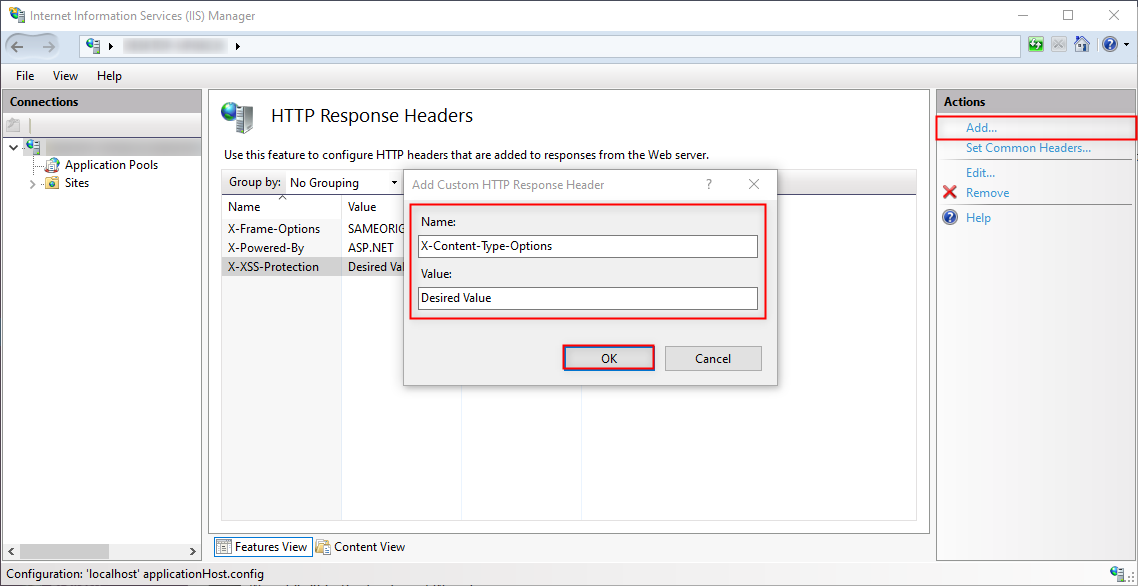
3 From the HTTP Response Headers page, from the Actions menu on the right, select Add...\
4 From the Add Custom HTTP Response Header window, provide a Name and desired Value for one of the Headers below, then click OK. Repeat this process for each desired Header.
5 Restart the Decisions environment.
Example B: web.config
To add custom HTTP Headers in an IIS installation via web.config:
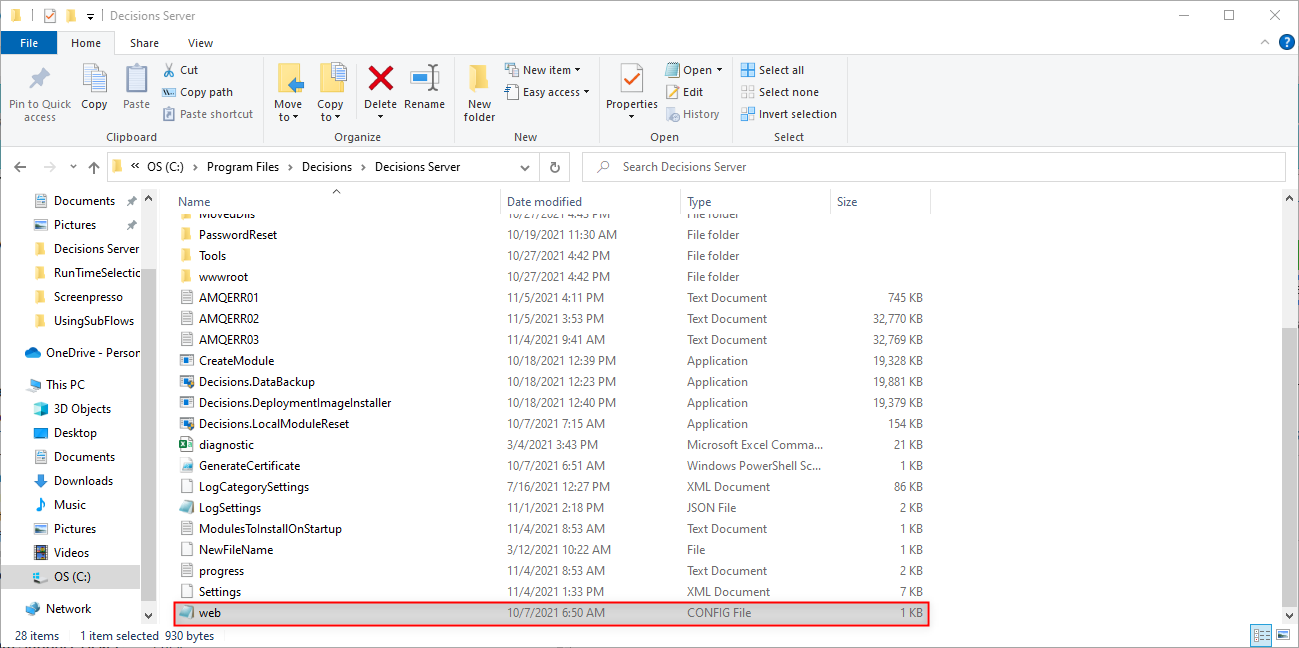
1 From the Local File System, navigate to C:\Program Files\Decisions\Decisions Server.
2 Open web.config in a Text Editor.
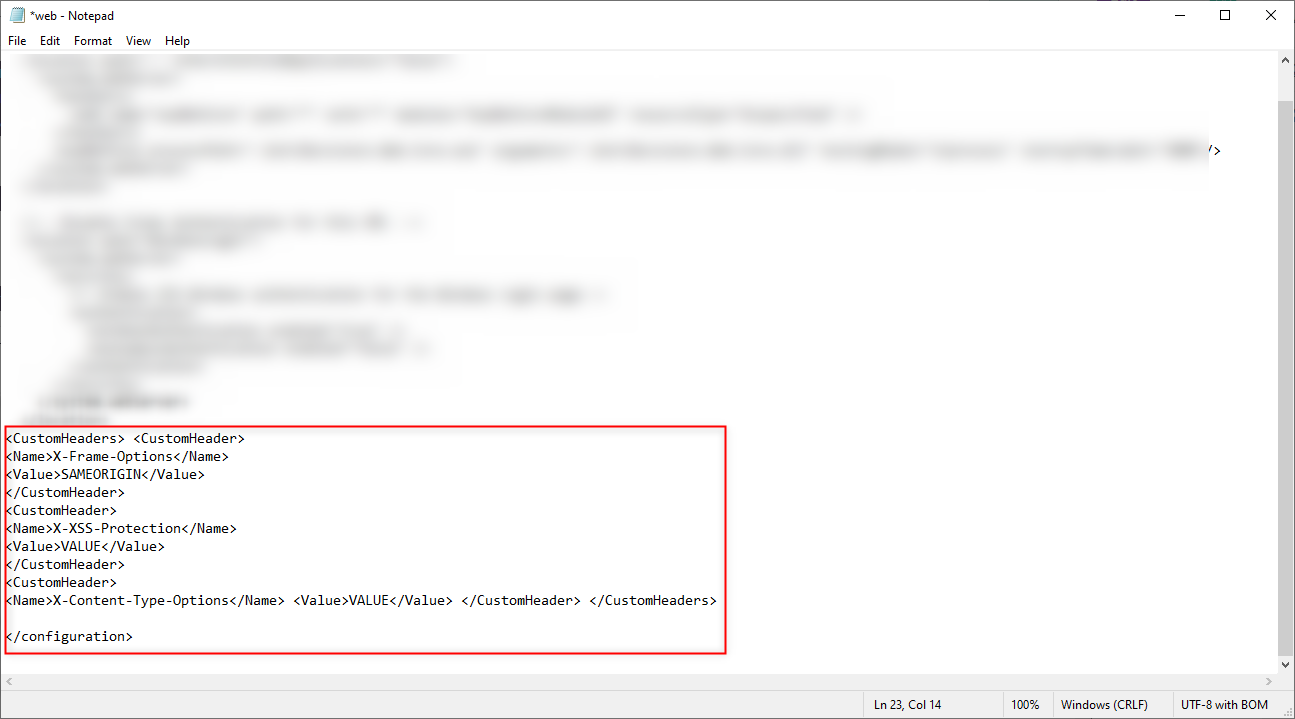
3 Before the closing </configuration> tag, add the following codeblock.
PowerShell
<CustomHeaders> <CustomHeader>
<Name>X-Frame-Options</Name>
<Value>SAMEORIGIN</Value>
</CustomHeader>
<CustomHeader>
<Name>X-XSS-Protection</Name>
<Value>VALUE</Value>
</CustomHeader>
<CustomHeader>
<Name>X-Content-Type-Options</Name> <Value>VALUE</Value> </CustomHeader> </CustomHeaders>
4 Save and close the web.config file.
5 Restart the Decisions environment.
from: https://documentation.decisions.com/v9/docs/adding-custom-http-headers-to-an-iis-installation
