Adding Custom Headers to a Decisions Installation

To add custom HTTP Headers to a Self-Hosted or IIS Installation:
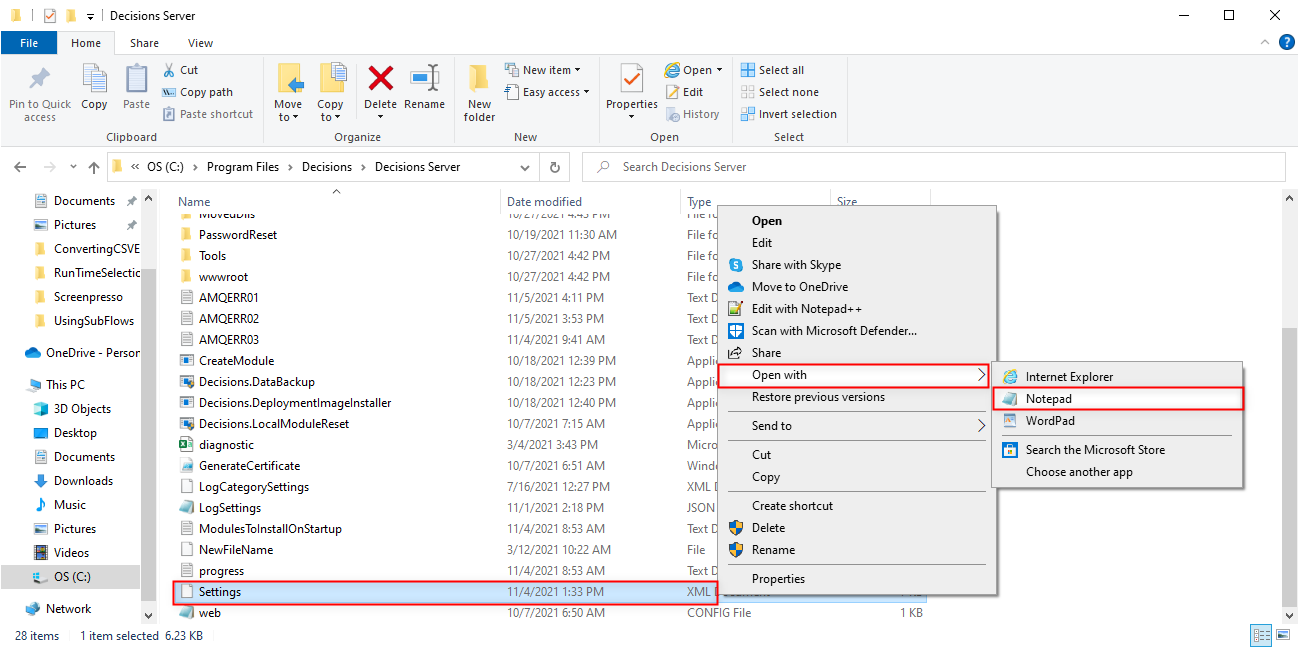
1 From the Local File System, navigate to C:\Program Files\Decisions\Decisions Server.
2 Open Settings.xml with the desired Text Editor.
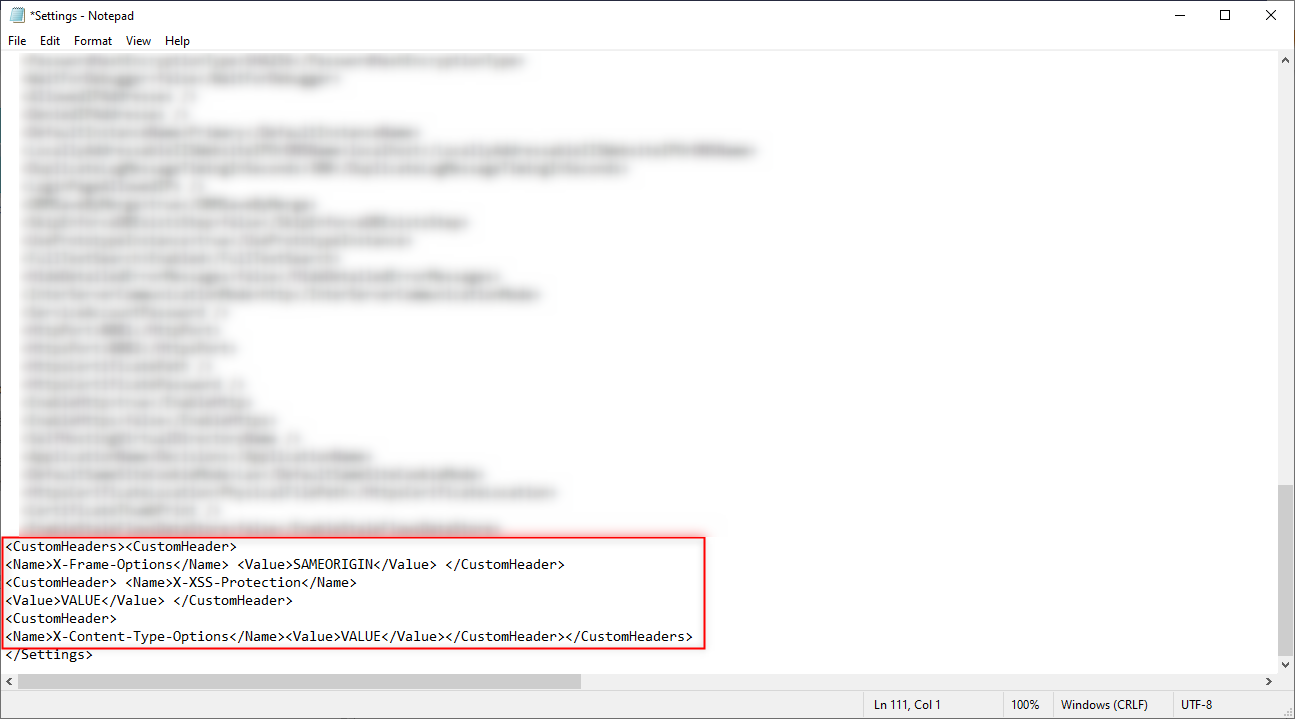
3 Before the closing </Settings>tag, add the following code snippet:
PowerShell
<CustomHeaders><CustomHeader>
<Name>X-Frame-Options</Name>
<Value>SAMEORIGIN</Value>
</CustomHeader>
<CustomHeader>
<Name>X-XSS-Protection</Name>
<Value>VALUE</Value>
</CustomHeader>
<CustomHeader>
<Name>X-Content-Type-Options</Name> <Value>VALUE</Value> </CustomHeader> </CustomHeaders>
4 Save and close the Settings file.
5 Restart the Decisions environment.
from: https://documentation.decisions.com/v9/docs/adding-custom-http-headers-to-a-self-hosted-installation
0