Creating a Rule Table

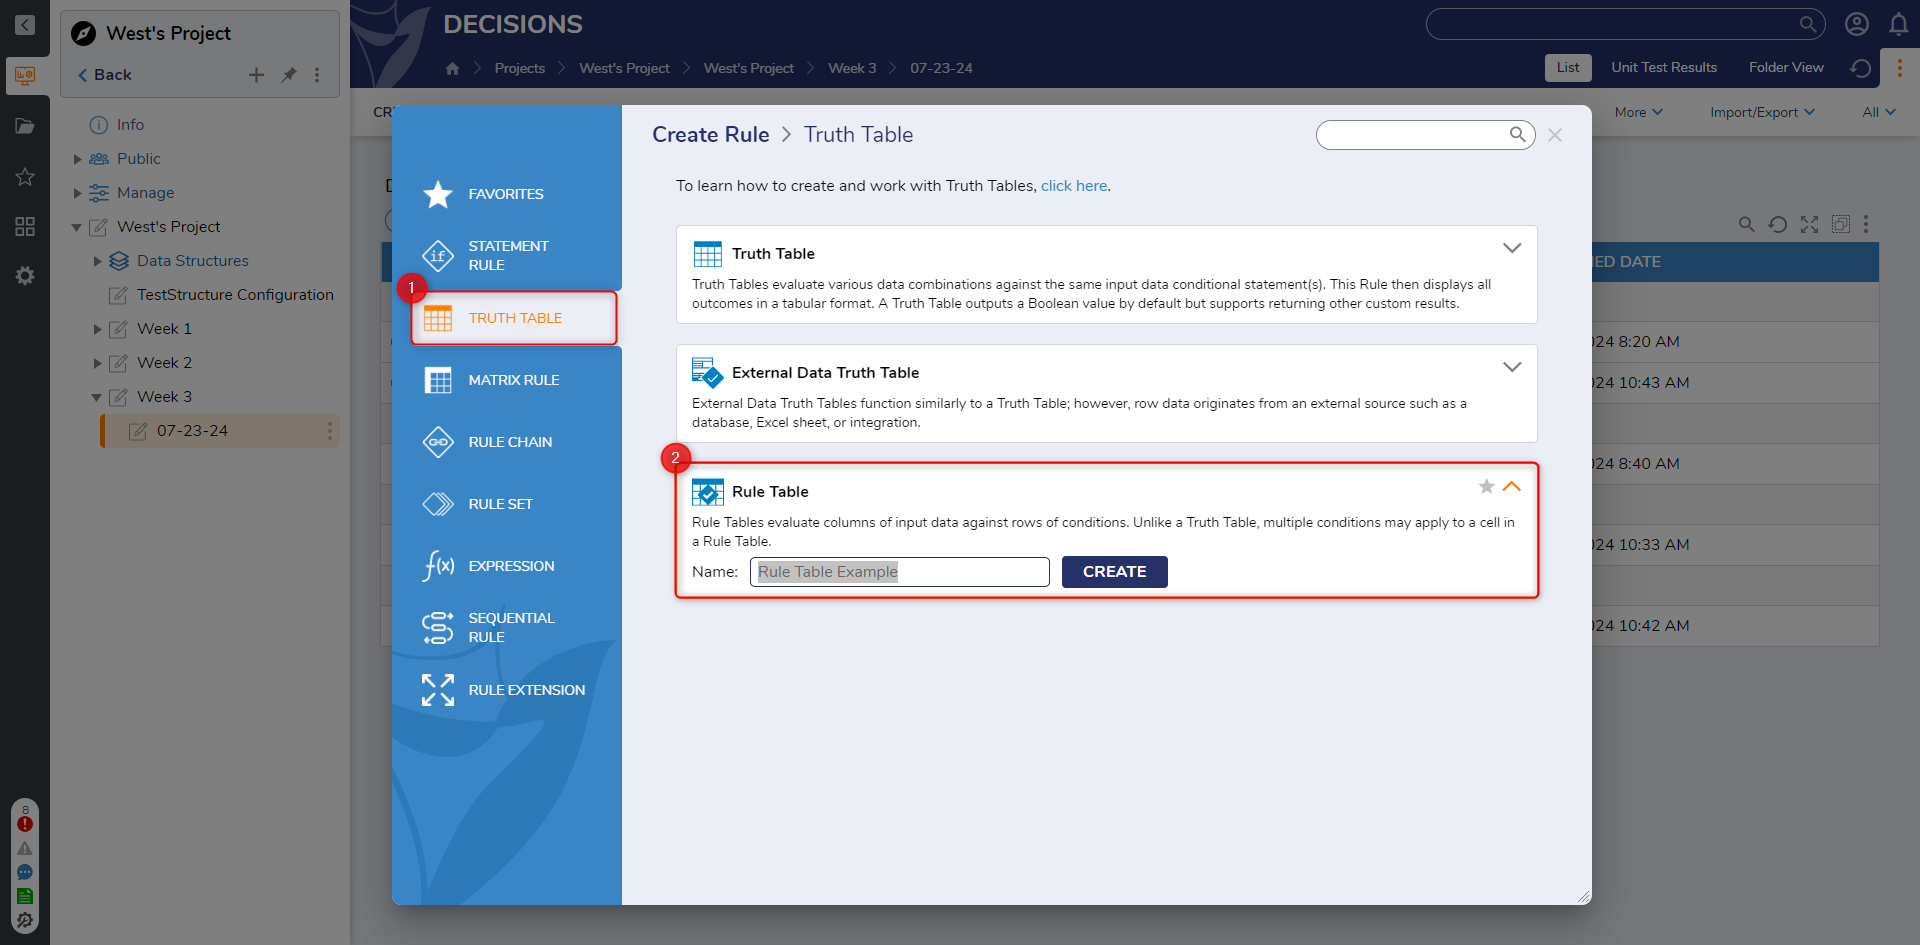
1 From a Designer Project, select the CREATE RULE button from the top Action Bar.
2 When the Element Gallery appears, open the Truth Table section and then select, name, and create a Rule Table.
3 In the Rule Table Designer, select the SETUP INPUT DATA to configure the data that this rule is expecting to receive.
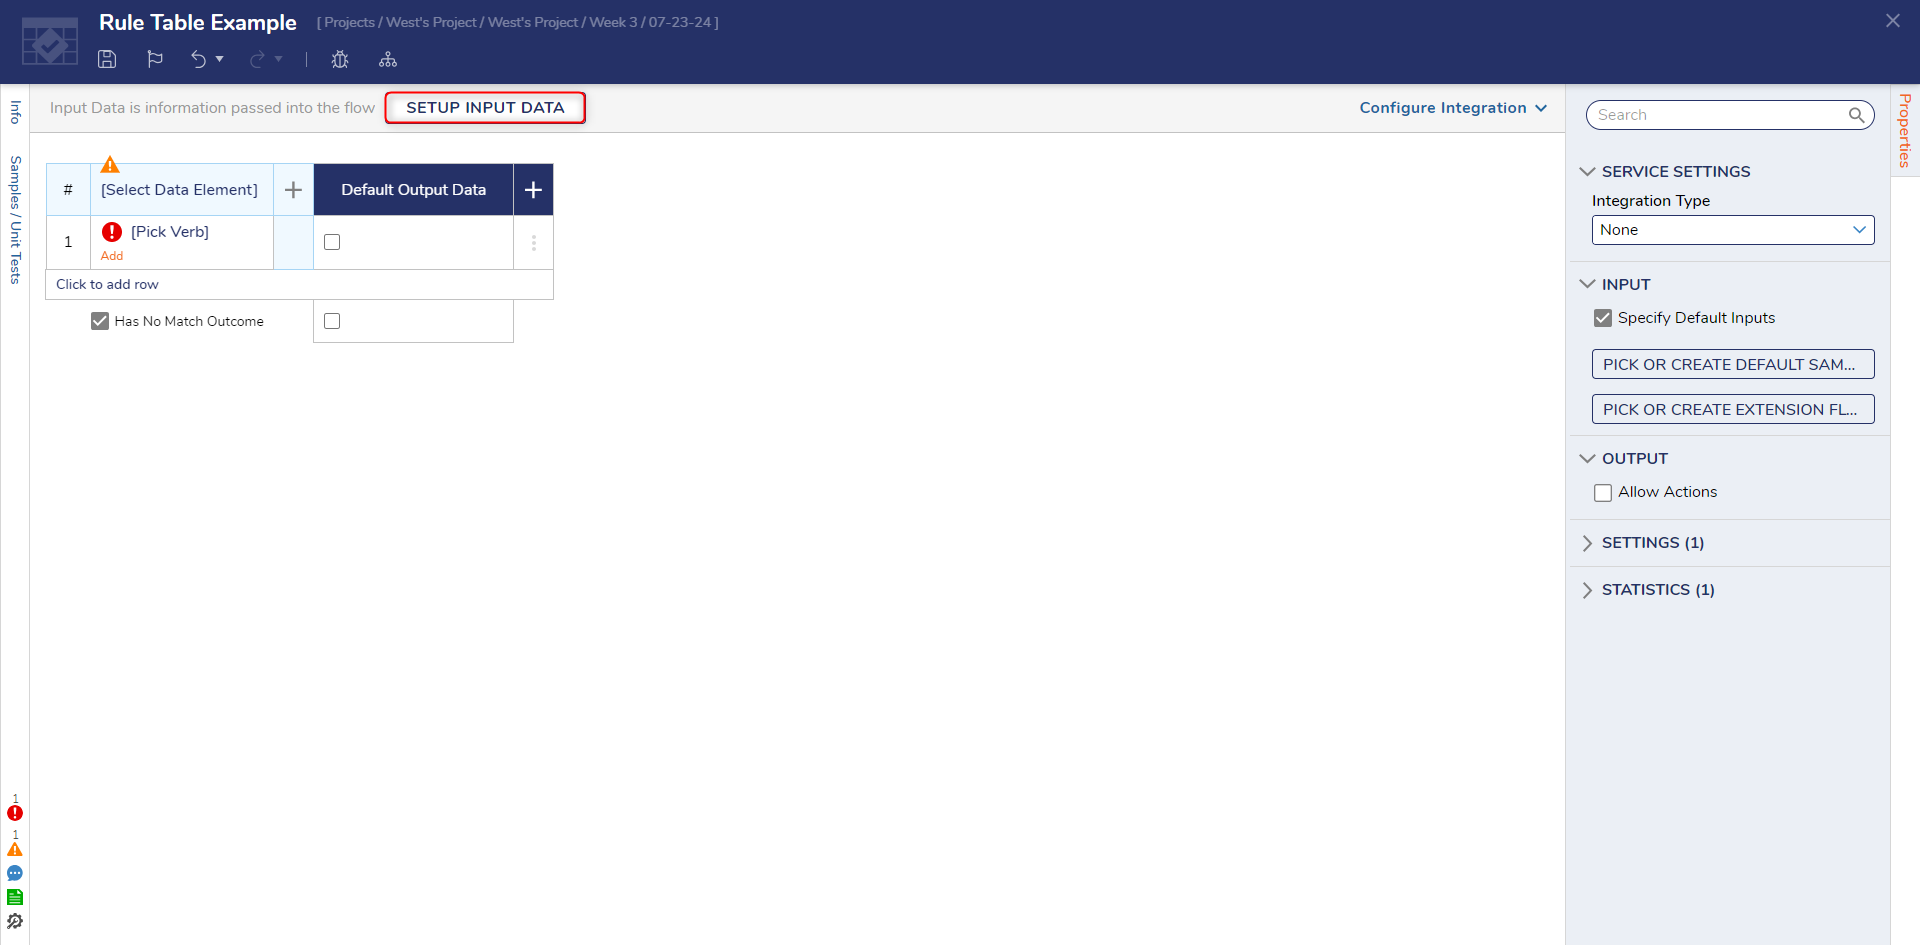
4 When the button is selected, a popout will appear with a LIST VIEW Data Designer.
5 Use this area to configure data members for the Rule that are related to the project or reference an existing Design Pattern.
6 Select the Save button on the top Action Bar of the Data Designerpopout, then select the 'x' in the top corner.
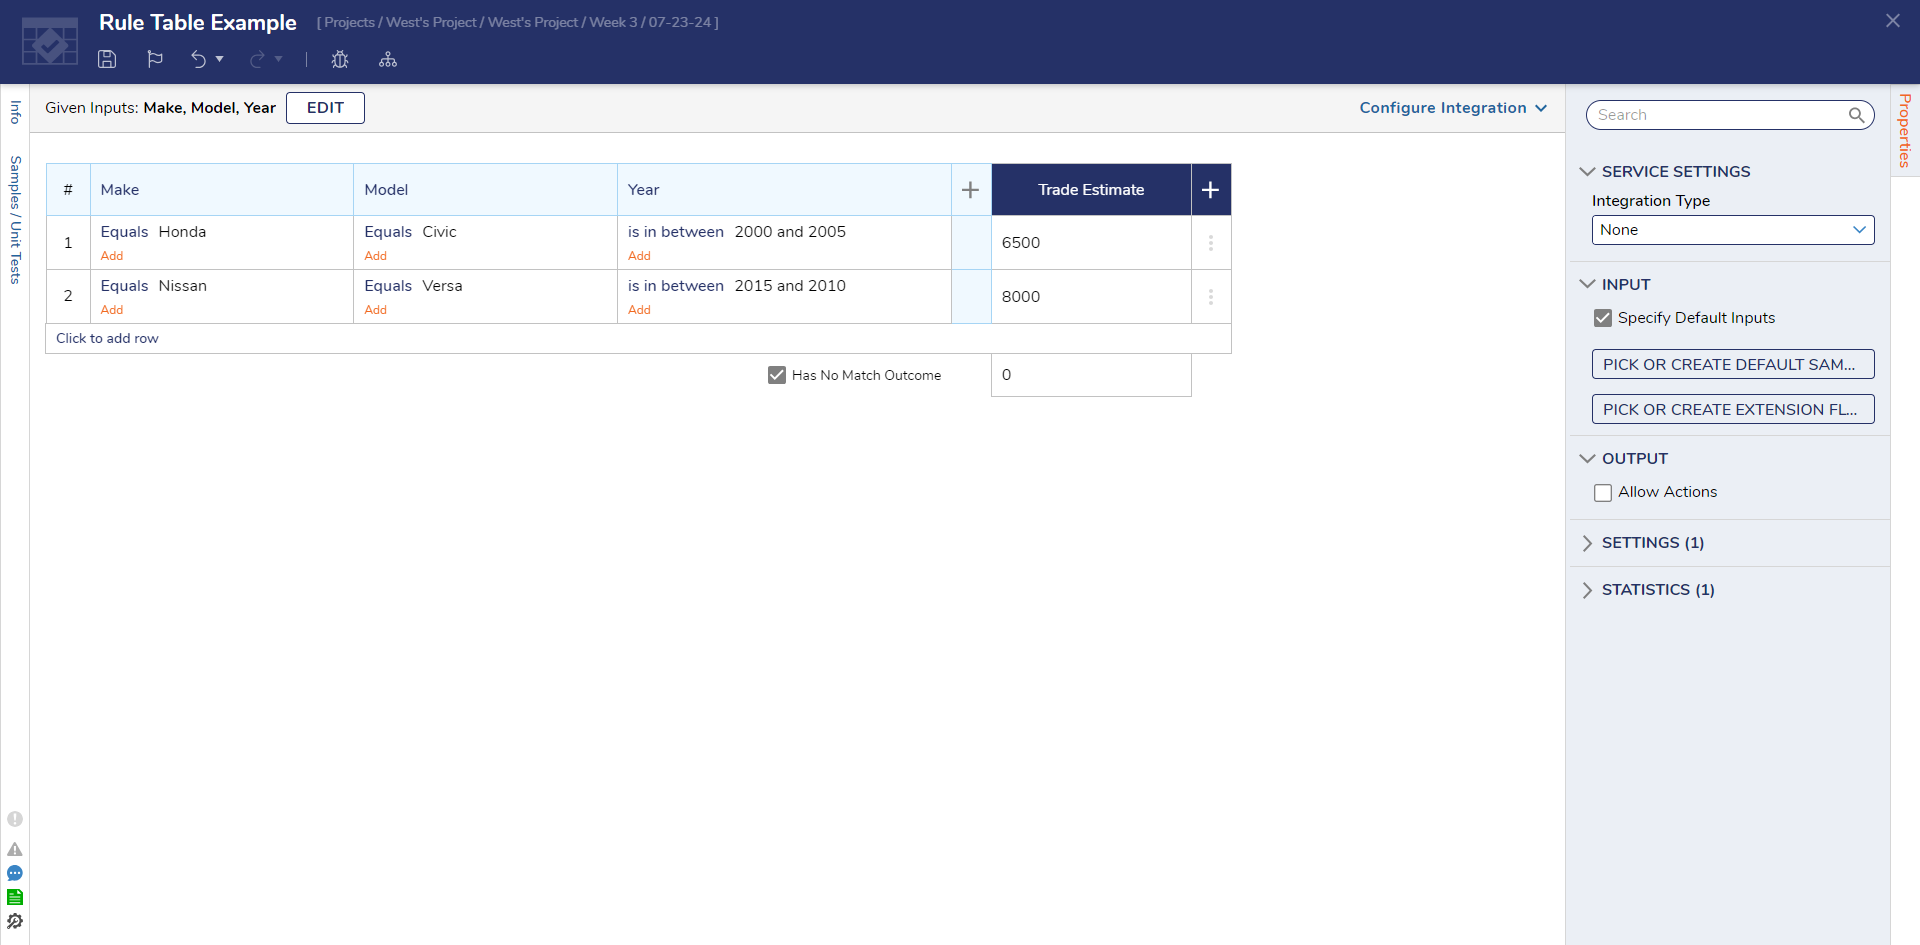
7 Column headers populate automatically with the previously configured input data.
8 The Verb portion of the Rule logic is used to configure statements that the received data is evaluated against.
9 Once the Rule Table has been configured, select the Debug button from the top Action Bar.
10 In the Debug window, enter some data values for the table to evaluate.
11 Select the START DEBUGGING button to see what output result is reached after the evaluation.
from: https://documentation.decisions.com/v9/docs/rule-table-overview