Calendar View

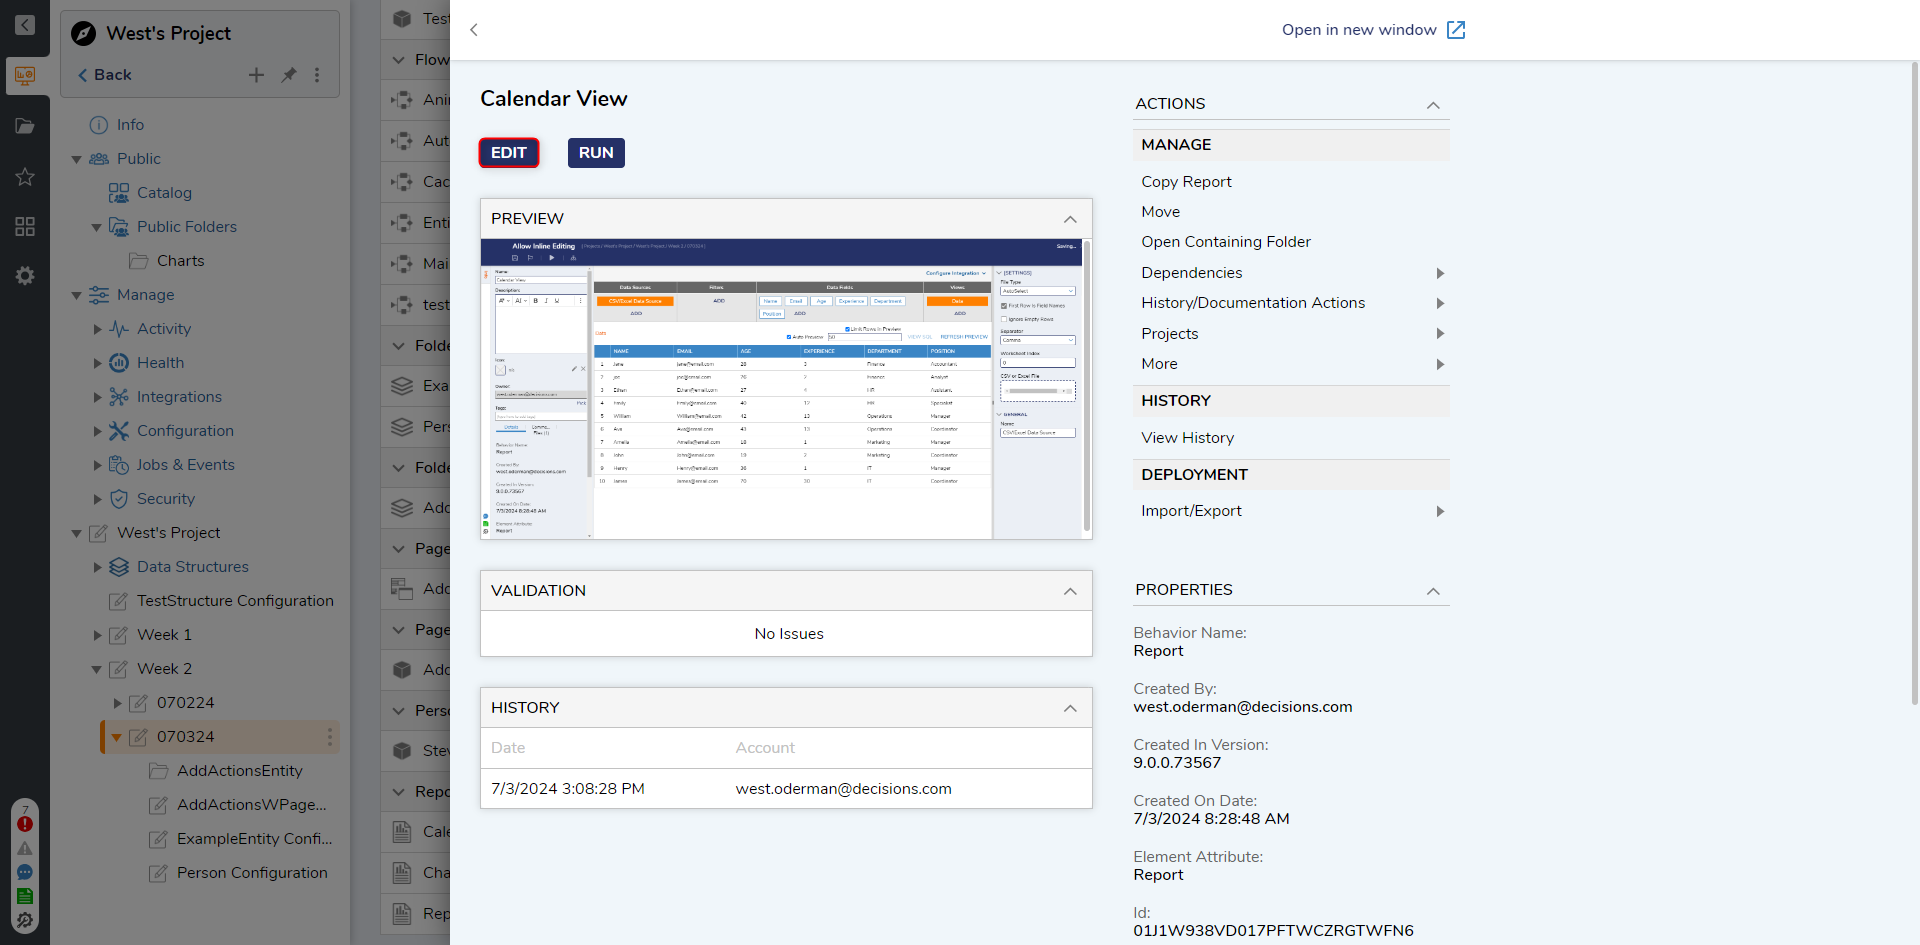
1 Navigate to a Designer Folder, click on an existing Report, and select EDIT REPORT from the resulting sliding window.
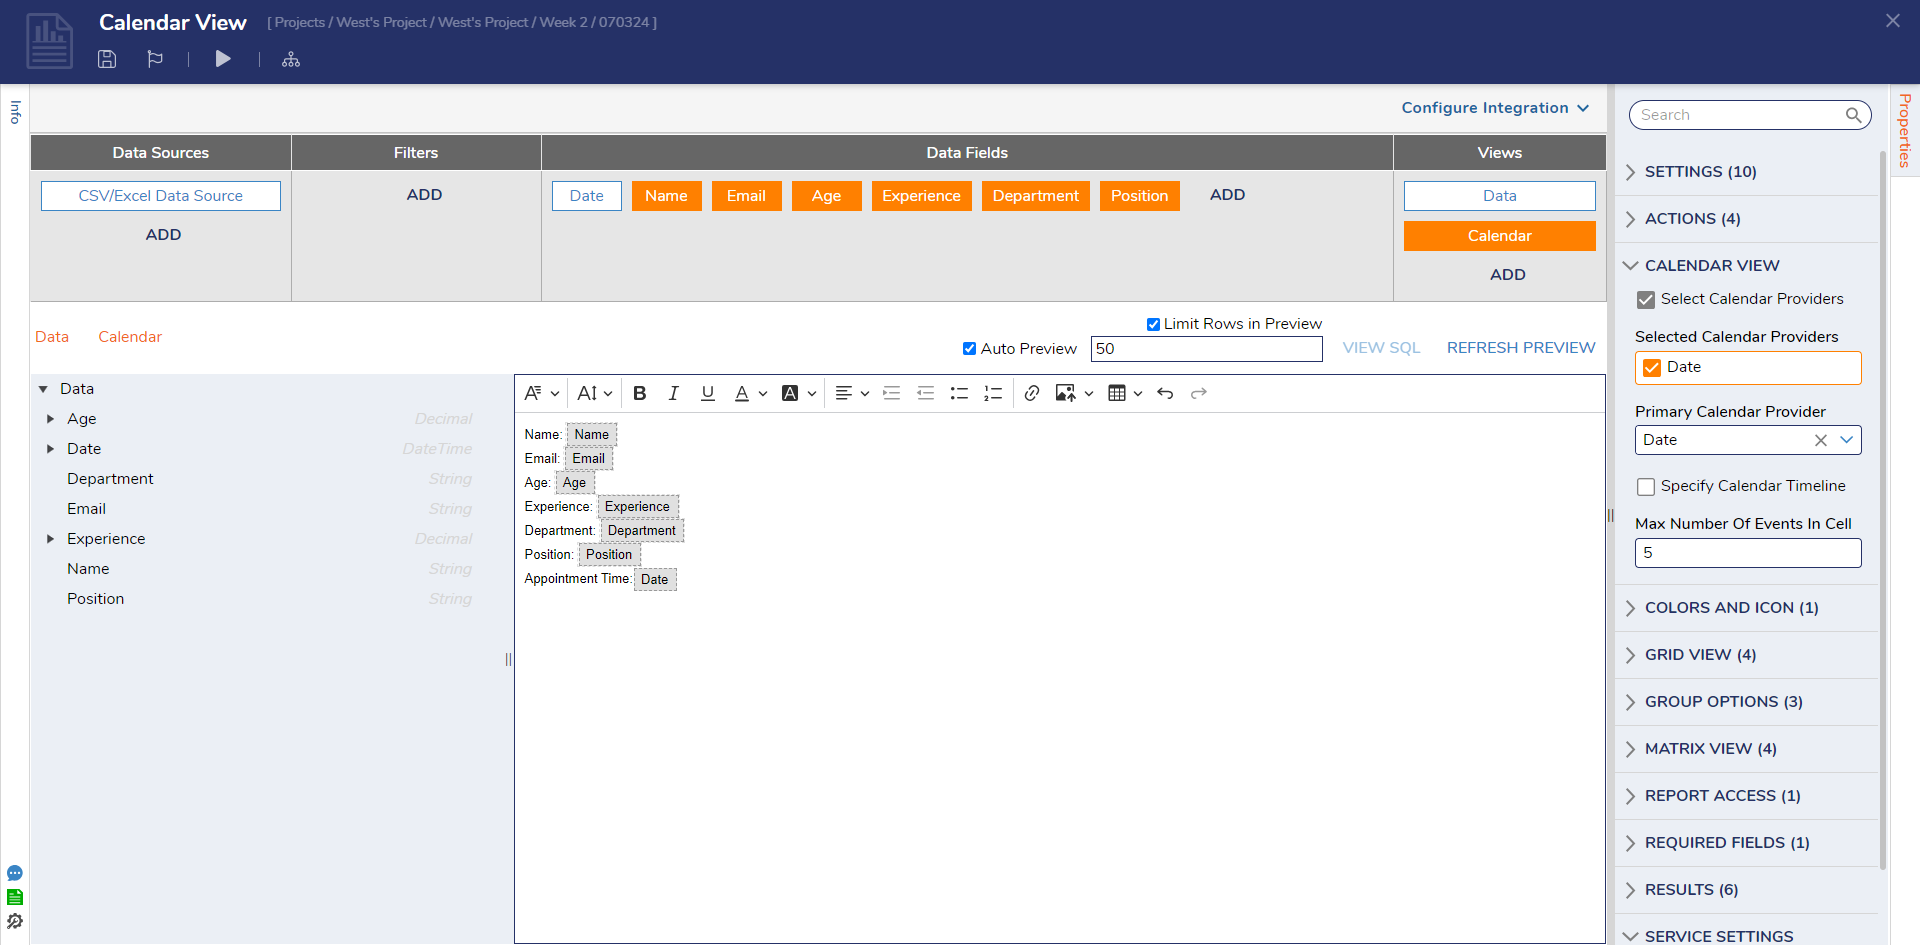
2 In the Report Designer, under the Views section, click the Add option to display the menu options. Select the Calendar option.

3 Notice the Calendar configuration workspace is displayed and that a Calendar option is added to the menu bar.
4 Next, configure the Calendar Summary to display the desired information from the Data menu.
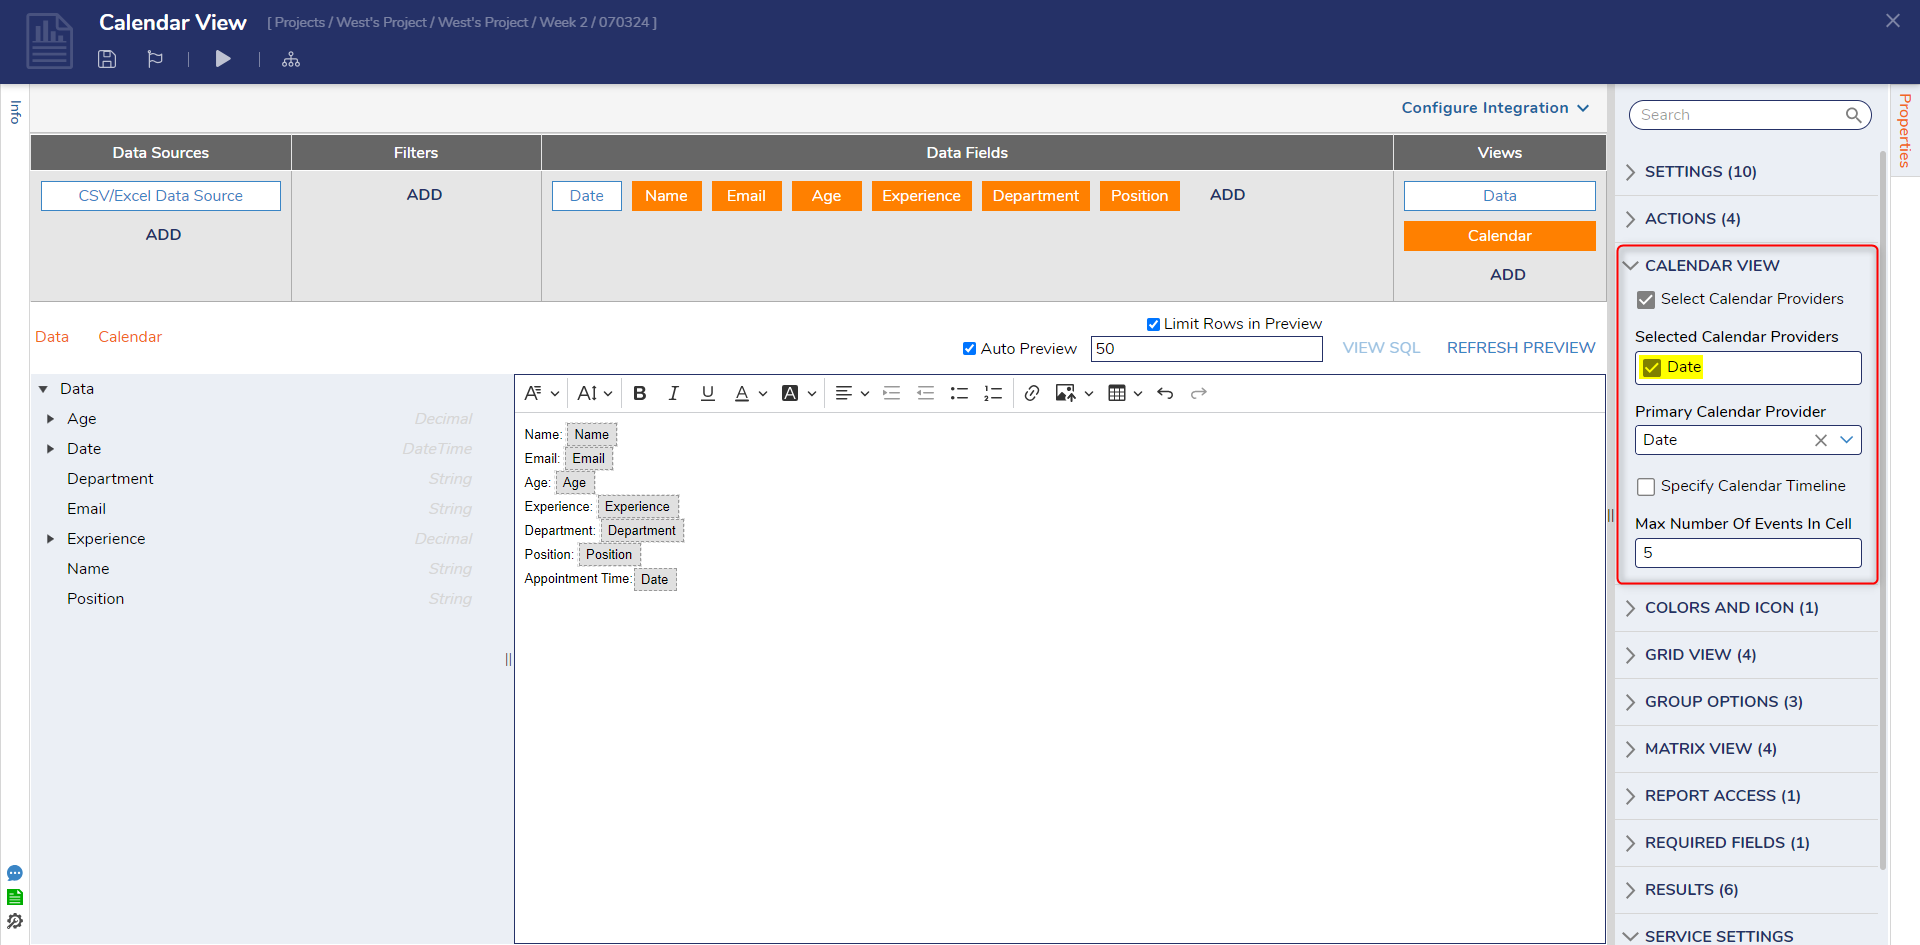
5 In the Properties panel > Calendar View, users can select how the Calendar will display the information.
a. Select the Primary Calendar Provider drop down list and check the time boolean; this option tells the Report to display the information at the time it is scheduled for.
6 The Report is complete. Save and select Run Report from the Top Action Bar.
7 By default, the Report will display in View Mode: Grid, however, by selecting the new View Mode: Calendar, the Calendar is available to view.

from: https://documentation.decisions.com/v9/docs/report-viewer-in-calendar-mode