Creating Custom Log Files

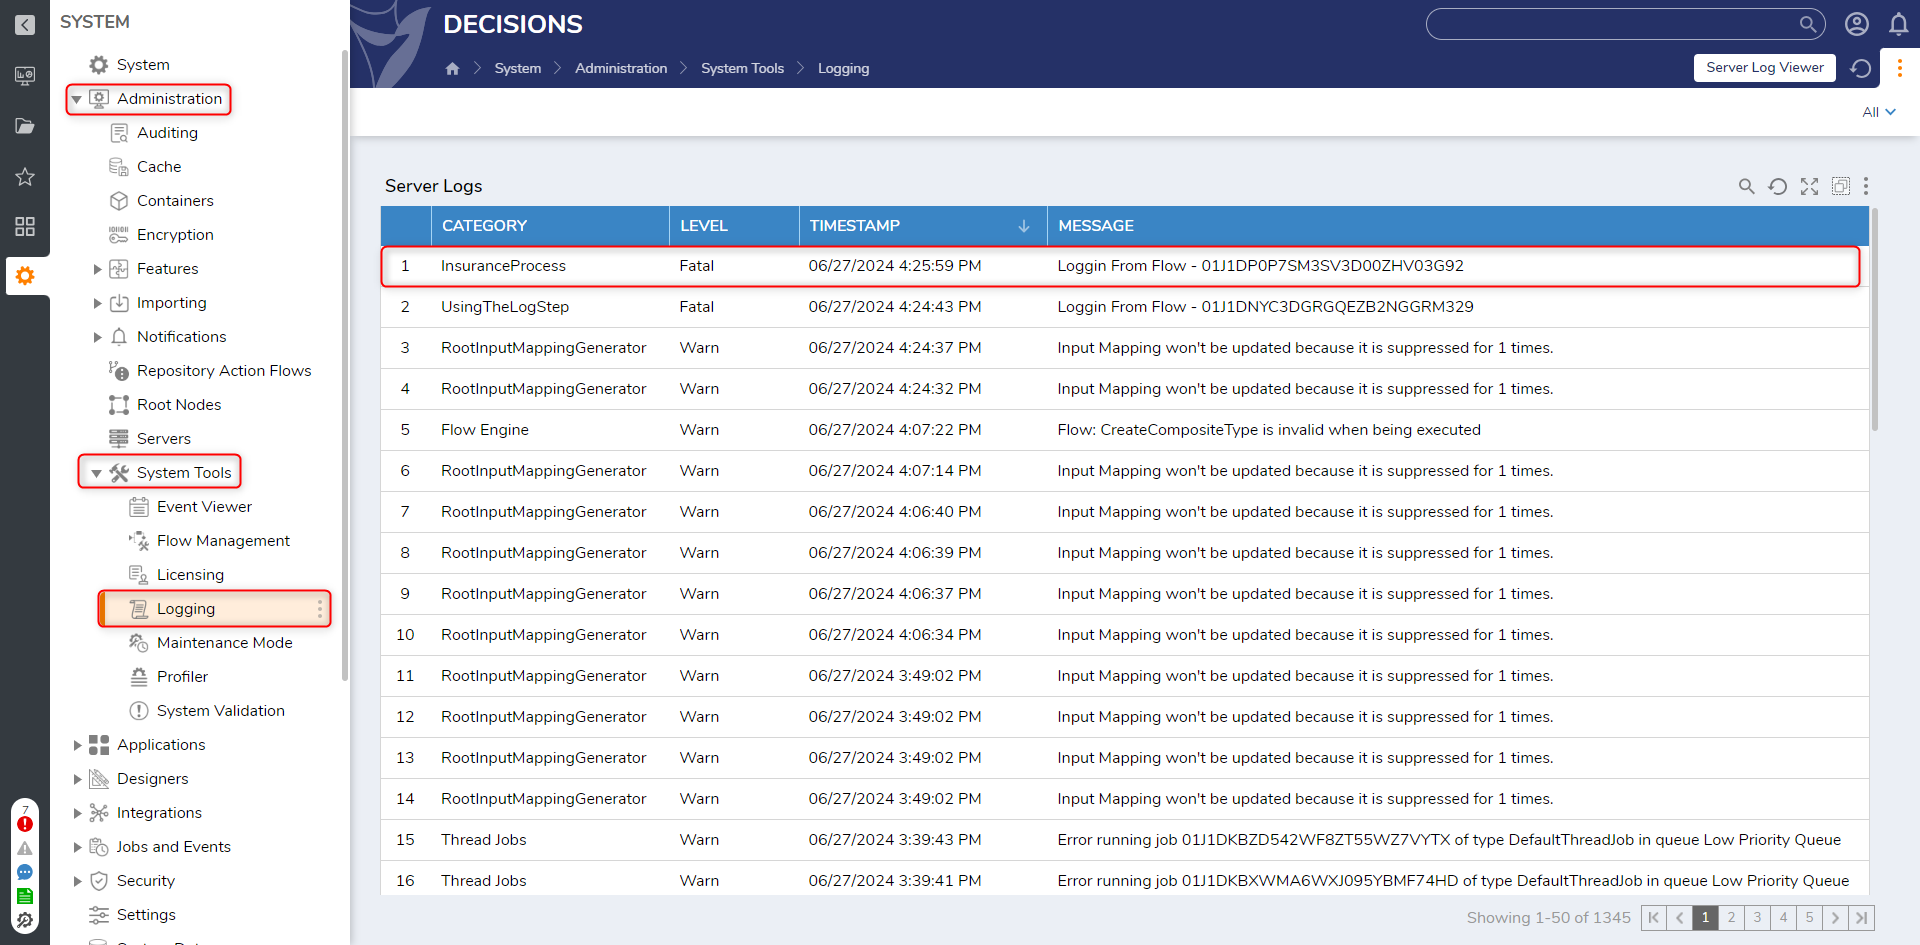
1 Follow the process outlined in Using the Log Step to create a new Log Category.
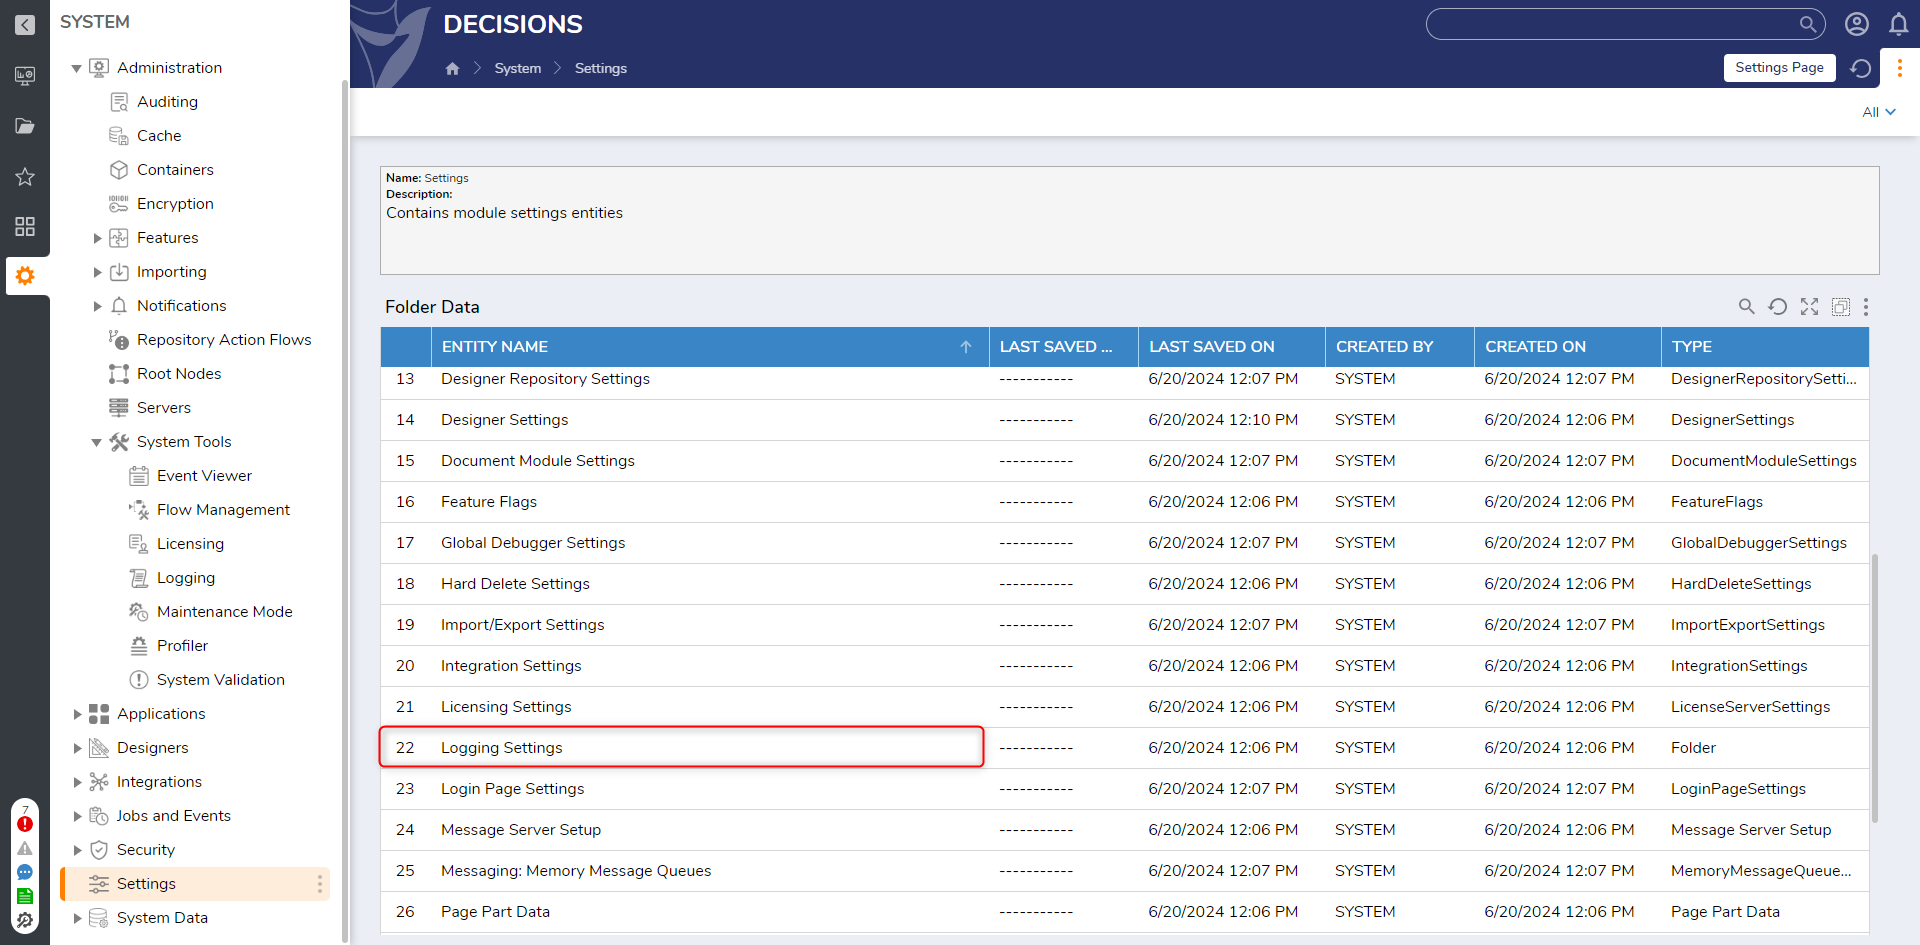
2 From the Decisions Studio, navigate to System > Settings, and open Logging Settings.
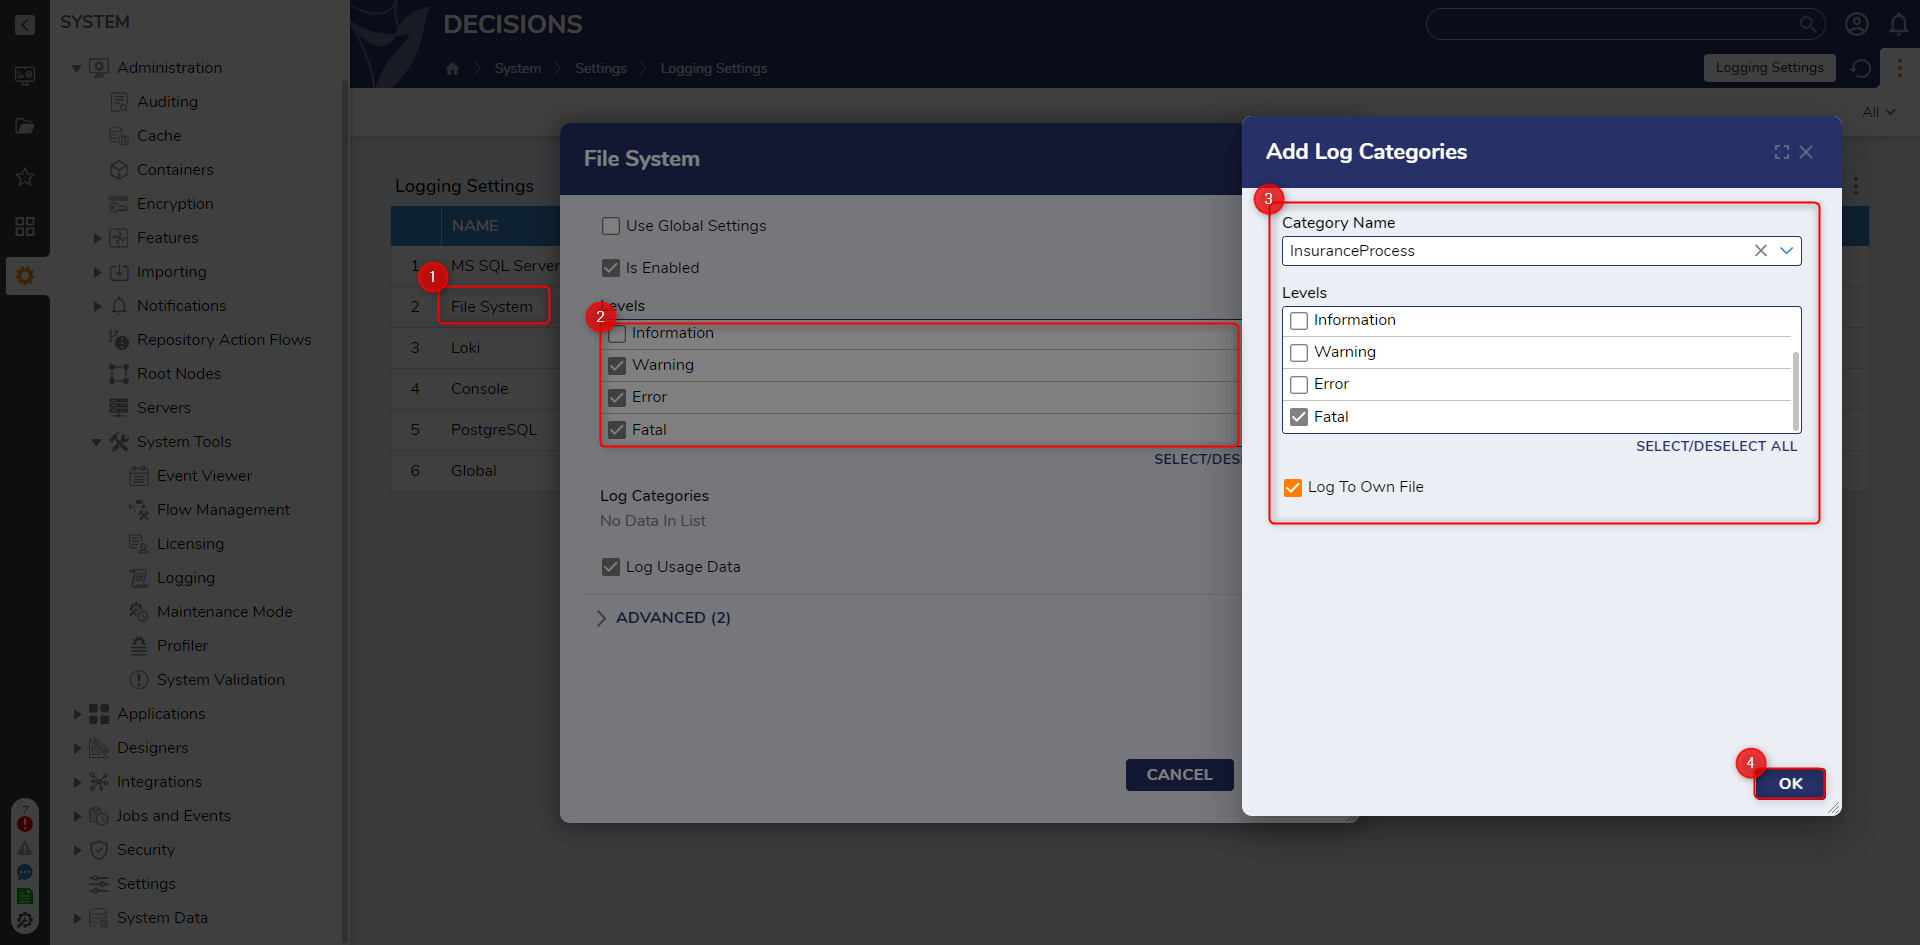
3 From the Logging Settings list, select File System. From the File System window, check the desired Levels. Then, under Log Categories, click ADD.
4 From the Add Log Categories window, select the previously created Category from the Category Name dropdown. Check the desired Levels, then enable Log To Own File.
Then, click OK, and OK once more to exit the File System window.
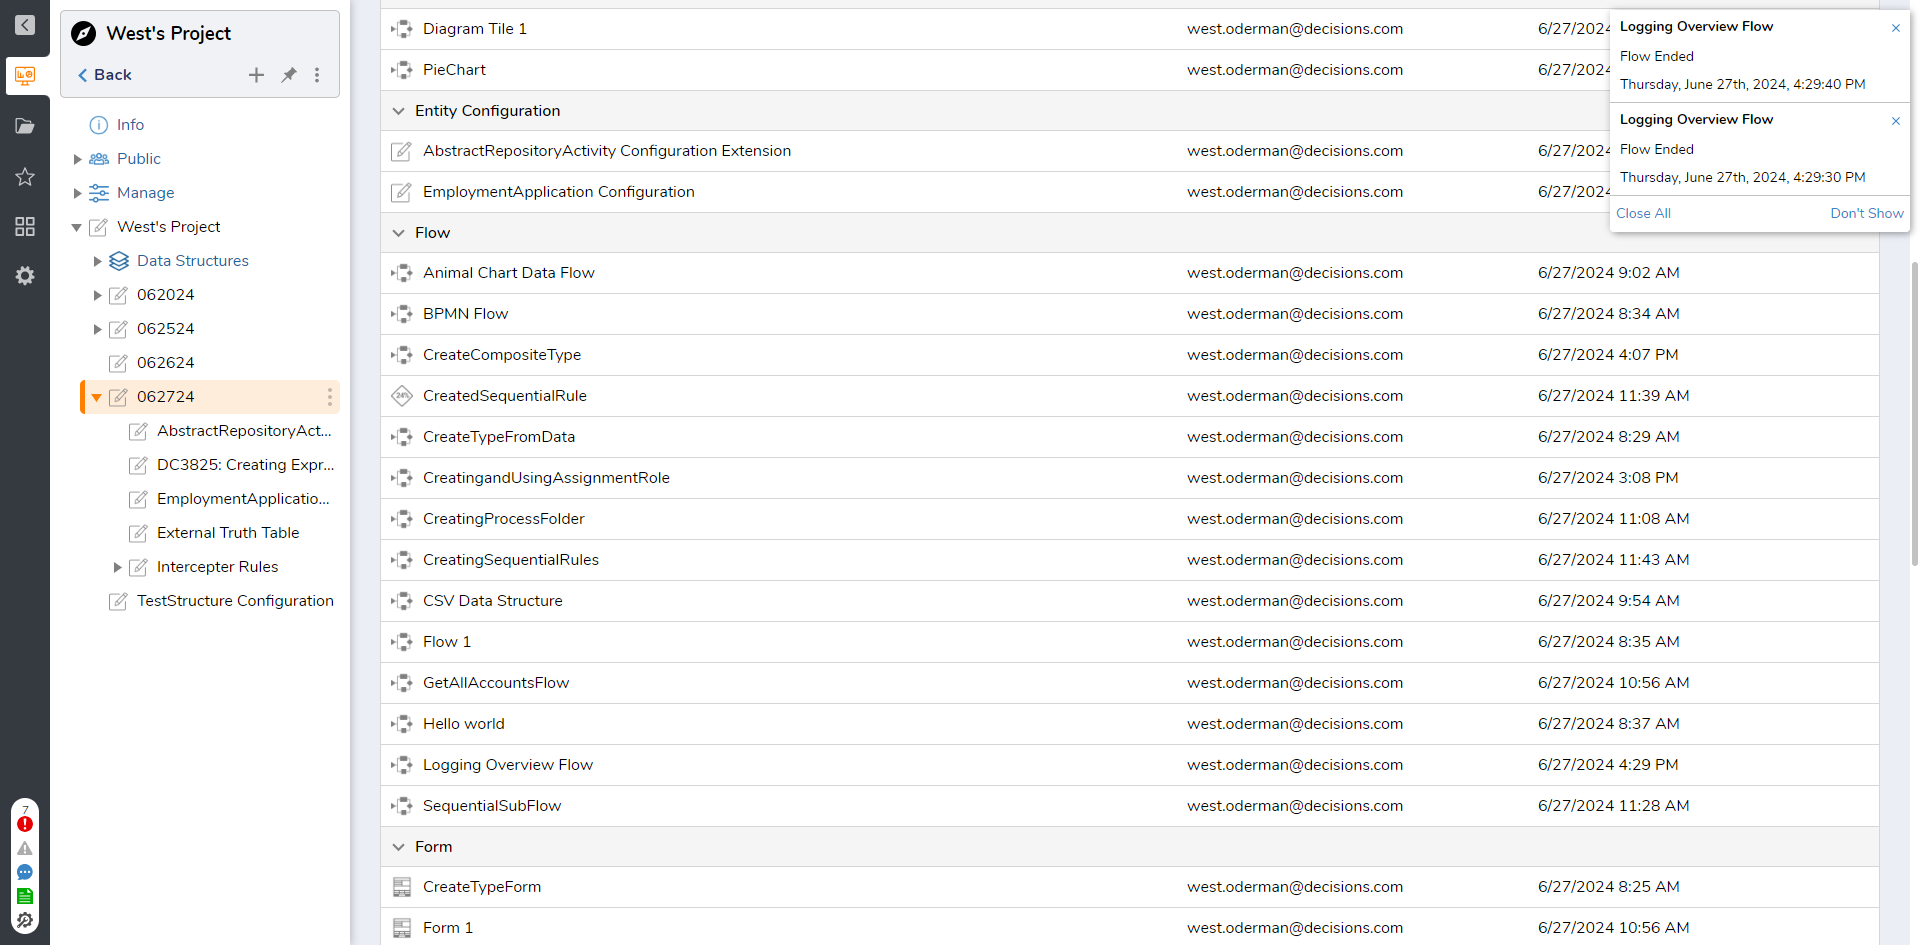
5 Return to, and then Run, the previously create Logging Flow.
from: https://documentation.decisions.com/v9/docs/creating-custom-log-files
0