Adding an Image to a Page/Dashboard

1 From the Decisions Studio, either Open a preexisting Page/Dashboard or select CREATE REPORT from the Global Action Bar, then CREATE a new Page.
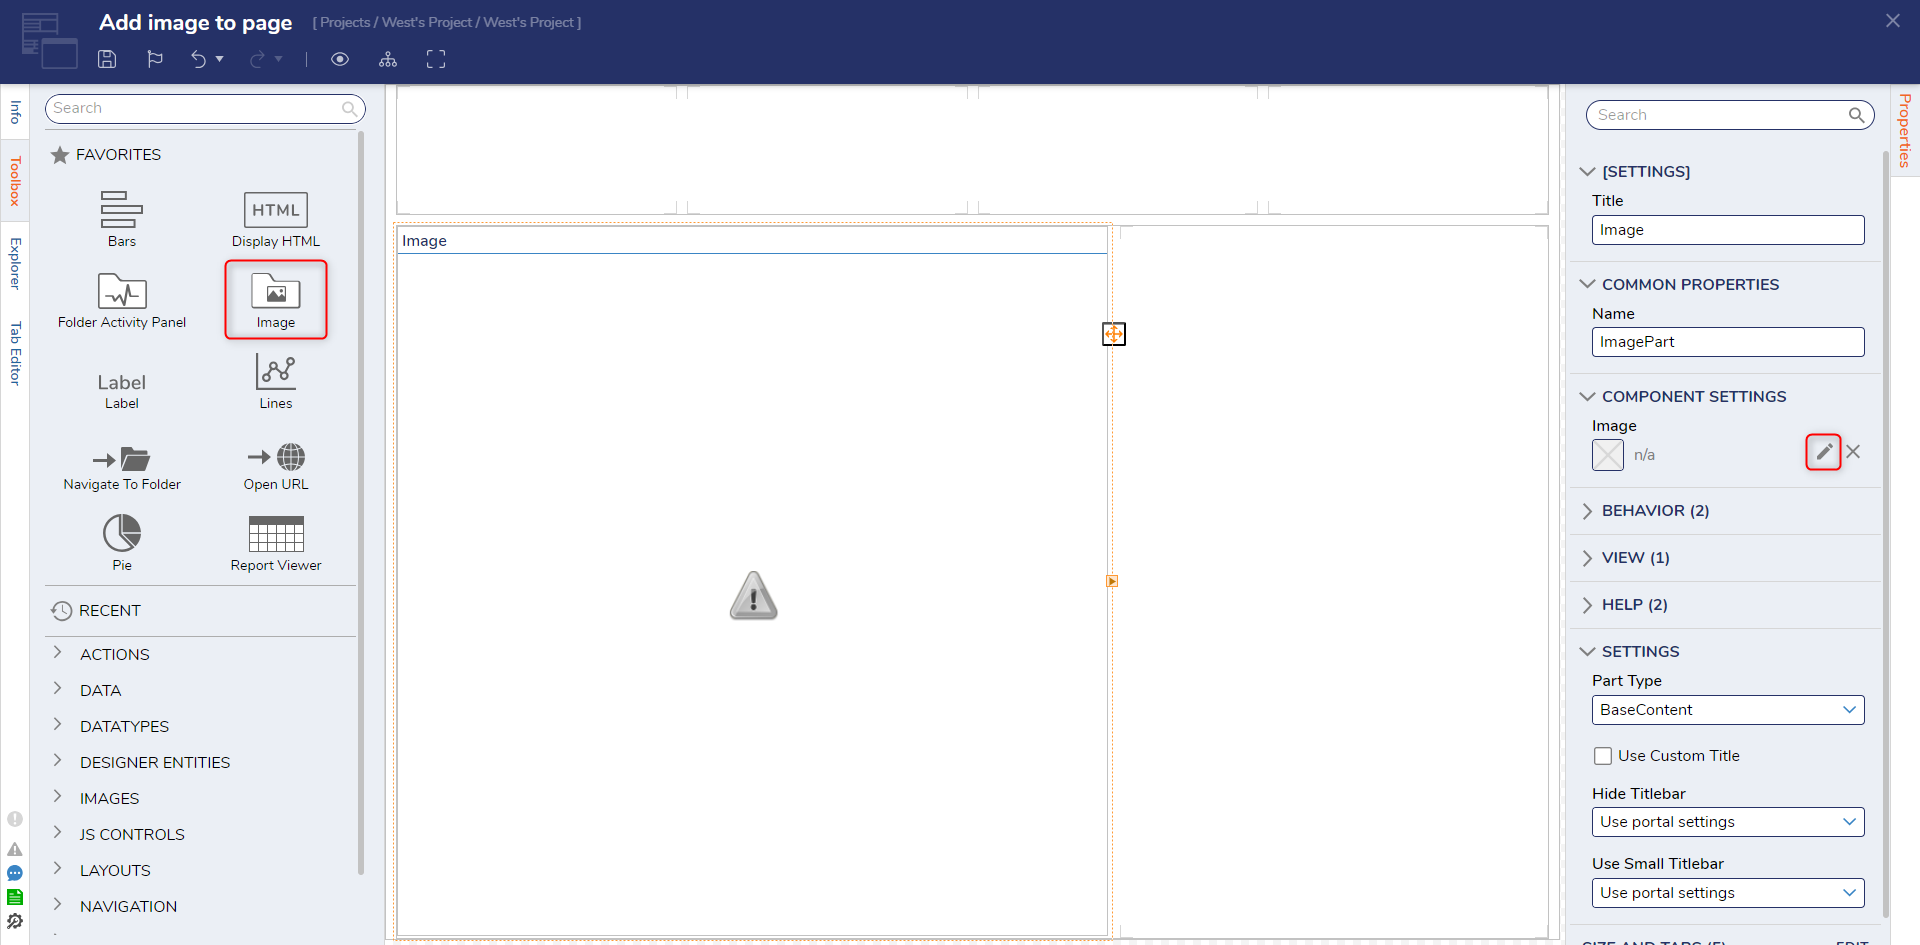
2 From the Page Designer, drag an Image component into the desired section of the workspace by dragging and dropping the component from Toolbox > FAVORITES onto the Page.
3 Select the Image component on the Page, then under Properties > COMPONENT SETTINGS > Image, select the Edit (denoted by a pencil icon) button.
4 Select the Pick Image window, then PICK the desired Image.
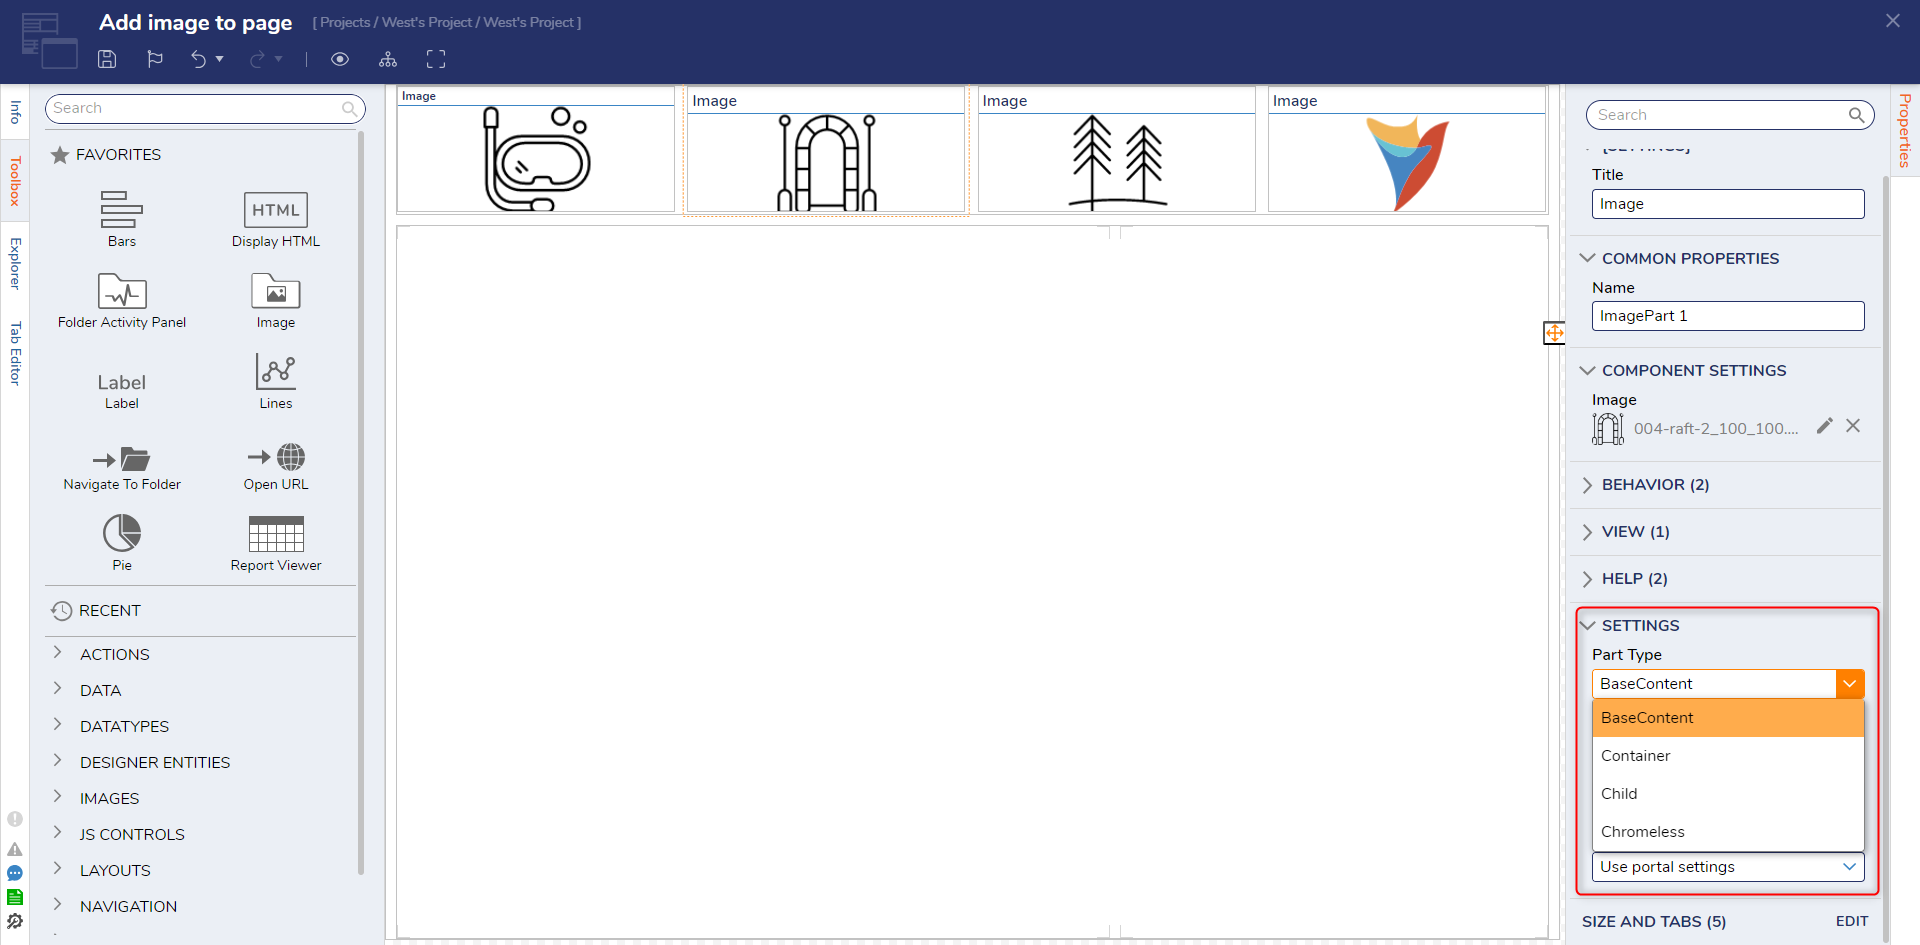
5 After the Image is added, additional parameters may be adjusted via Properties > SETTINGS. Under Part Type, select the desired option.
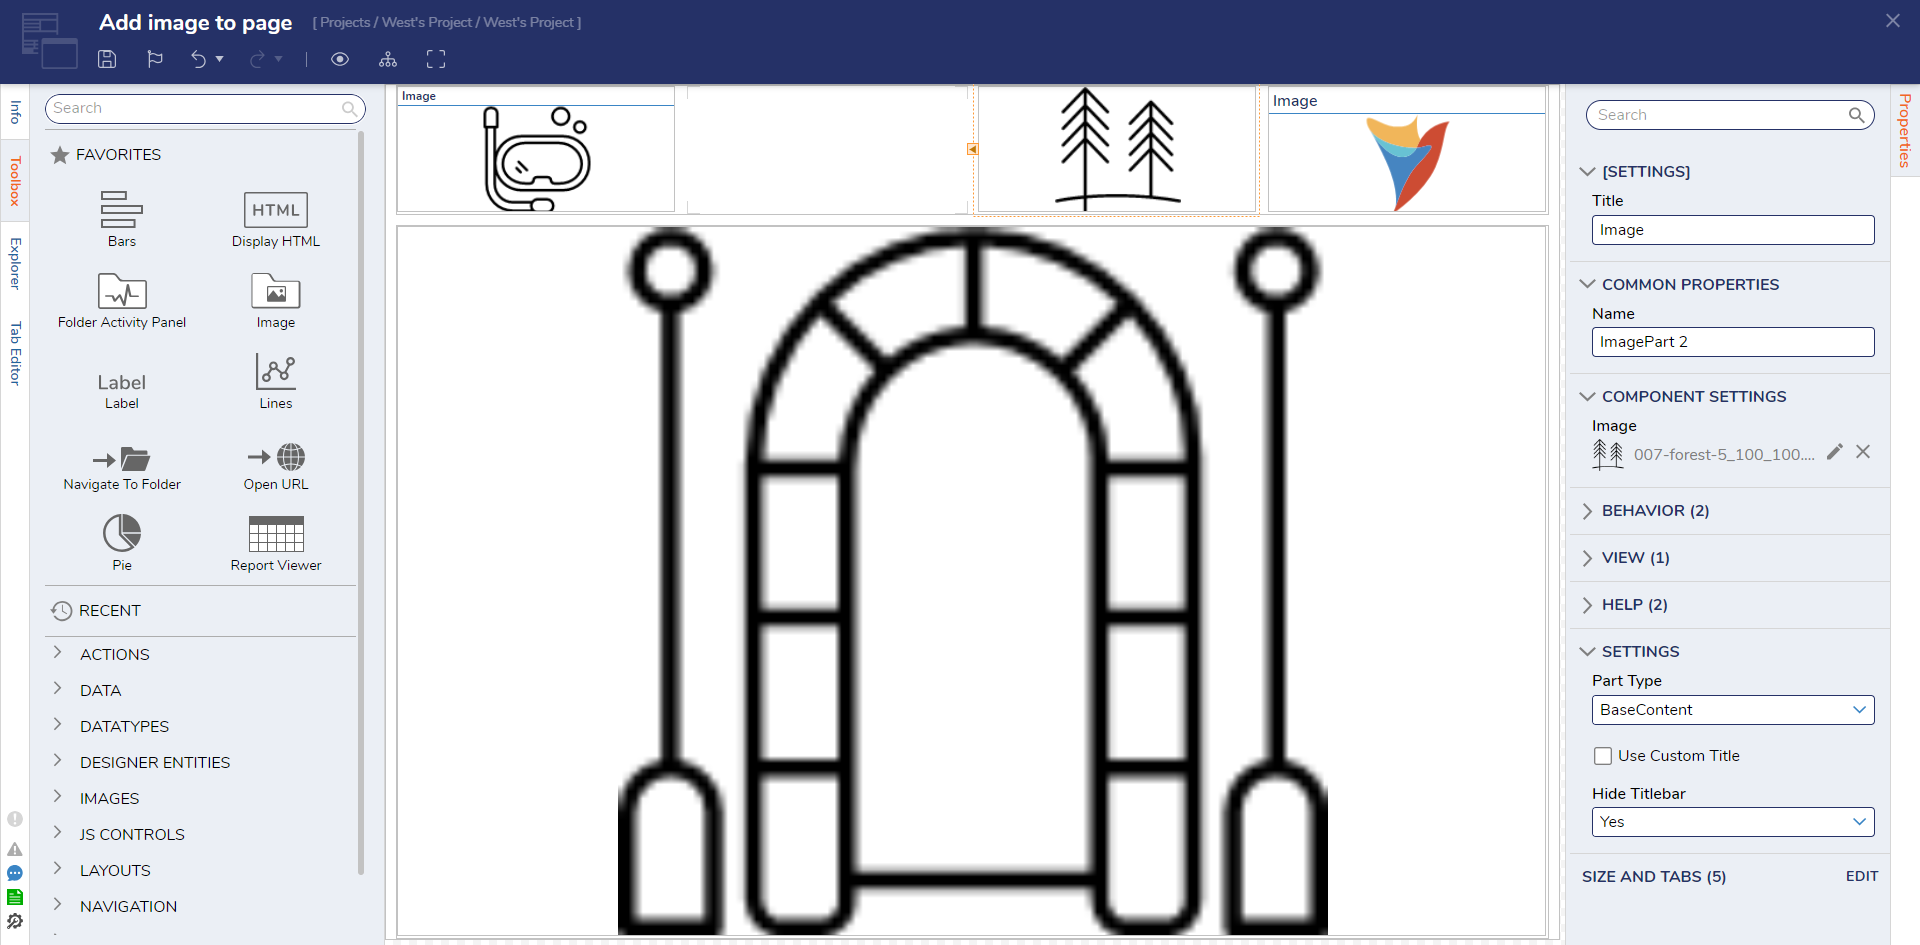
6 If desired, select Yes under Hide Title Bar or Use Small Titlebar.
7 Once the Image is added, the Image may be stretched and expanded by selecting the Image, then clicking any of the orange arrows to expand the image in that direction.
8 Once desired configurations have been made, Save the Page, then close via X.
from: https://documentation.decisions.com/v9/docs/adding-an-image-to-a-pagedashboard